Hello my crafty peeps! I’m happy to be here again this month as part of the Fun & Crafty blog hop. This month’s theme is new catalog preview, that magical time of year when there is a 236-page treasure trove of new (and carrying over) goodies to crave.
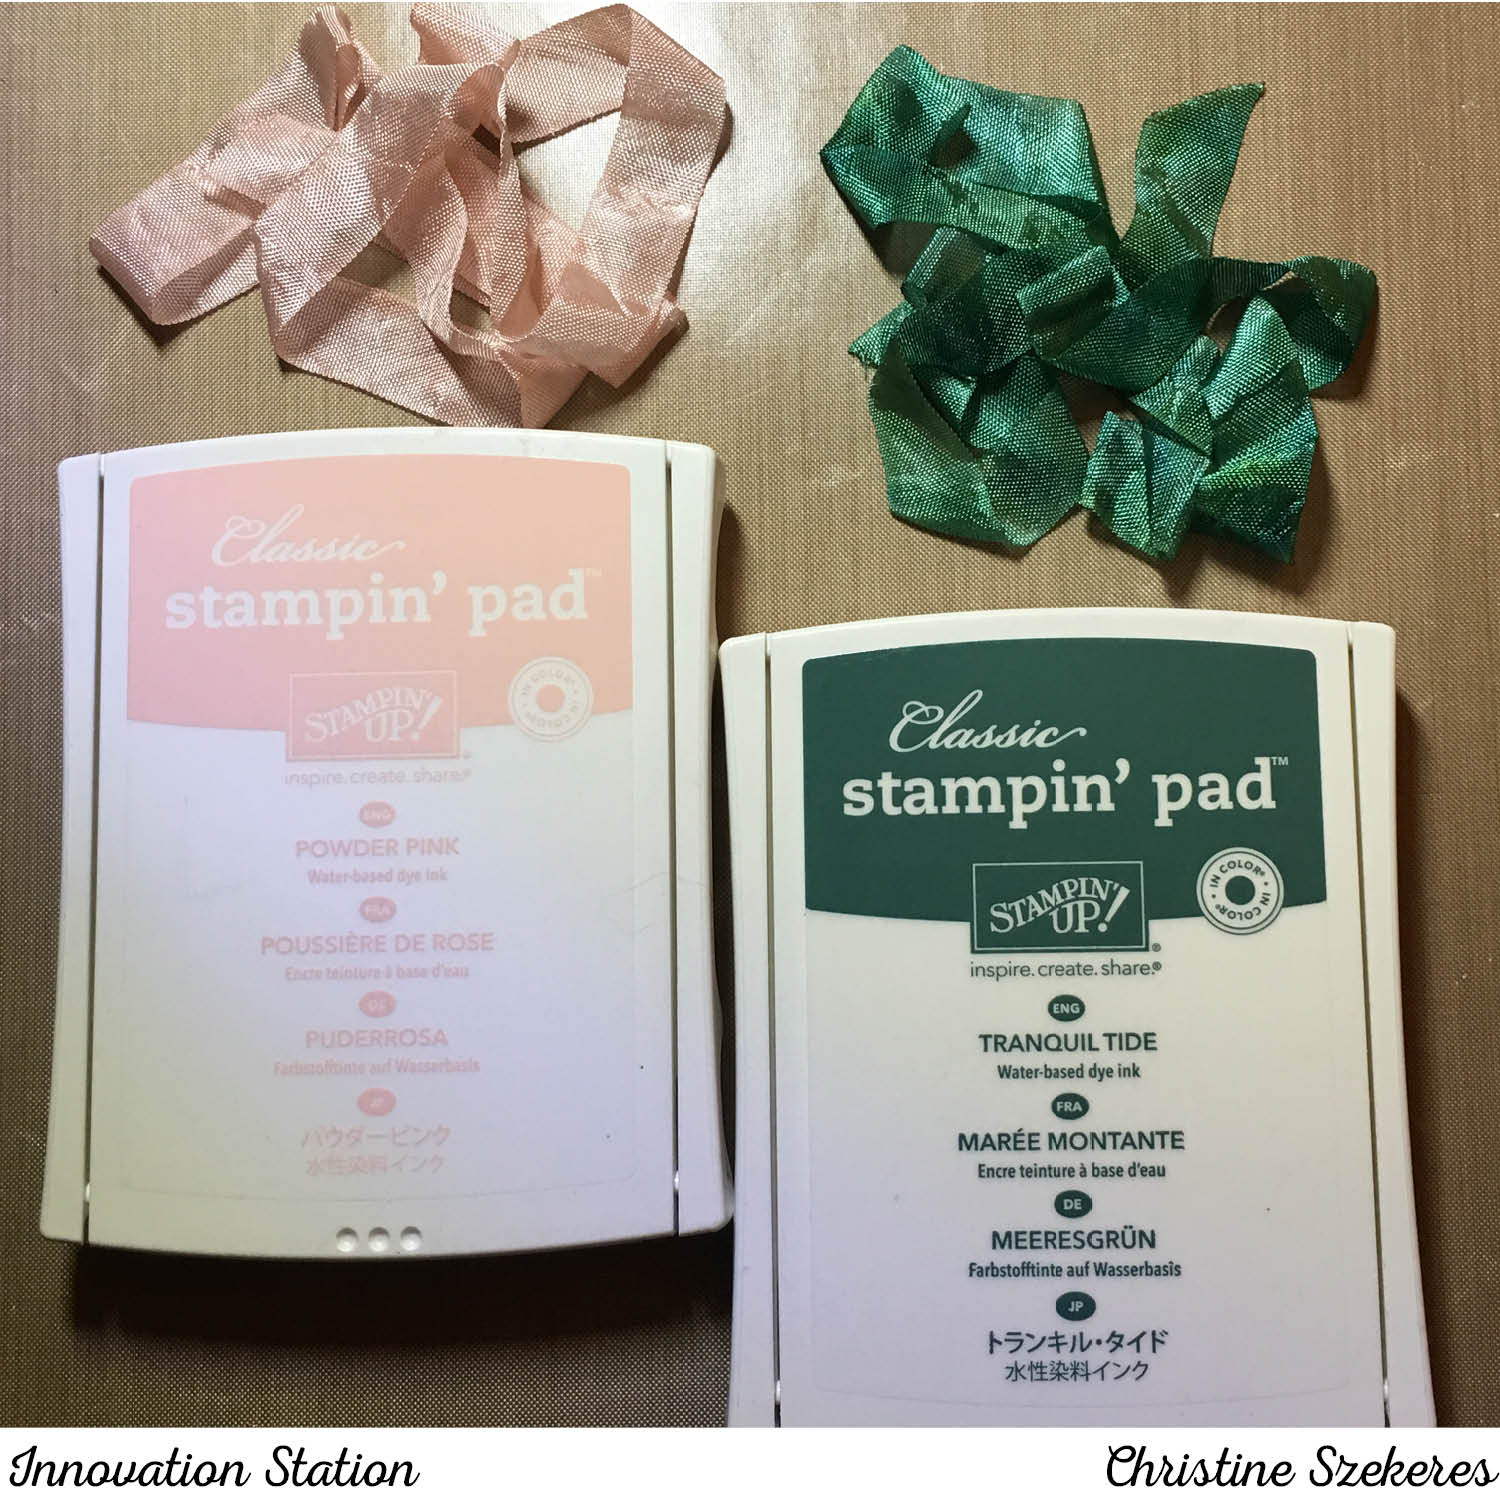
What am I excited about? How long do you have? My catalog is a bit dogeared and contains oh so many tape flags of the must-have goodies. Some “must have” suites and stamps include: Coffee Break Suite (stamps, dies, papers, and accents all with a coffee theme), This Little Piggy (the cutest stamp set of pigs and sentiments), Birthday Memories Suite (so cute with it’s fun party images and dies that cut images out of the DSP – so creative), and Delightful Daisy Suite (combining the freshest colors and floral imagery, this set is sure to be a staple in the next year). Some “must have” tools and embellishments include: mini pop dots, Ombre ribbon, glitter enamel dots, faceted gems, embossing paste, copper trim, and crinkle seam binding.
Here are some catalog details, painstakingly complied by my fellow hopper, Stacey over at A Work of Carte.
Catalog “By the Numbers” | Top Ten Edition
Stamp Sets: 192 (82 NEW)
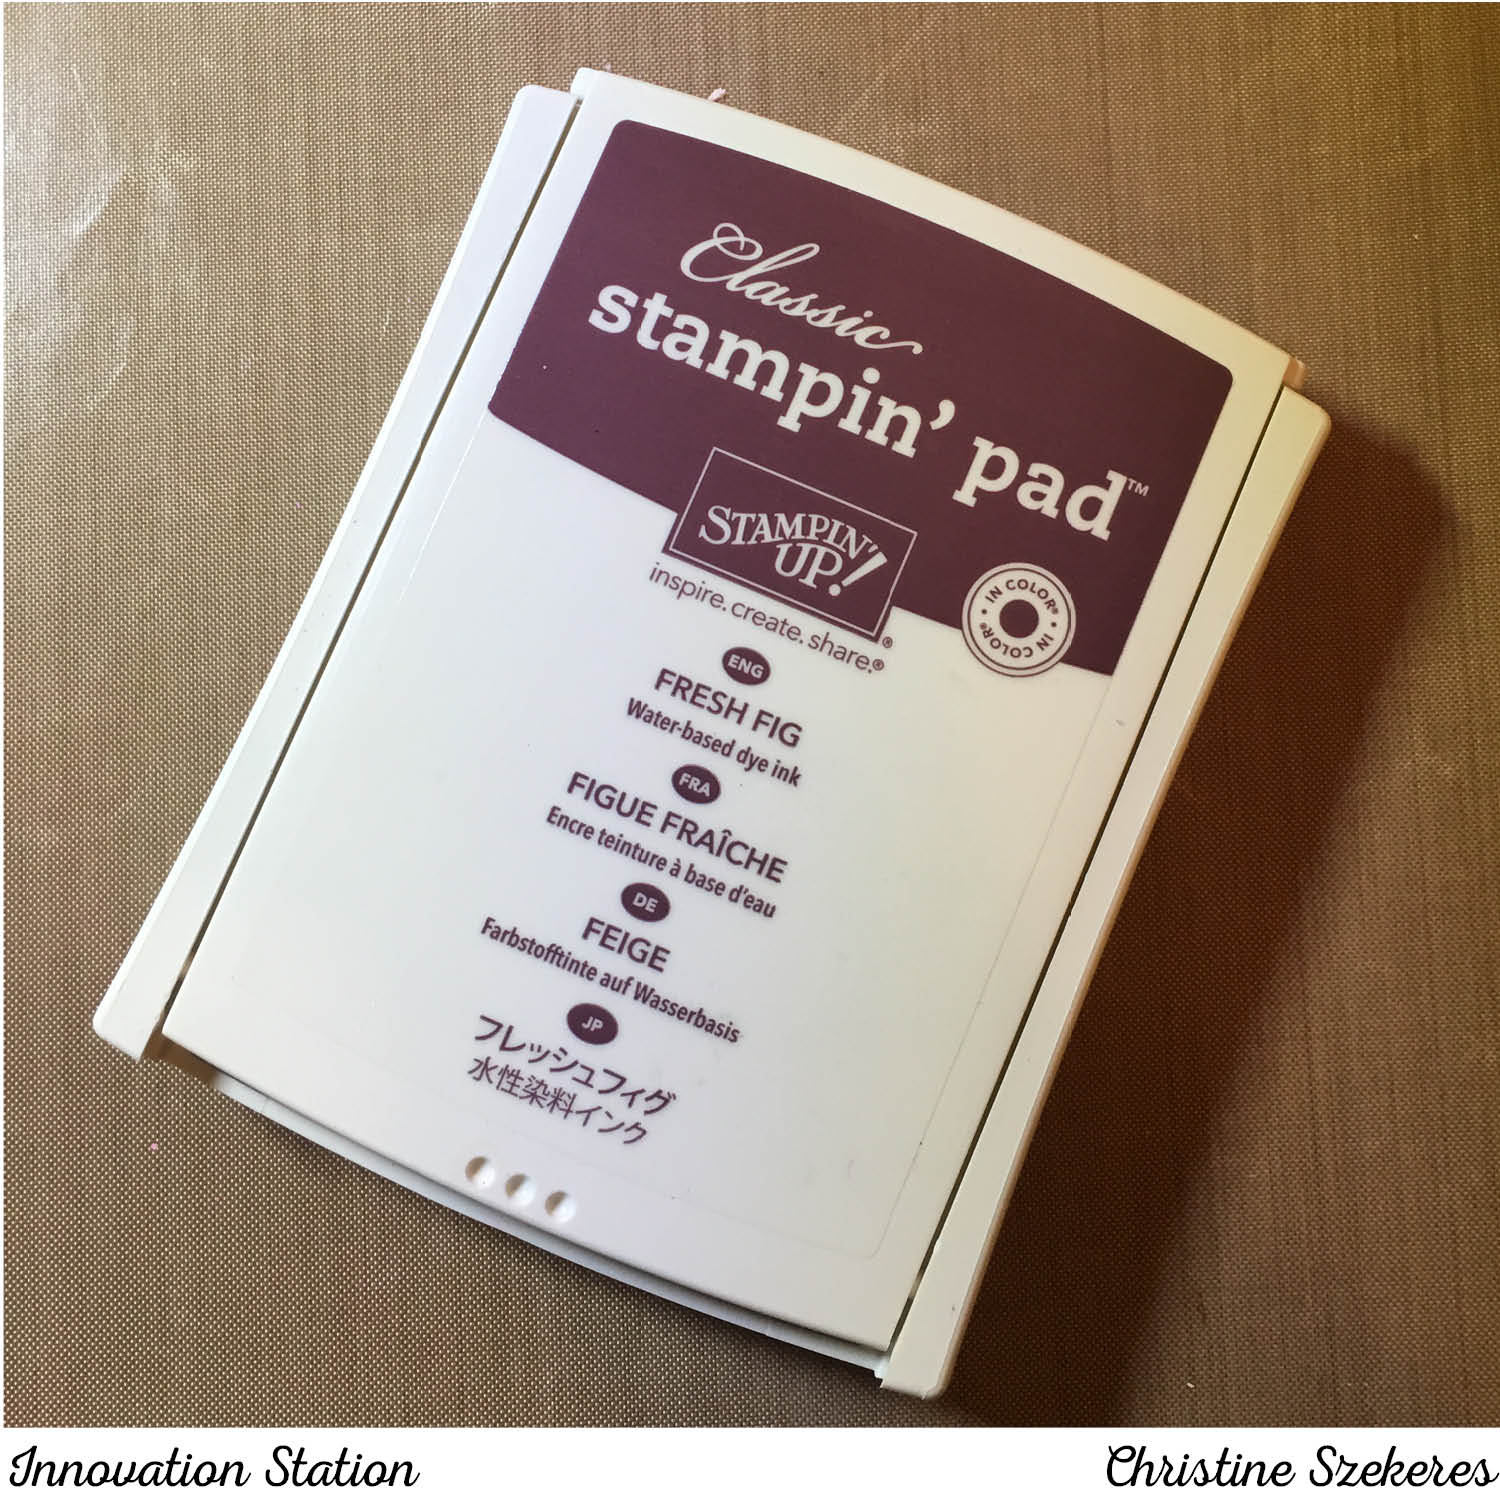
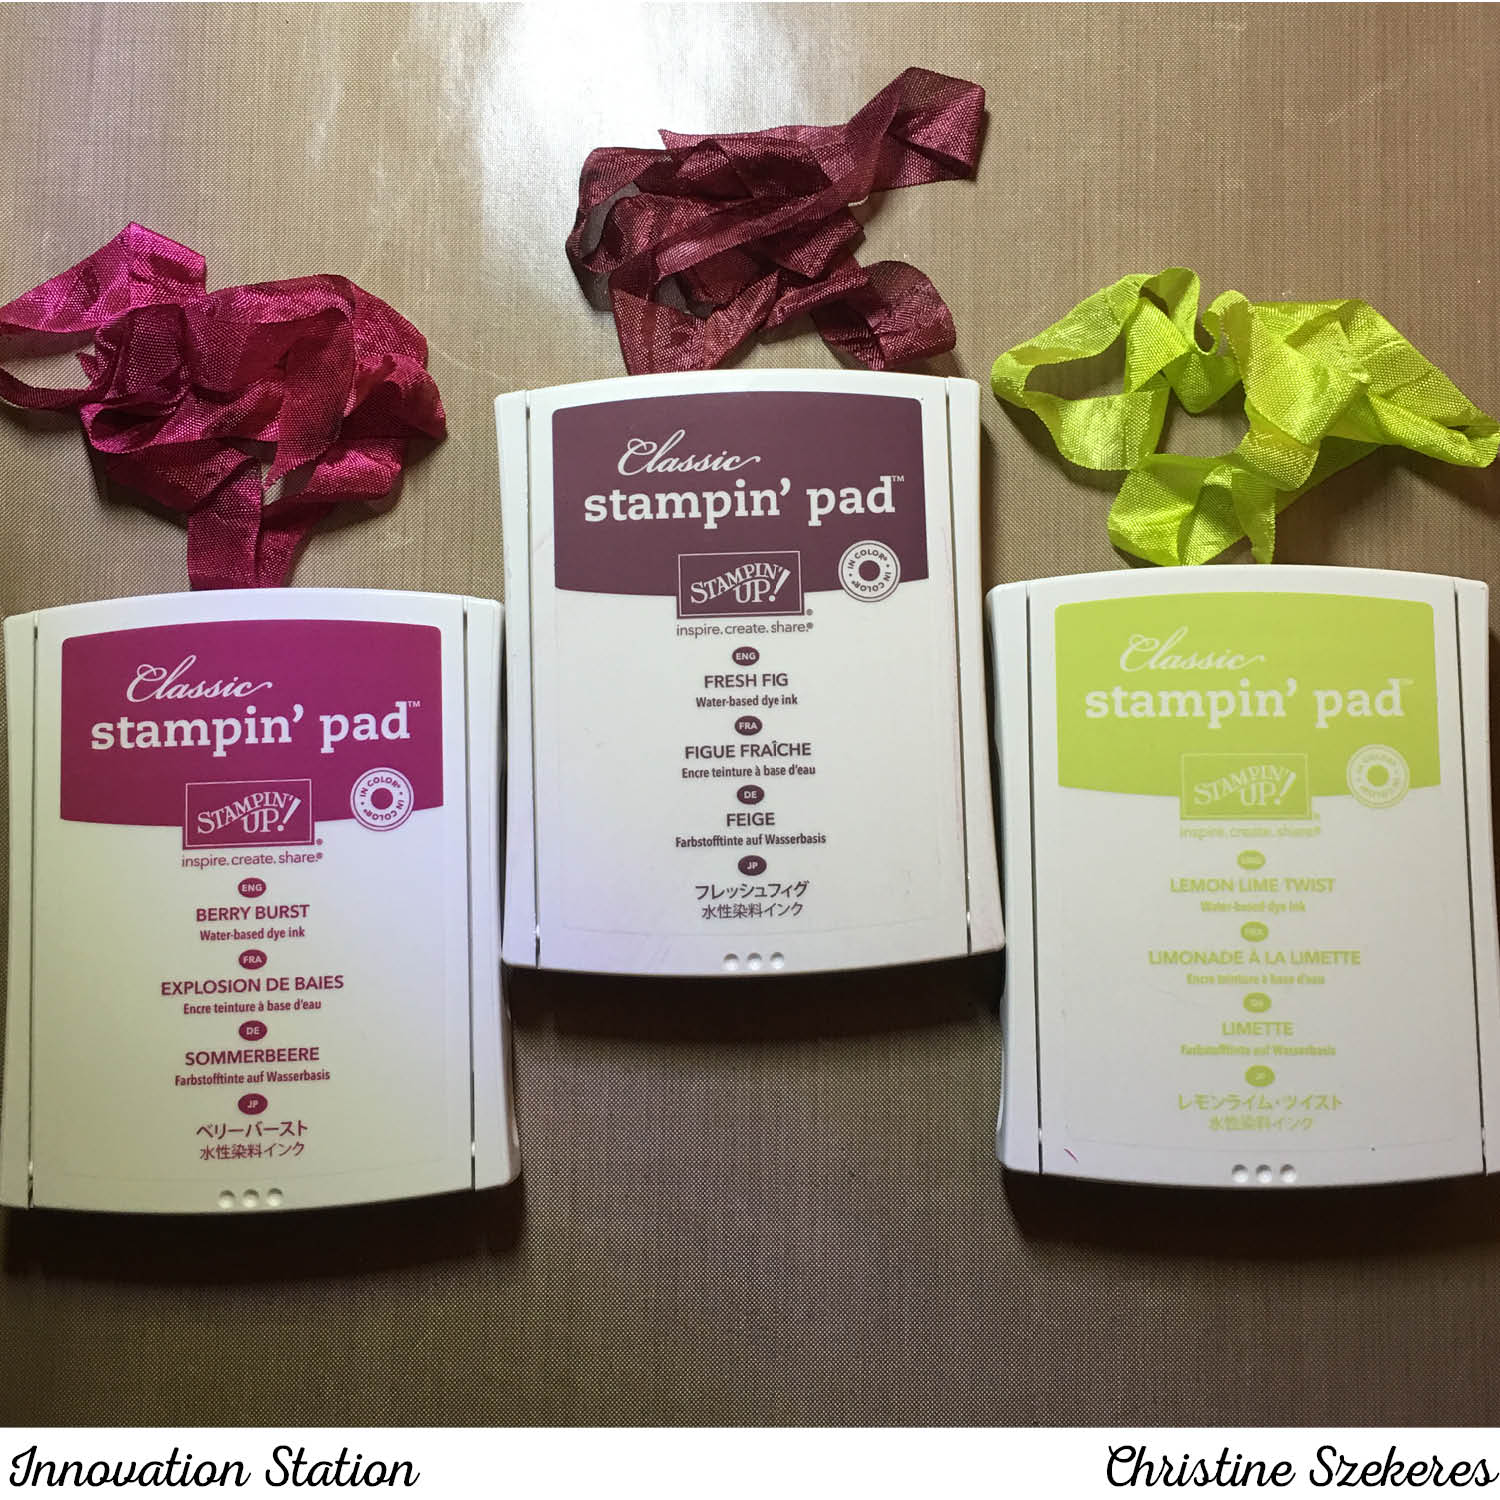
New Ink Colors: 5
DSP: 15
Embellishments: 23 (18 NEW)
Ribbon STYLES: 23 (15 NEW)
Ribbon SPOOLS: 71 (56 NEW)
New Adhesive: 2
Punches: 32 (8 NEW)
Folders: 18 (7 NEW)
Dies: 57 (20 NEW)
For this month’s blog hop I’m focusing on the new Wood Words stamps (143925), Copper Trim (144179), and Wood Textures DSP (144177). These new items were some of the very first things I zeroed in on in the new catalog so when it was time for demonstrator pre-order I was thrilled they were on the list. There is also the Wood Crate die (143730) , which creates the cutest little 3-D crate and is perfect as a goodie basket to hold SU! embellies, candies, small cards, soaps, or even a gift card. These items will all be available on June 1st when the new catalog launches.
For my project today I’ve created a simple card and I’ve also cut out and built the crate. Interestingly enough, the wood crate is sized to fit perfectly in the 3″ x 6″ gusseted cellophane bags (141704).
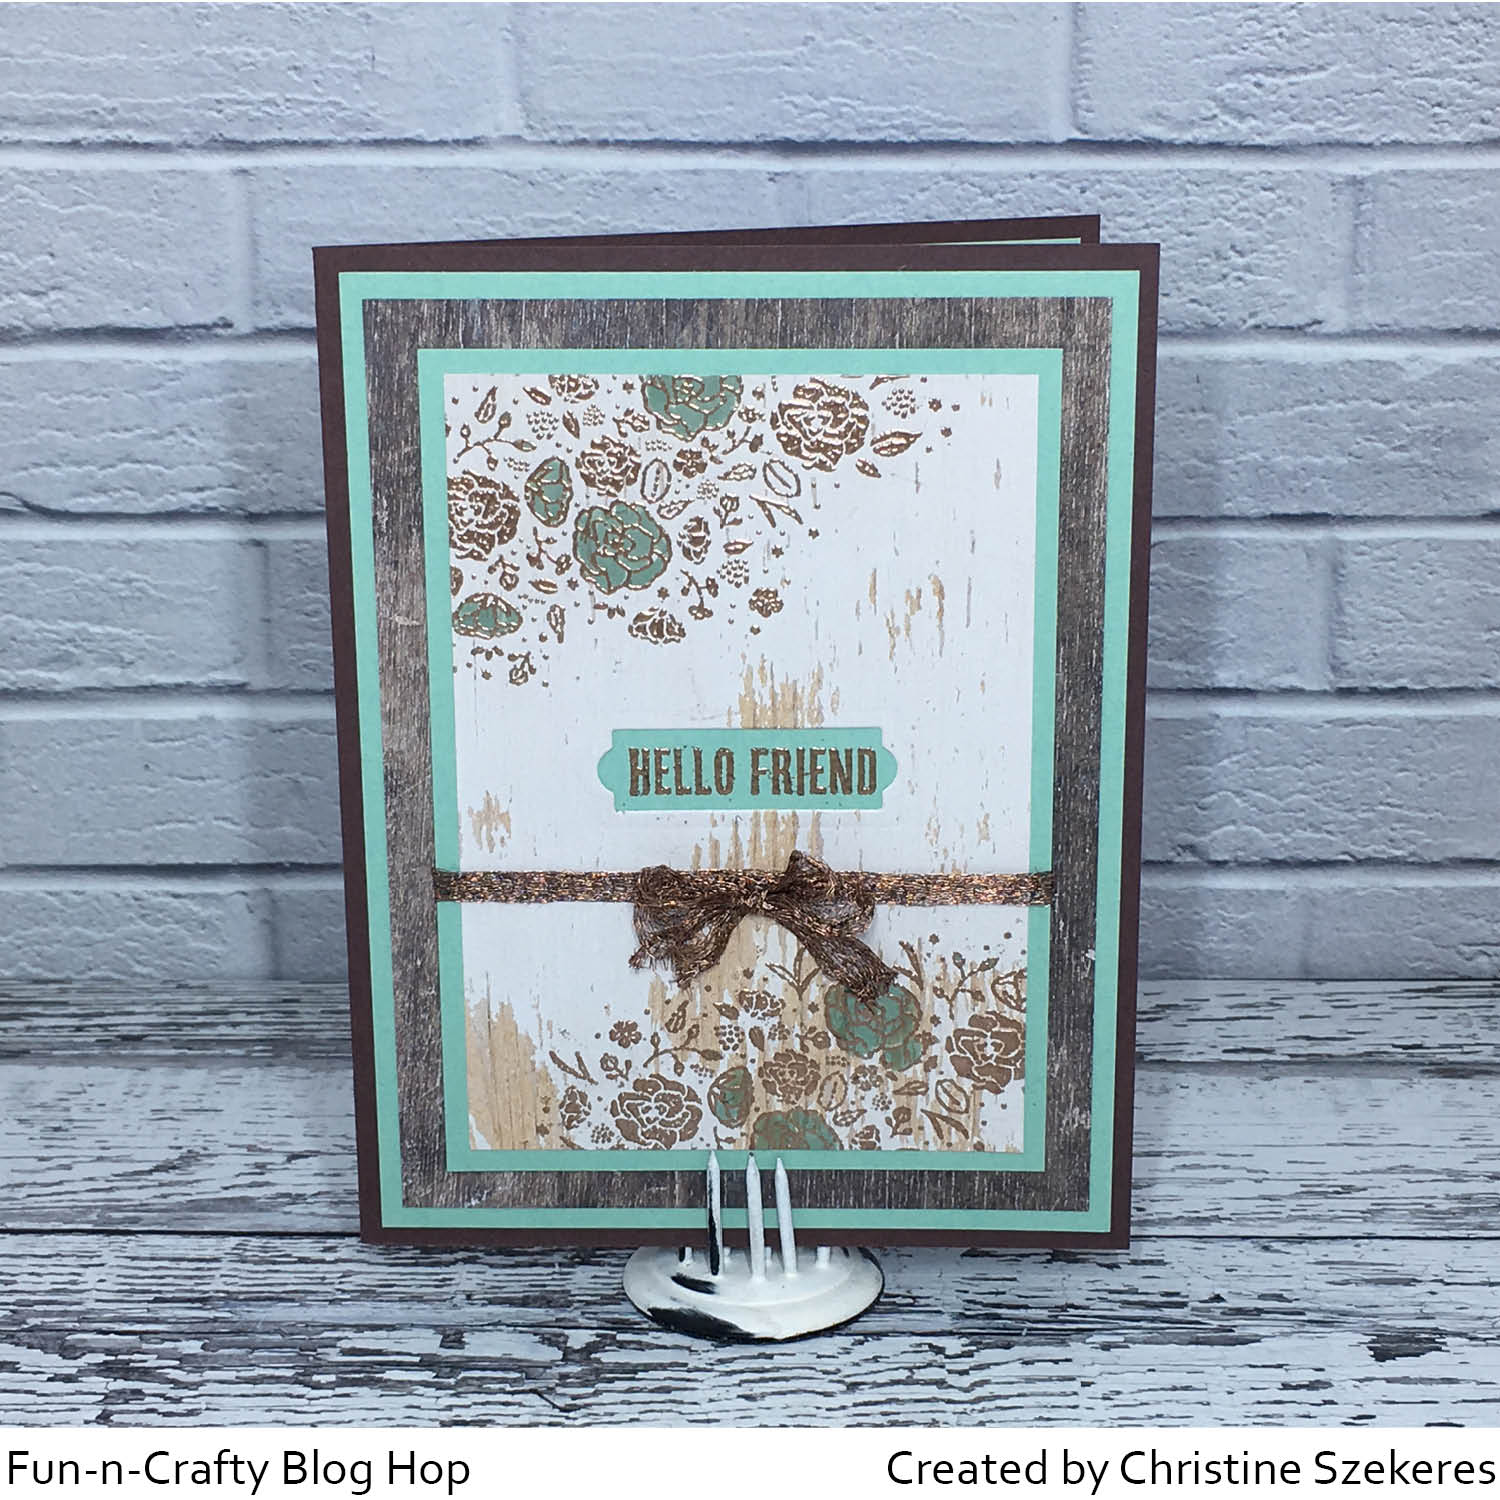
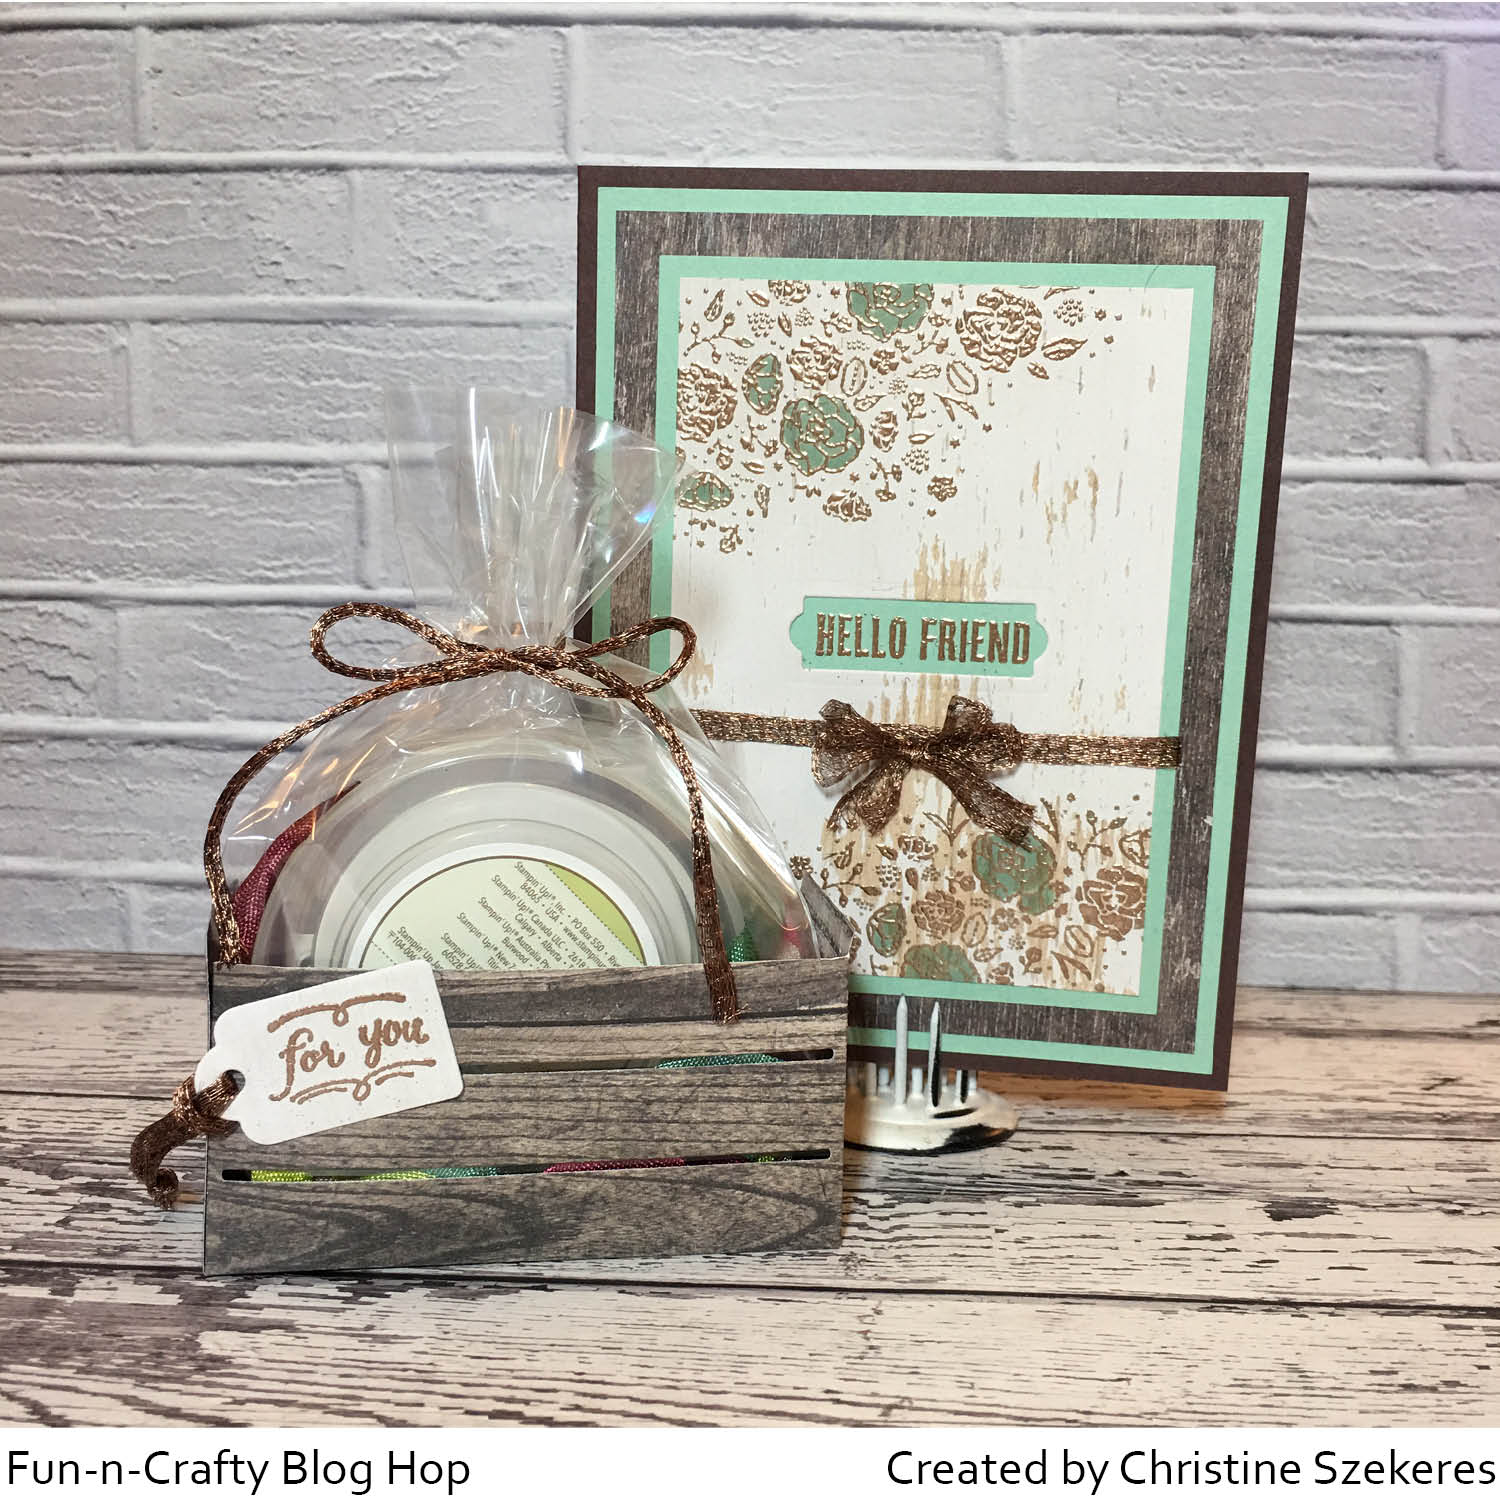
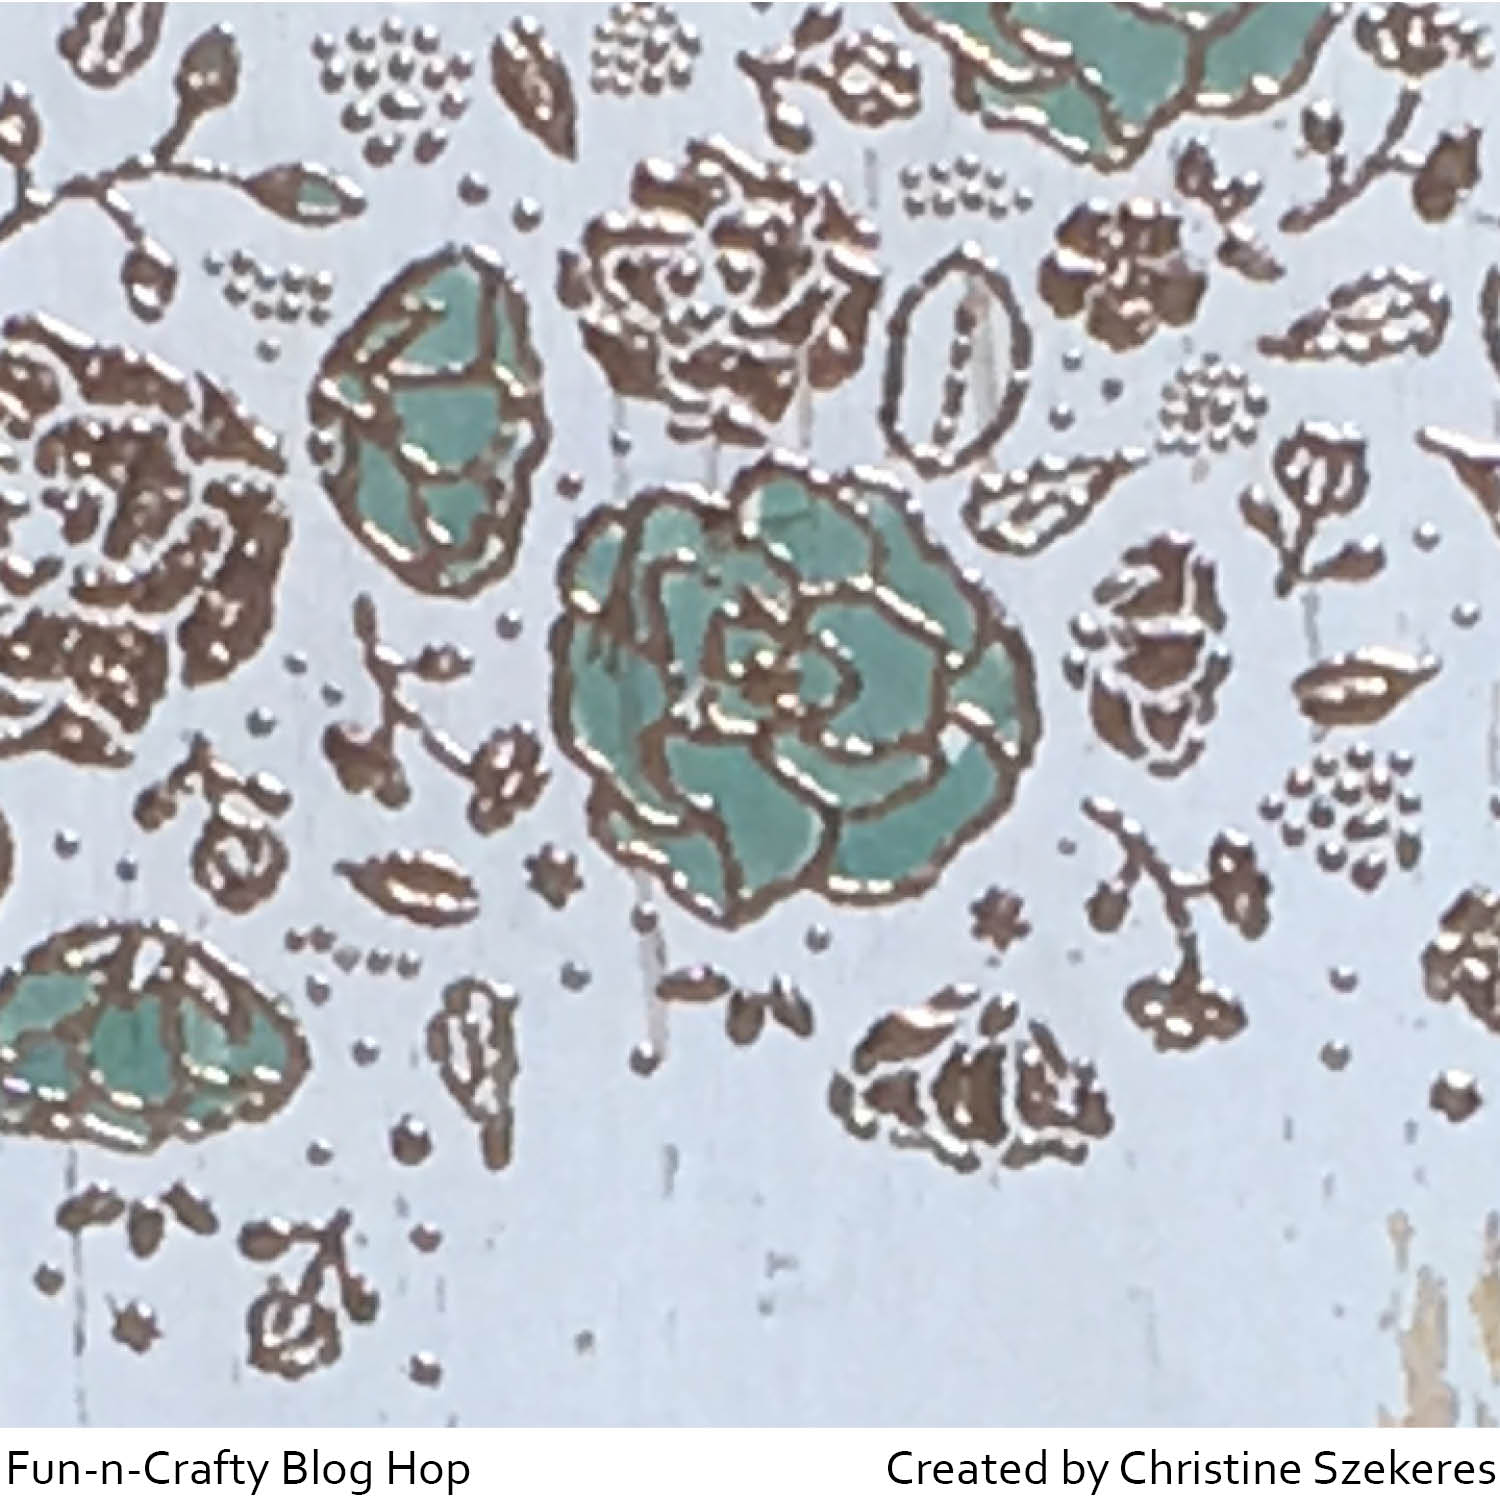
For my card I used Mint Macaron cardstock (retiring on May 31st) and two different sheets of the Wood Textures DSP (a light and dark). I began with an A2 (4.5″ x 5.5″) card base in Chocolate Chip. To this I mounted a 4″ x 5.25″ mat in Mint Macaron and on top of that a 3.75″ x 5″ piece from the DSP. The top layer consists of a 3.25″ x 4.5″ mat in Mint Macaron and the topmost piece (where I did most of the stamping and embossing) of light DSP (3″ x 4.25″). First, using my mini MISTI I stamped the large floral image from the Wood Words stamp set twice (on the top and bottom) using Versa Mark ink and sprinkled on Copper embossing powder (141636), which I then heat set. Once it was cool I used my Mint Macaron Stampin’ Write marker to color in the open flowers to match the card stock mats.

The last thing I decided on was the sentiment. I wanted to pull forward a bit more of the Mint Macaron so I die cut the smallest banner from the Bunch of Banners Framelits (141488) and then mounted the DSP panel to the Mint Macaron mat. Again, using my mini Misti, I stamped in Versa Mark and embossed in copper the sentiment “Hello Friend”, also from the Wood Words stamp set. For the final touch, I wrapped some of the new Copper Trim around this top panel sticking it to the back before I mounted the final panel to the card. HINT: To add a nice bow I usually tie it separately and then adhere it to the ribbon I laid down using a mini glue dot. This helps me have a pretty and even bow every time! Because this is a dark card base I also cut a Mint Macaron mat (4″ x 5.25″) for the inside so I could write a note!
I just love this stamp set with it’s farm fresh images and I can’t wait to play further with all the dies and stamps in this bundle. Remember, the new catalog launches on June 1st! There is much to enjoy throughout this hop, all of it from the new catalog that launches on June 2nd. Since you started here, I encourage you to grab a cup of coffee and visit the other talented team members listed below to leave them some blog love! Next up is the talented Merit at MB Squared Designs. Until next time, remember, creativity and imperfection live together in all we do. “Grace is the face love wears when it meets imperfection.”
~xoxo
Beanie


- Christine — Artful Musings (you are here)
- Merit — MB Squared Designs
- Pamela — Stinky Tofu
- Susan — Stampin’ By the SF Bay
- Stacey — A Work of Carte
- Jennifer — NW Stamper
Supplies Used:
Wood Words Stamps
Wooden Crate Framelits Dies
Wood Textures DSP
Card Stock: Chocolate Chip & Mint Macaron
Mint Macaron Stampin’ Write Marker
3″ x 6″ Gusseted Cellophane Bags
Copper Trim
Inks: Versa Mark
Copper Embossing Powder