Month: December 2015

Art-Venture Adventure (part 2)

It is embarrassing that I attended this event nearly 1 year ago and never got around to finishing up sharing about my experiences. It is truly an EPIC FAIL on my part and in no way should reflect on the quality of the event or the fun I had. Truly, it was wonderful.

Part of the reason I never ended up publishing the 2nd half is because some of the projects were never completed. If I were to register one complaint (and I did share this on my survey) it would be that some of the projects were very ambitious for the class time allotted.

It’s challenging … designing an event that appeals to a variety of styles and experience levels. I know Denny and the team at Prima did the very best they could to appeal to all of us.

Part of the problem lies with me as well. I’m not really someone who goes home and finishes that which is unfinished. No matter how good directions are, it’s not my brainchild and without the instructor sometimes it’s just not the same.

Of the 6 classes, I completed half. At the time I was bummed, but in retrospect I think it’s not too shabby, but not what I’d hoped for when I arrived and stepped into my first class.

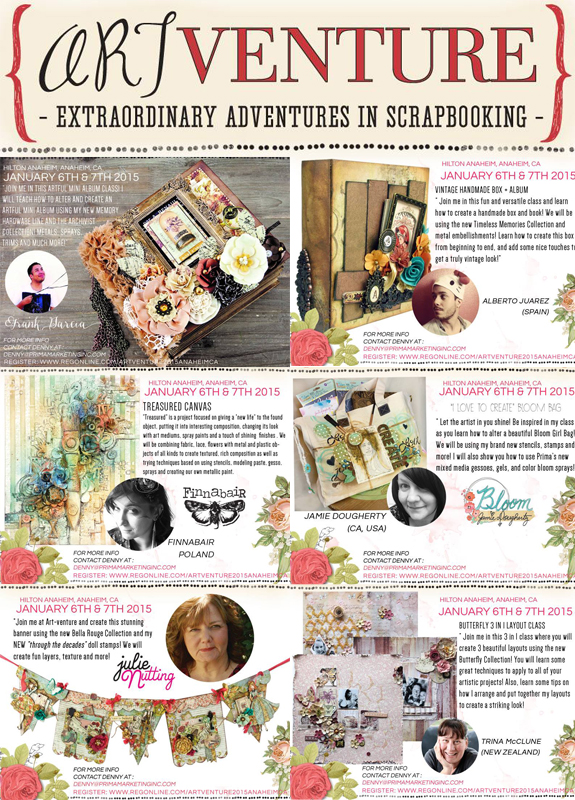
Let’s recap the six classes visually (Frank Garcia, Alberto Juarez, Anna Dąbrowska, Jamie Dougherty, Julie Nutting, and Trina McClune):

ArtVentureProjects

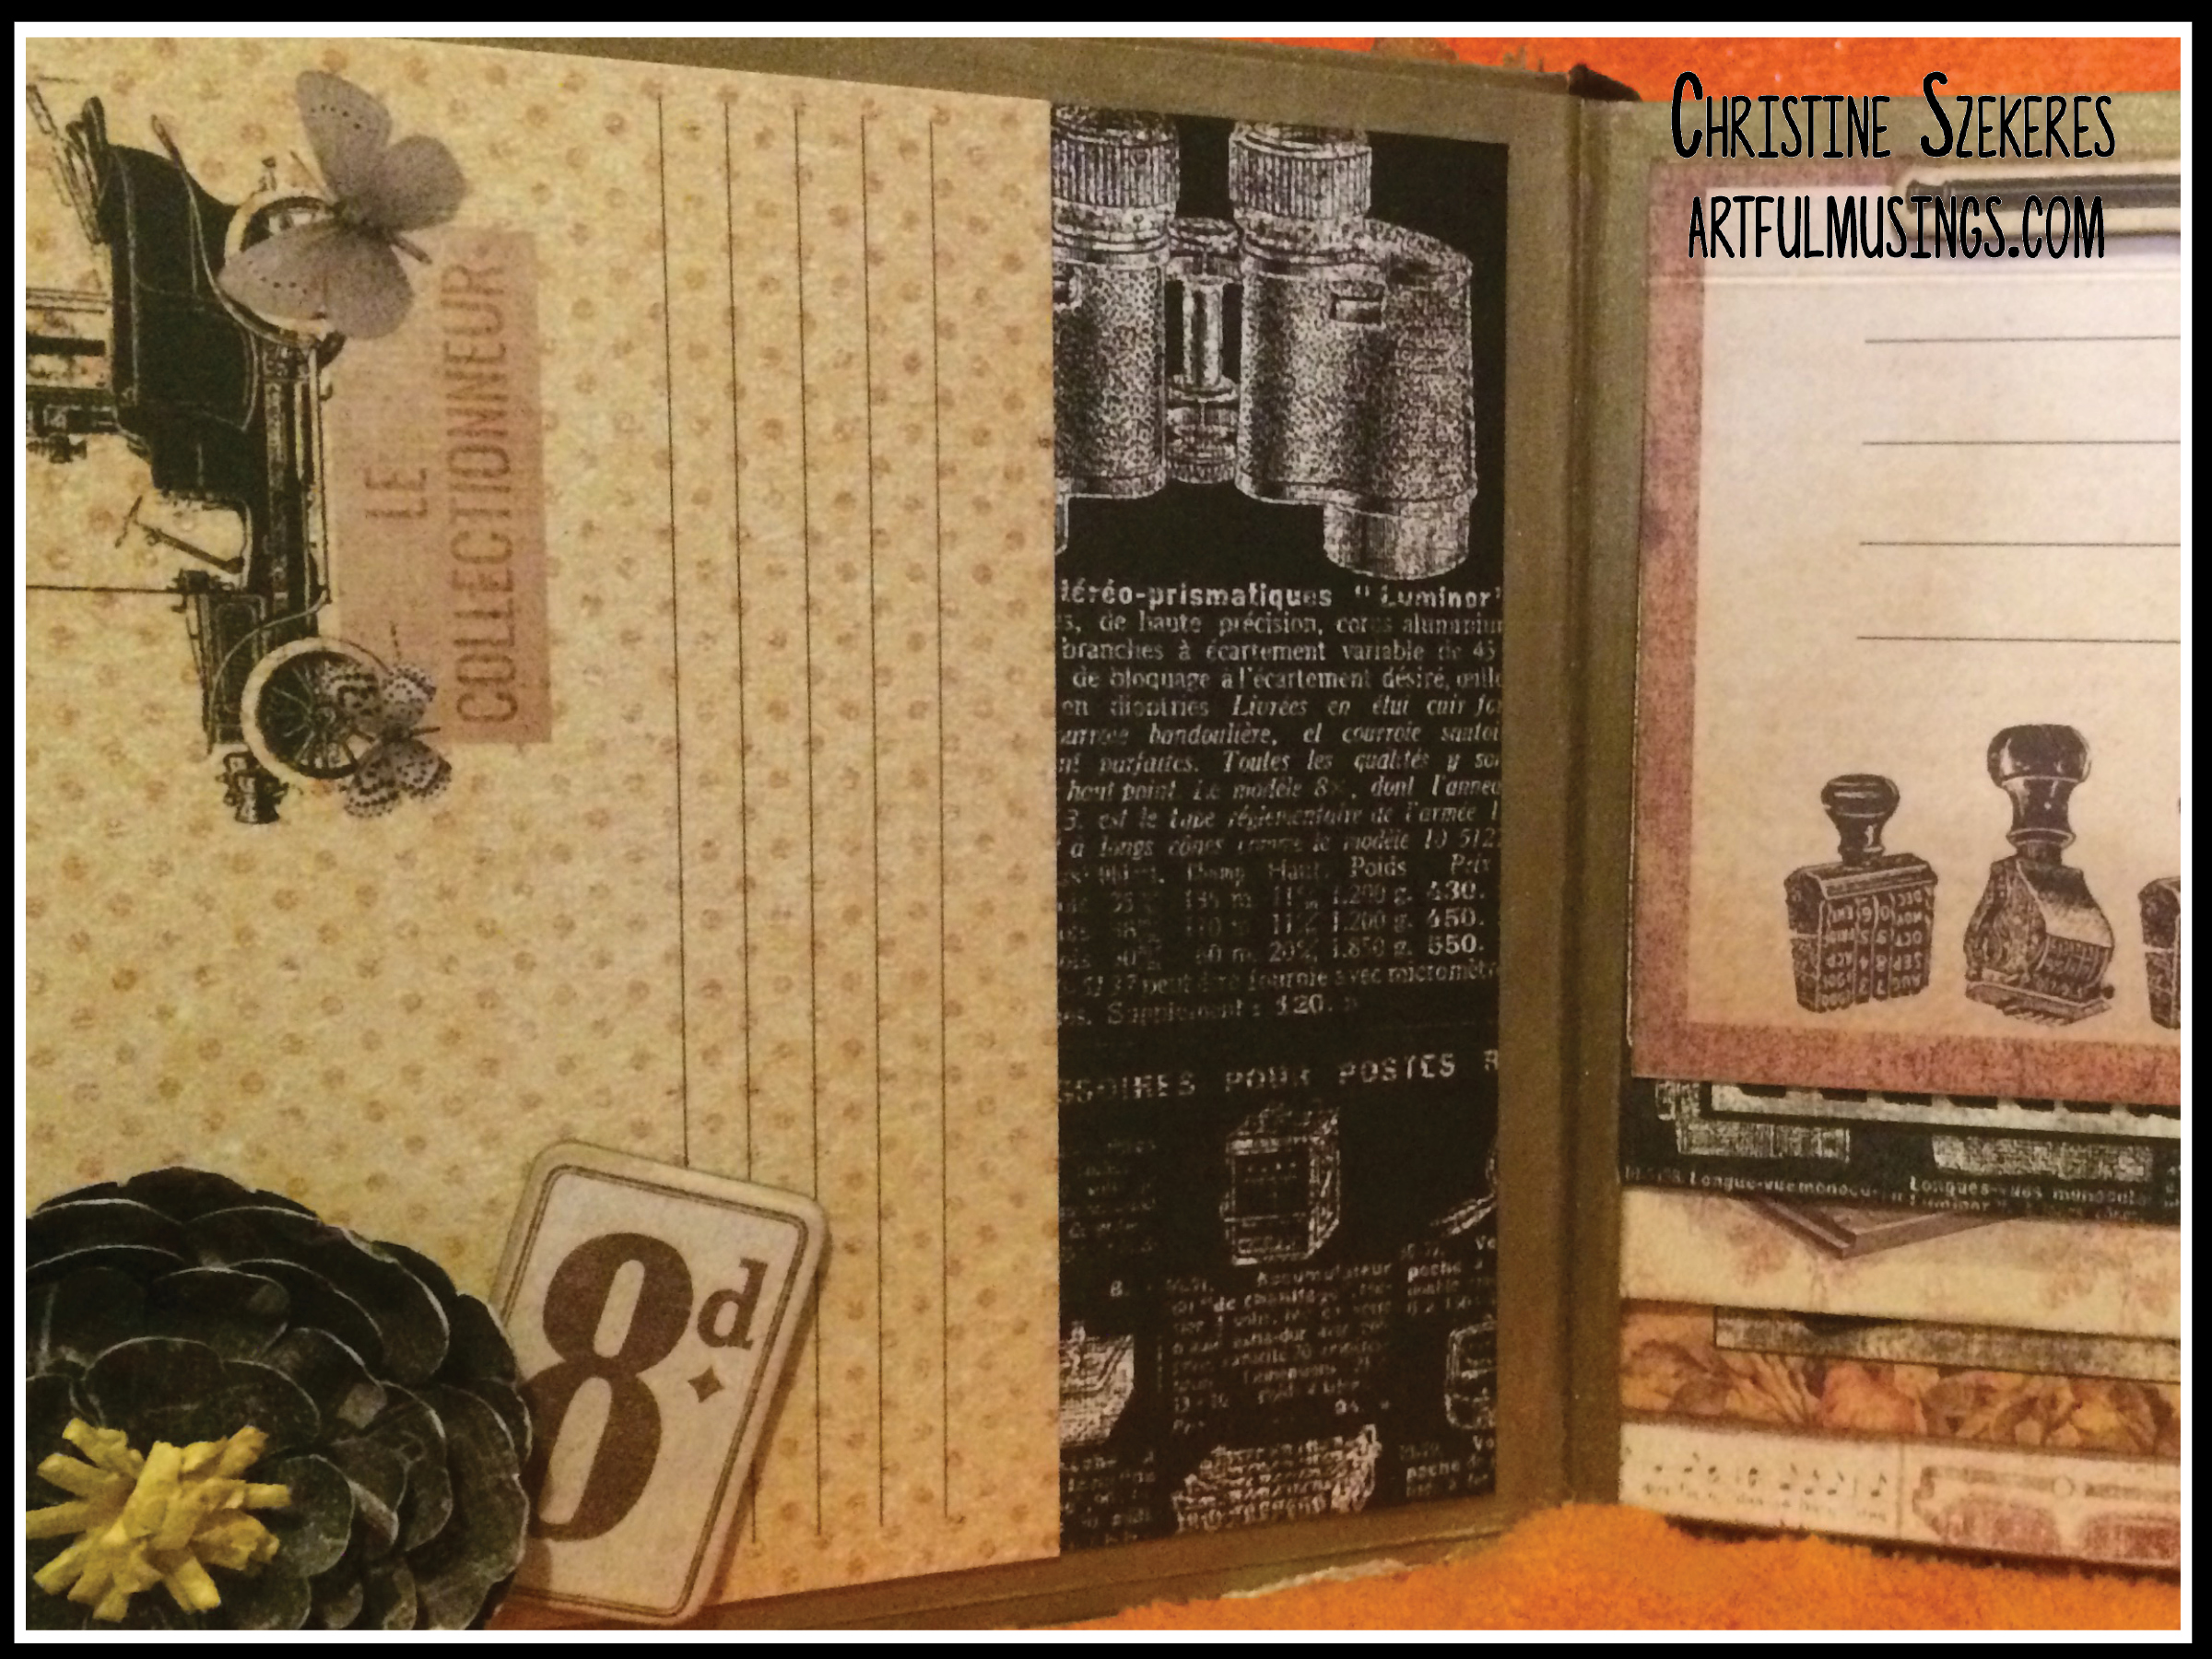
Frank Garcia’s, “Le Collectionnuer” mini album. Class was a very fast-paced, sprint-like experience:

LeCollectionnuer2 LeCollectionnuer1

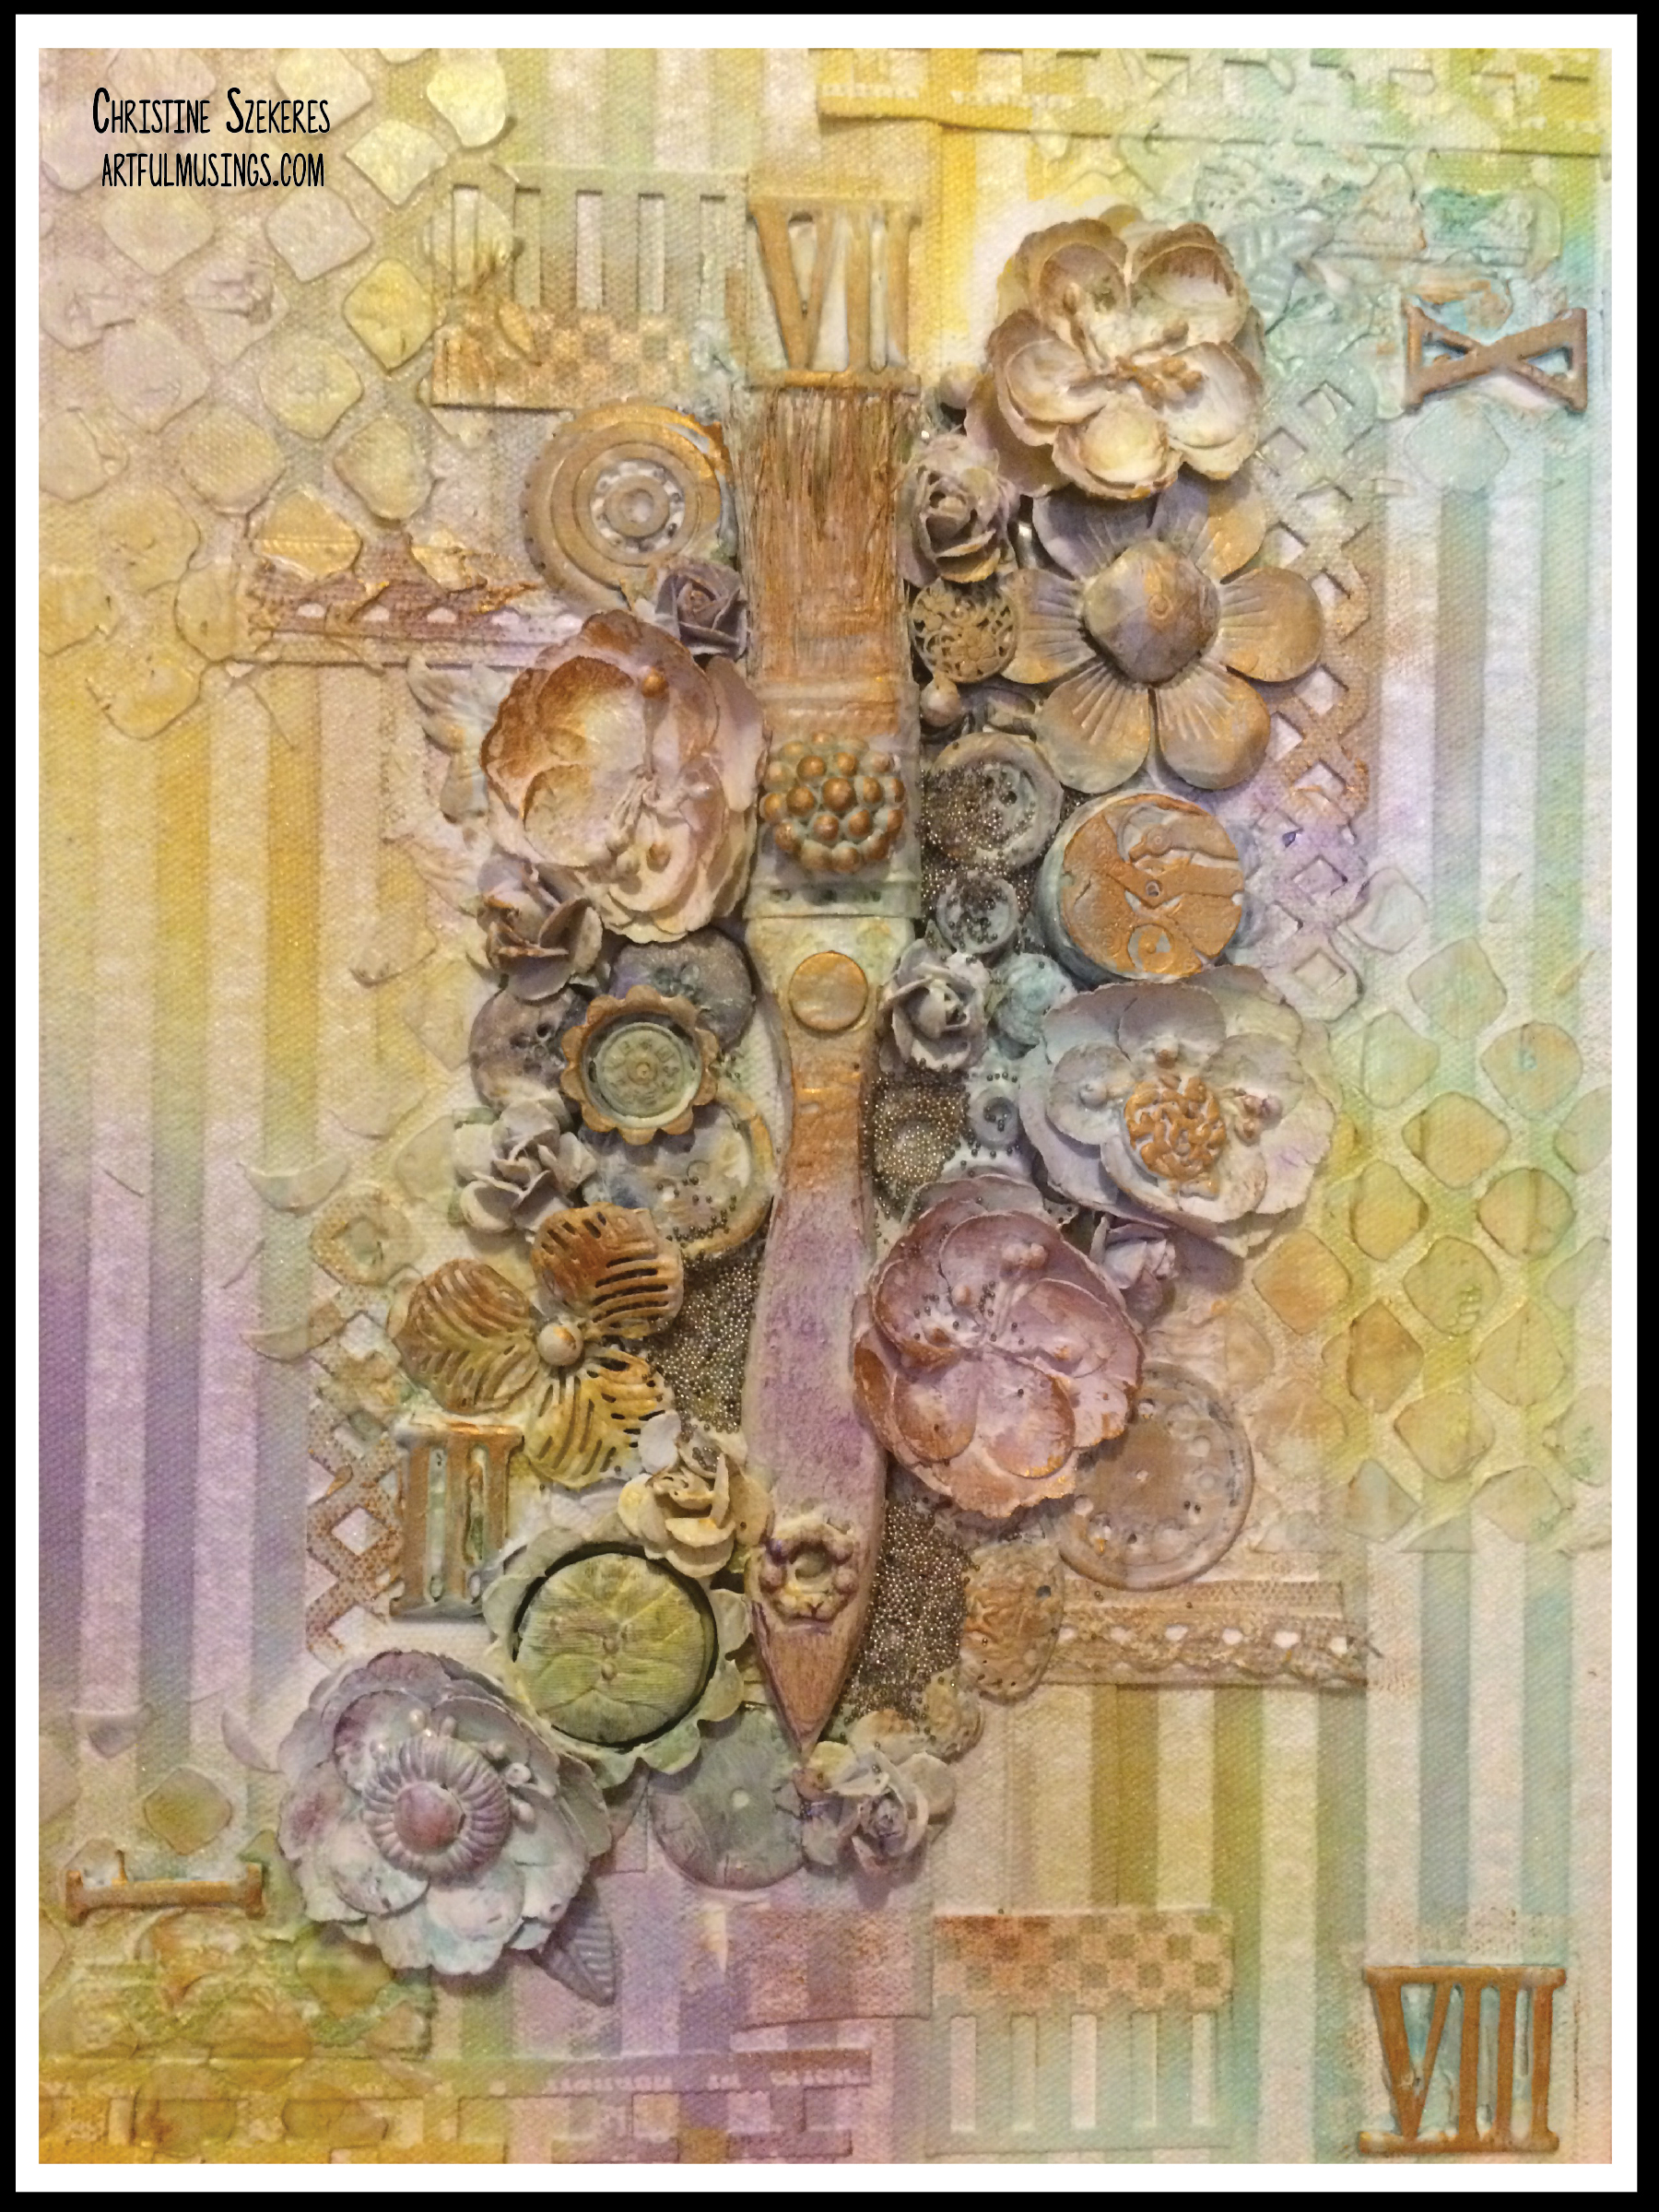
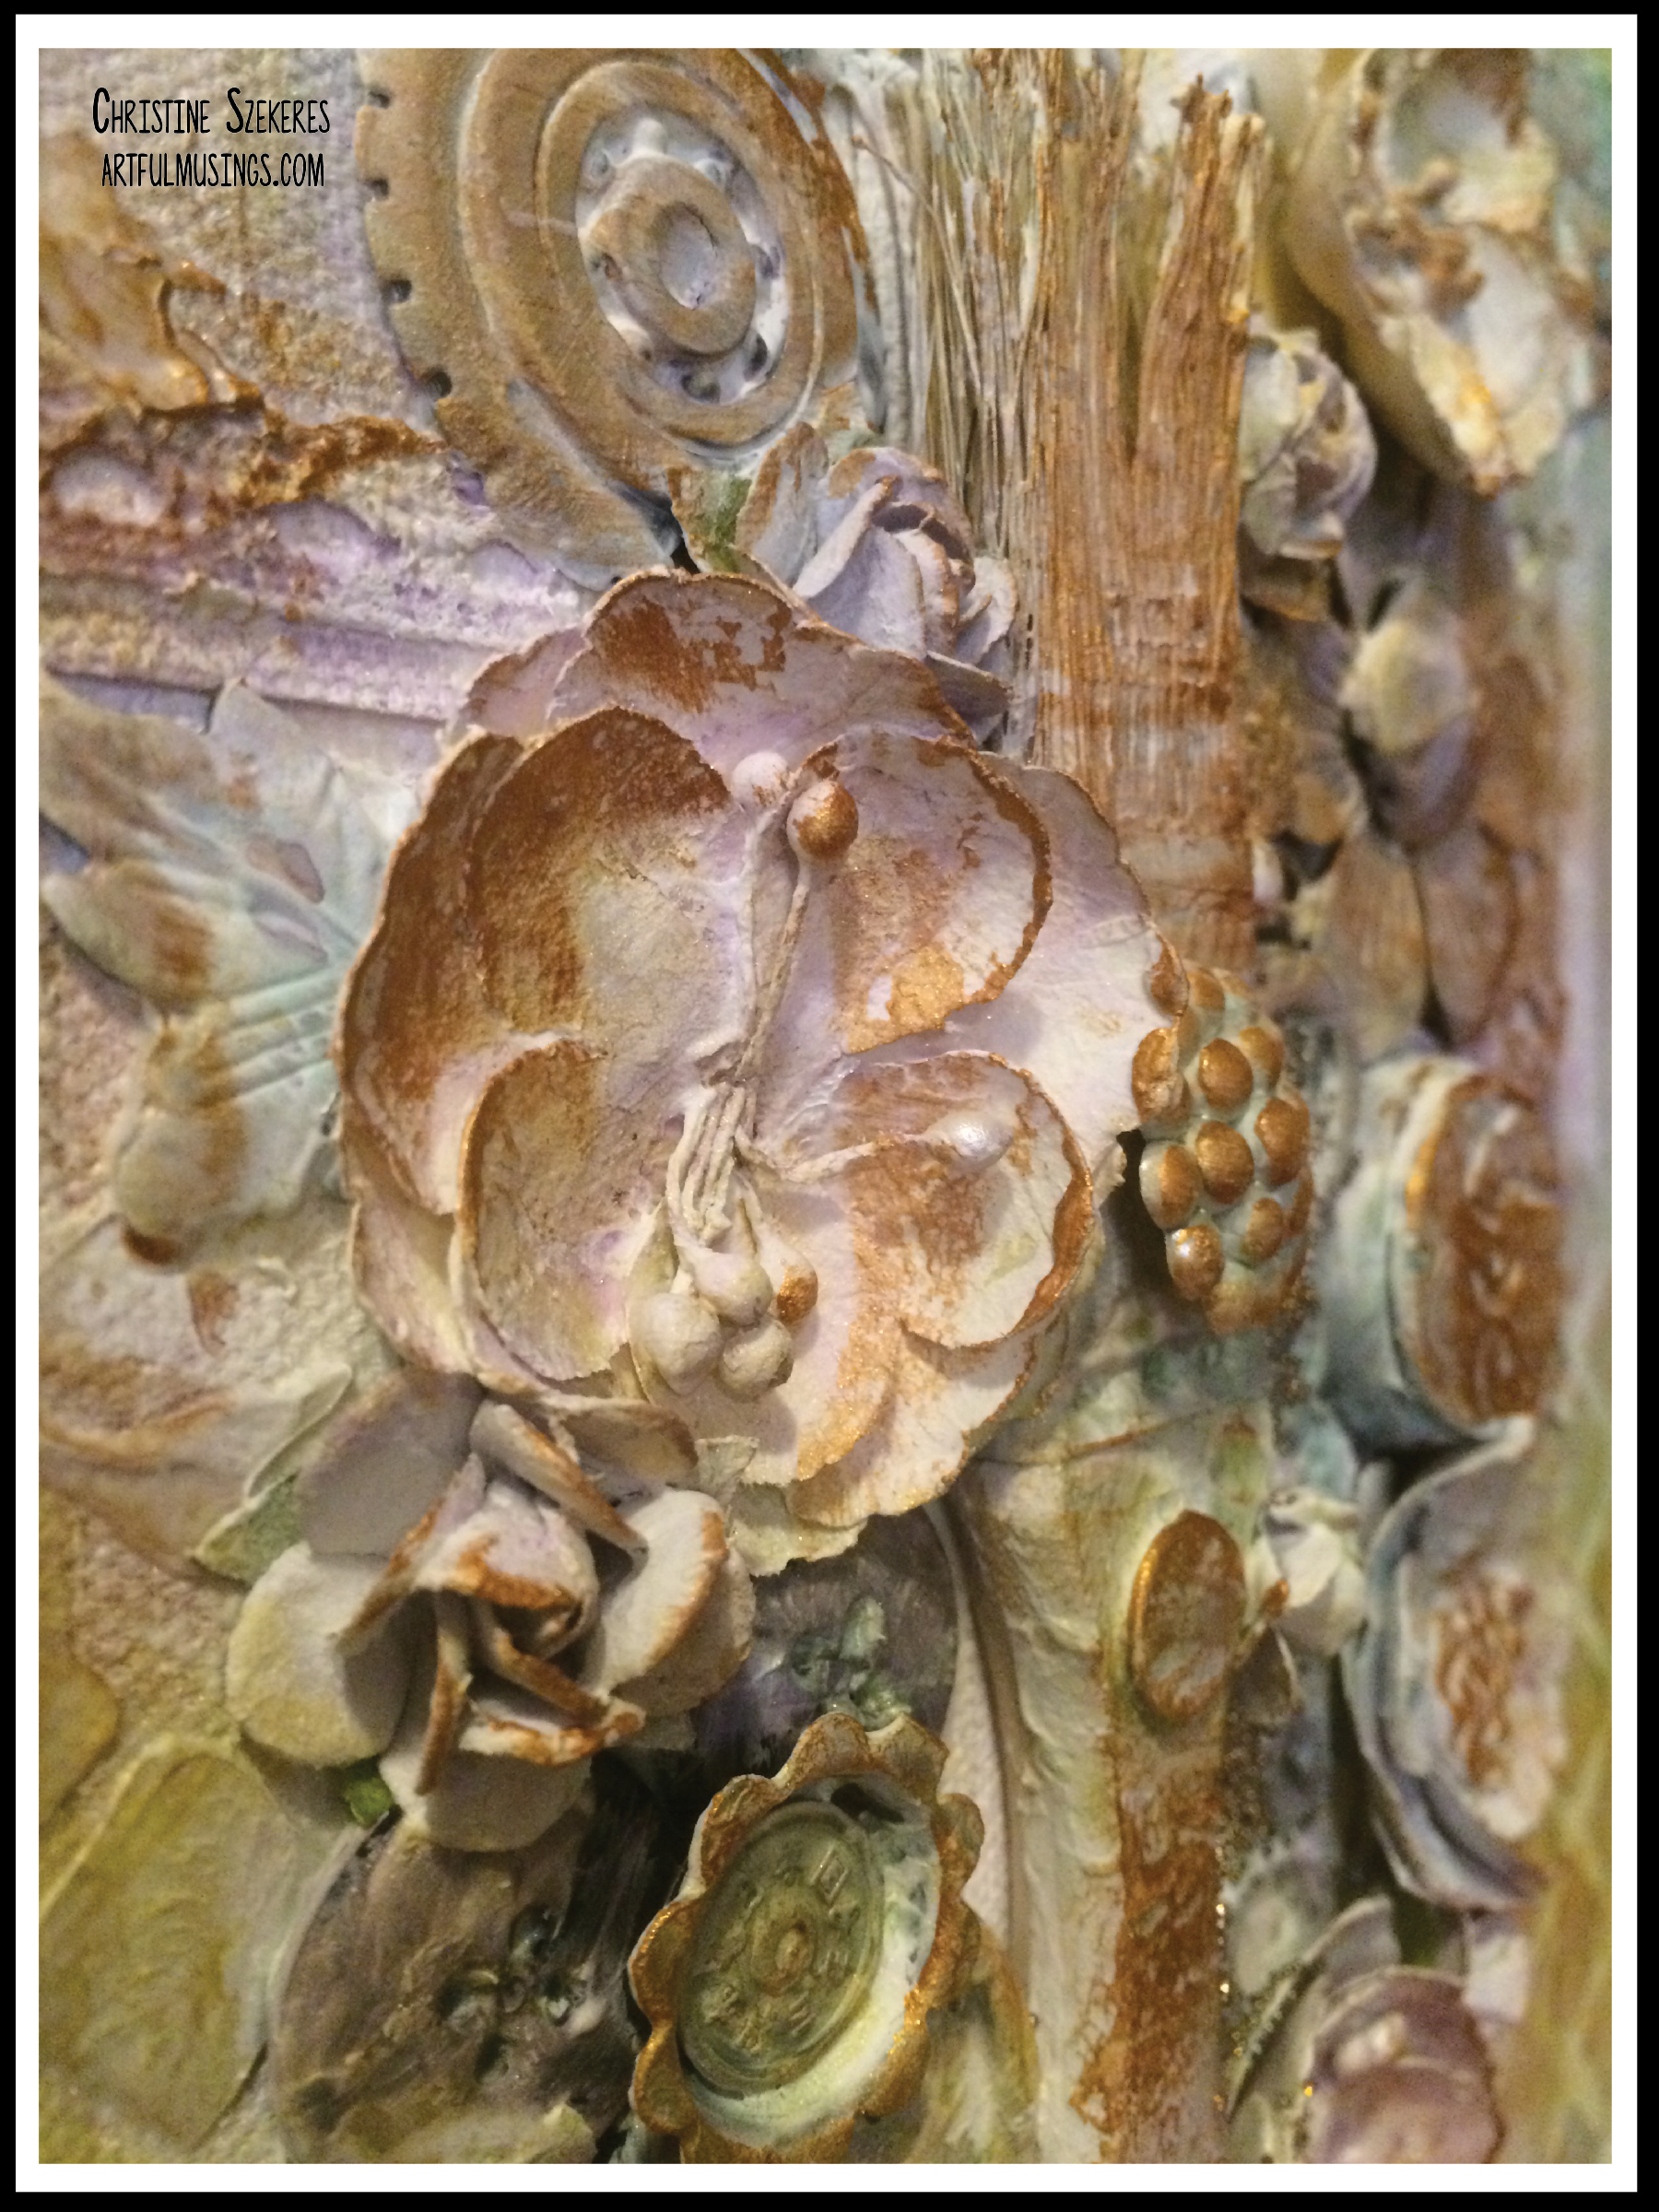
Anna Dąbrowska’s “Treasured Canvas” was fast-paced, but more organic “do what you feel vibe”:

Treasured Canvas1 Treasured Canvas2

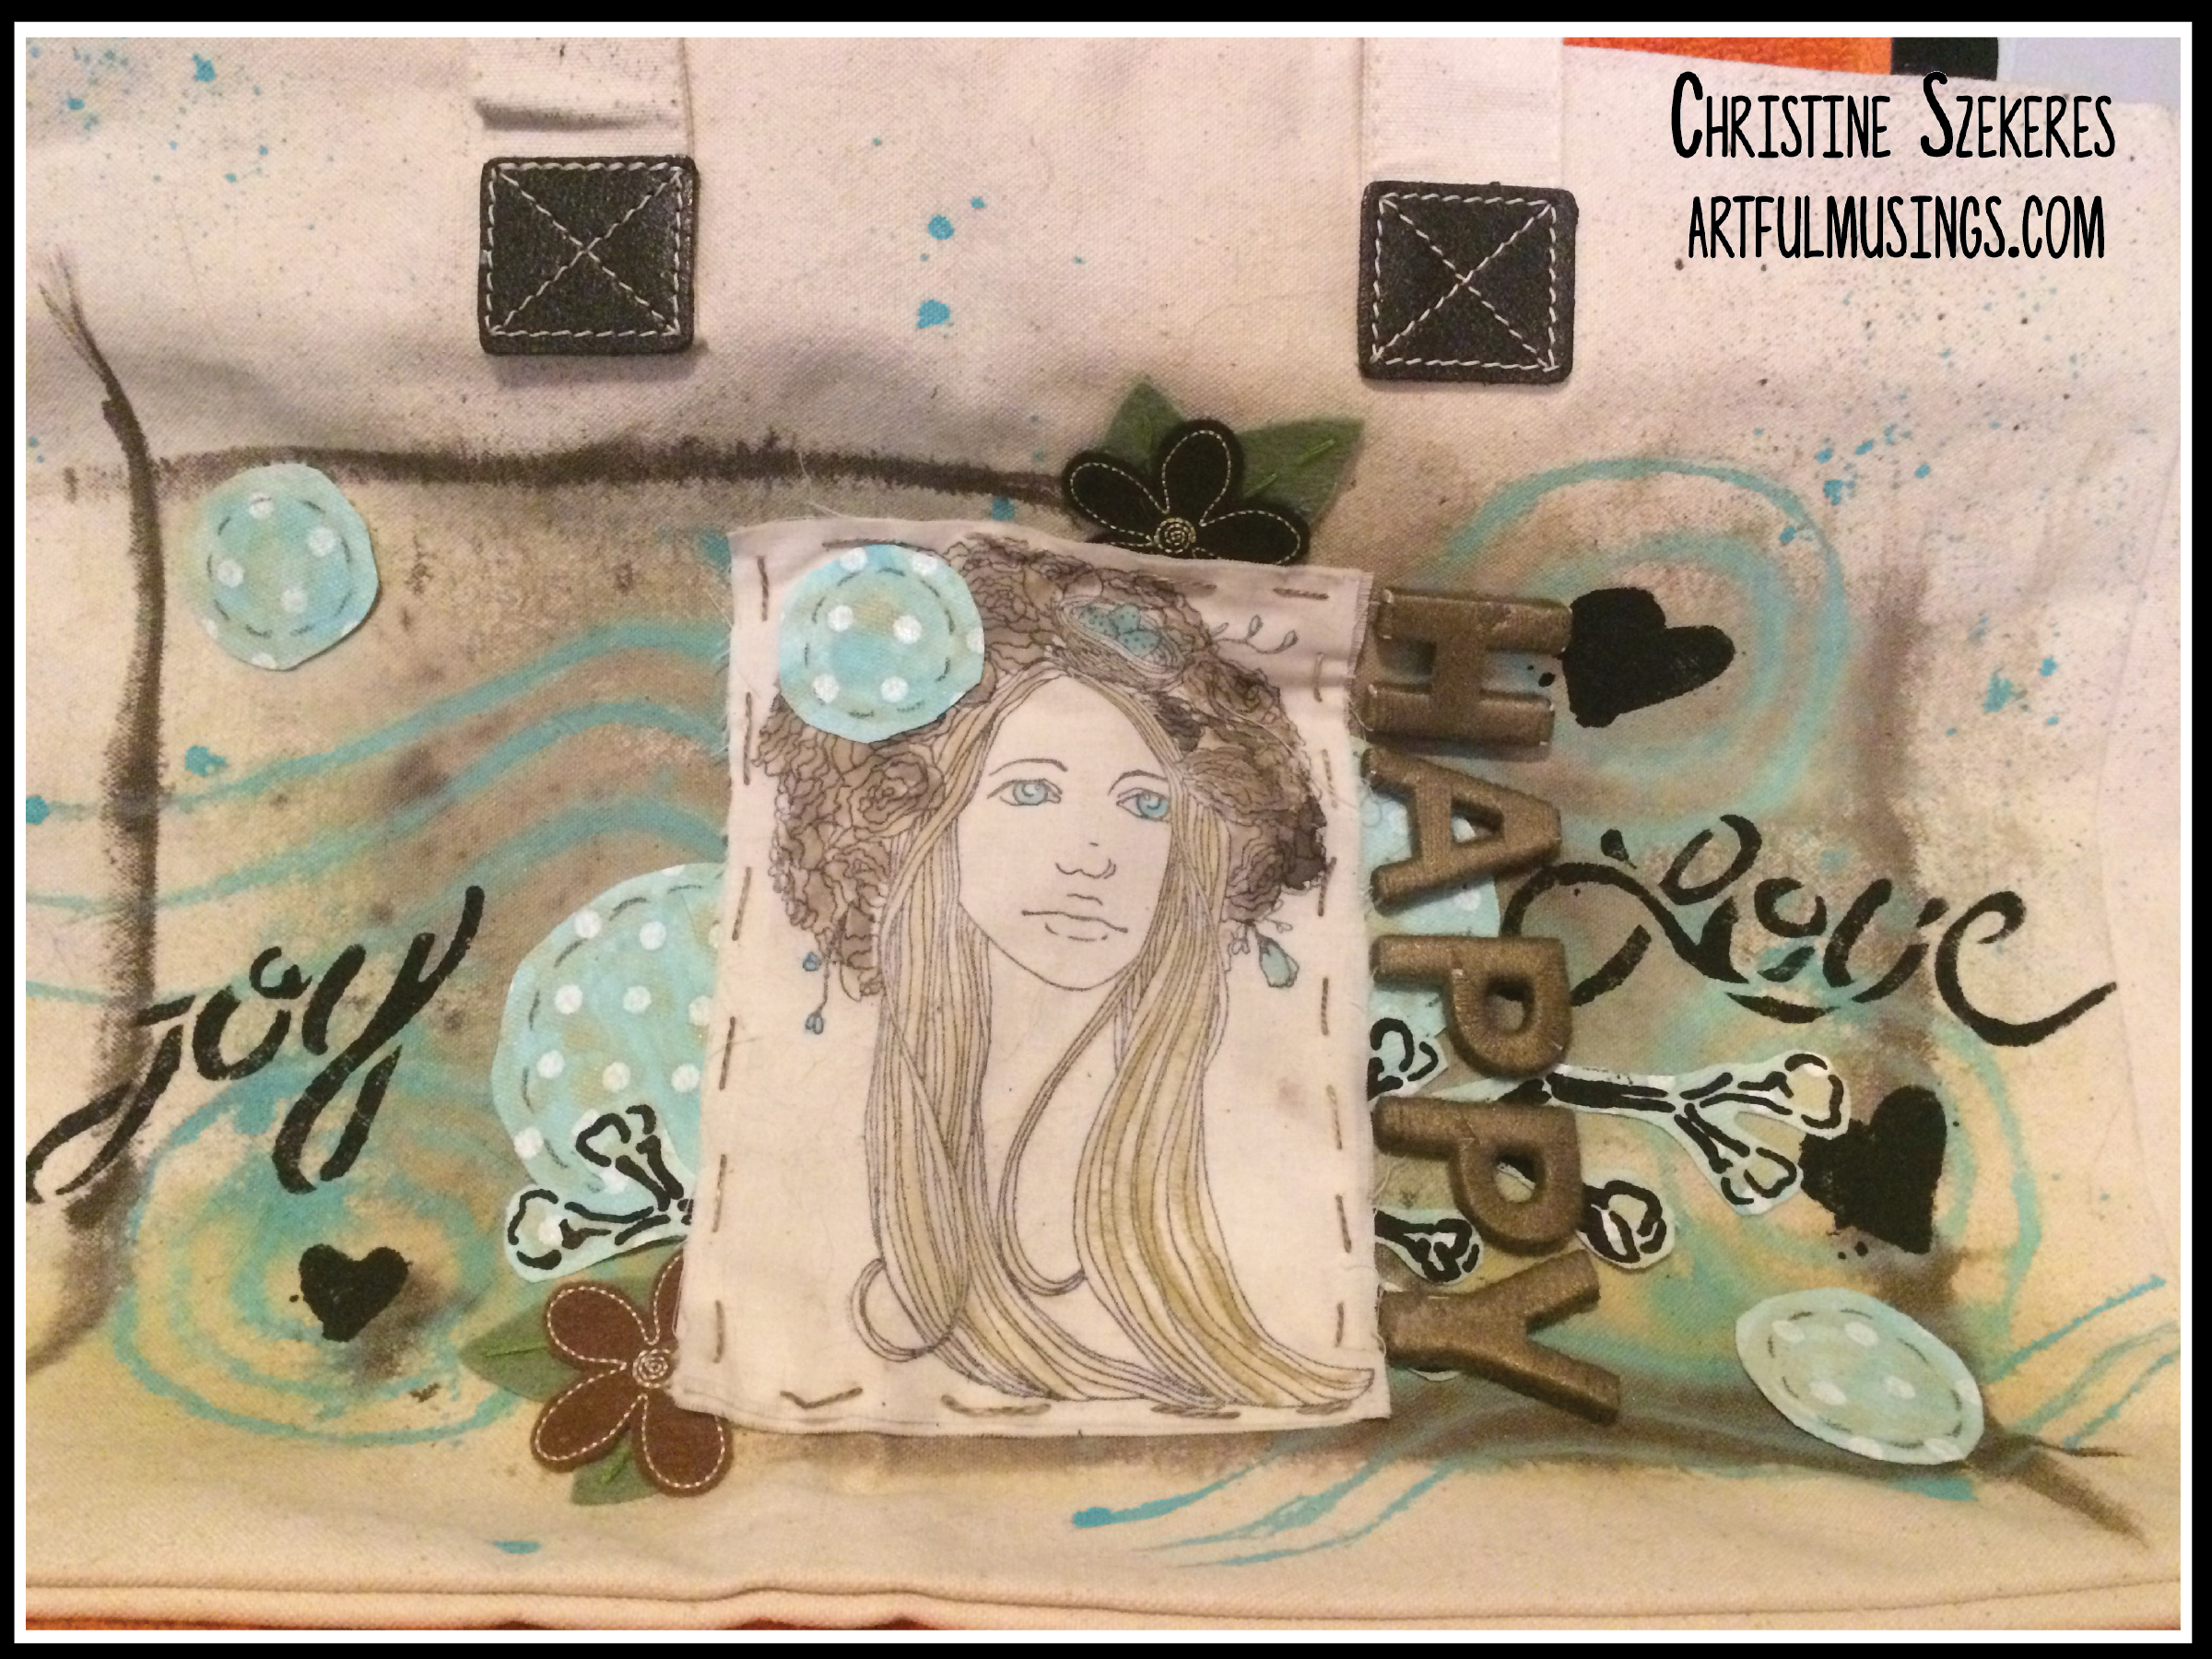
I think I had the most fun in Jamie Dougherty’s “I Love to Create” canvas bag, which shouldn’t surprise me since it was my final one. Jamie is a great teacher – very low-key – just what I needed after two intense and wonderful days. I liked making the bag so much that I’ve actually made 4 others for friends in 2015.

I Love to Create Tote

So what happened in the other three classes? It came down to several things, really.

Not being a scrapbooker, I decided to concentrate on techniques in Trina McClune’s class (she showed us some amazing things) so I never intended to “complete” the 12×12 layouts in her class, but I have sure used several of her techniques since ArtVenture. I walked away with a little technique book that I refer to often. I really consider this one finished as well.

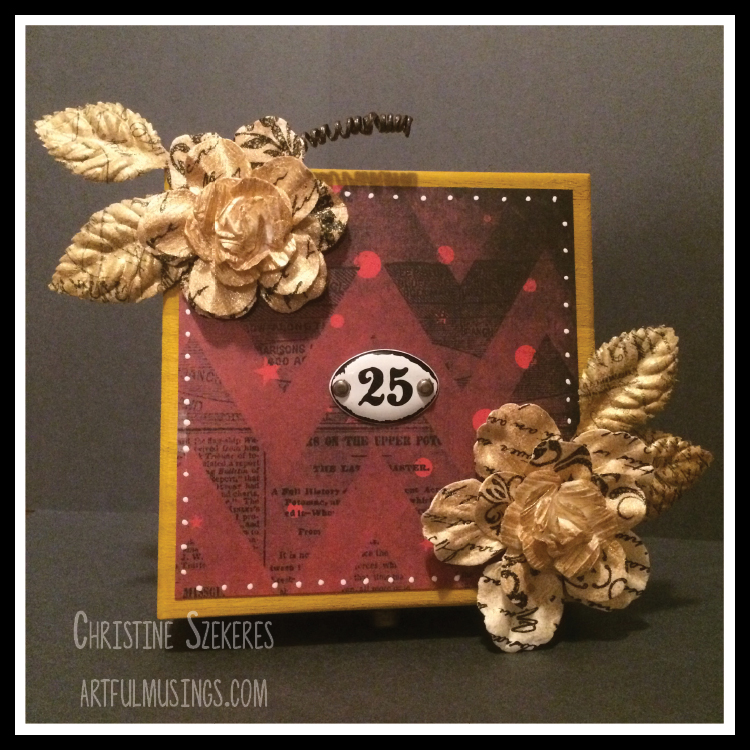
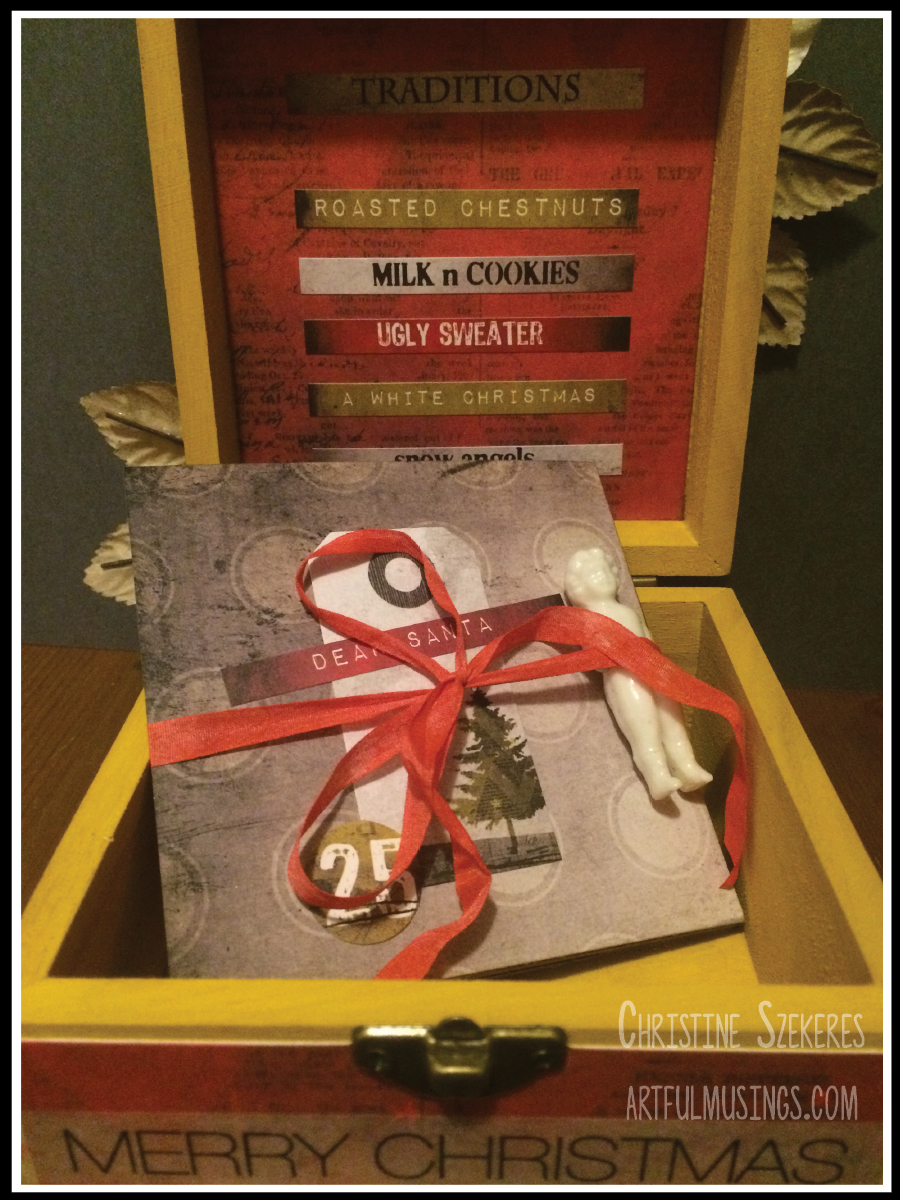
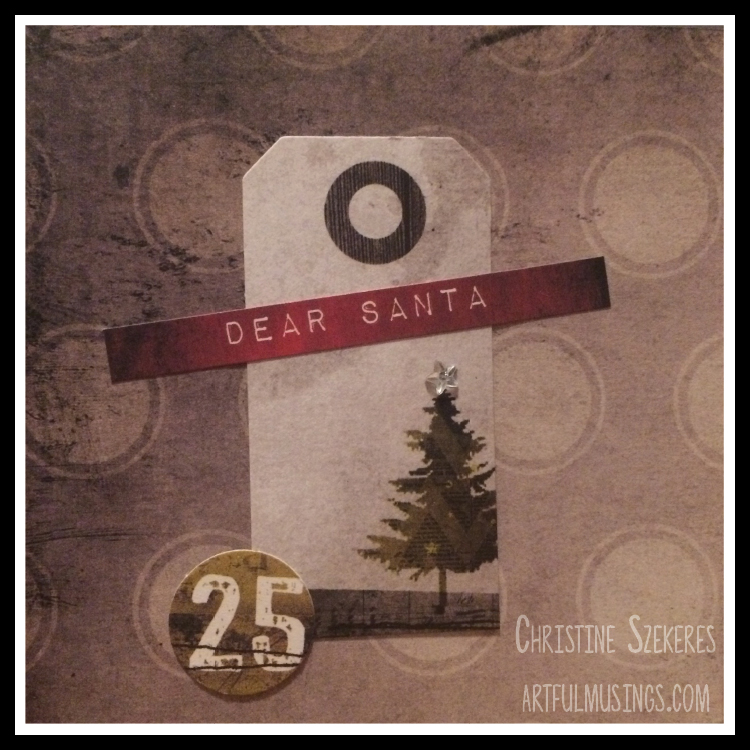
I came close to finishing Alberto Juarez’s “Vintage Handmade Box” in class so I’m going to try and finish it before December 31st.

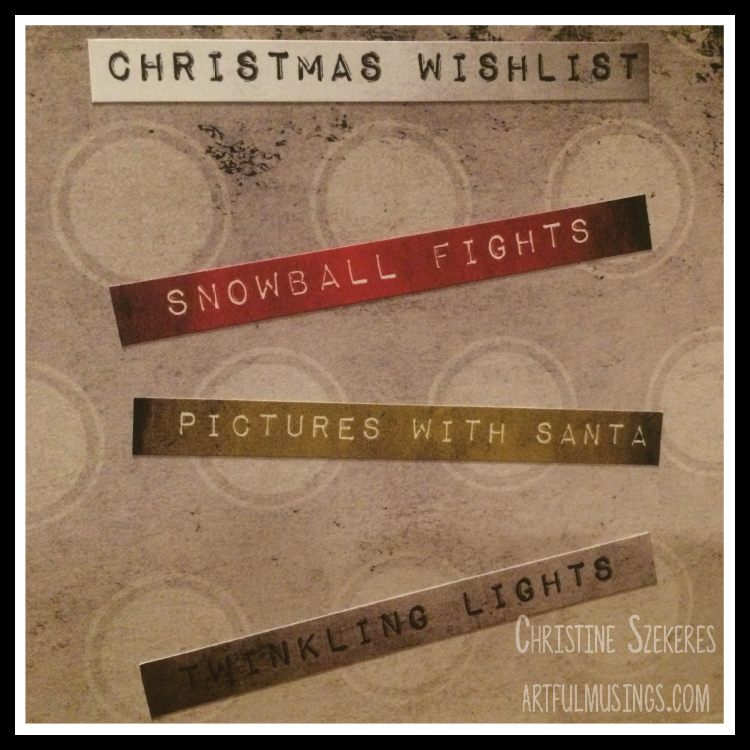
The final class, Julie Nutting’s “Bella Rouge Banner”, was the least like my style and is largely why I didn’t finish it. I did practice paper doll construction, fussy cutting and layering different papers on the dolls and their outfits so I guess you could say I got what I wanted out of it.

The event was well-run and the venue worked well. In a surprising twist I won one of the grand prizes, a piece created and signed by Anna Dąbrowska (aka Finnabair). That was pretty neat.

Prima was very generous, in addition to a giant tote full of Prima goodies each class came with nearly everything needed for the projects (plus loads of extras). Many of the items weren’t even available to the general public since they didn’t debut until CHA which started 2 days after ArtVenture.

All in all it was a wonderful experience. One I hope to enjoy again sometime. I opted not to go this year due to things going on at work, but I hope I’ll be able to go in 2017. I wholeheartedly recommend it to anyone looking for a creative retreat. Learn more or register here.


Merry & Bright Glass Block

A few years ago I got really into glass block art. I made several and ultimately gave them away to friends. I realized that I didn’t have one of my own. I decided to fix that so “Merry & Bright” was born.

MerryandBright4

Using supplies from my local craft supply (Ben Franklin in Redmond, WA) I was able to put together a wonderful Christmas display. Ben Franklin doesn’t have online ordering so I’ve looked around for all the items and the links are below. I love the Krylon stained glass paint (both translucent and sea glass which is semi-translucent). You should be able to get these locally at Home Depot, Lowes, Michaels, Hobby Lobby, and Joann.

MerryandBright2

It’s pretty simple really. First, spray paint the block and set aside. You might want more than one coat, depending on coverage and look you are trying to achieve. Once dry apply your vinyl image, following the directions on the package. Those with Cricut machines (or any die cutting system) can make their own vinyl decals so I’ve linked to both pre-cut as well as supplies to make your own. If you are cutting your own, I cannot stress enough the importance of transfer tape. Trust me, it will make your life so much easier. I prefer the Cricut brand vinyl, but any adhesive backed vinyl will work.

Vinyl is pretty easy to apply, especially to glass. TIP: When you are removing the top mask, (that transfer tape I mentioned earlier) pull slowly at a sharp 45 degree angle.

MerryandBright1

Once done, you can carefully insert your string of twinkle lights into the block. I just pushed them around until I liked the way they looked. The final step, for me often the most difficult, is the topper. Choosing flowers, ribbon, and ornaments to rest on the top of your block. I used wire-edged ribbon because the bow and tails hold their shapes (and go back into shape after storage) and give the block that finished look. A few green glitter sprigs of foliage and some small red Christmas ornaments complete the look. I wound the ribbon around, tied the bow and then attached the foliage and ornaments using their ends and a bit of thin wire.

MerryandBright3

Insert the block into the metal stand, choose a window, plug in the twinkle lights and sit back to enjoy your festive display. Wishing you and yours Happy Holidays!

Until next time, remember, creativity and imperfection live together in all we do. “Grace is the face love wears when it meets imperfection.”

~xoxo
Beanie

Supplies Used
Krylon Stained Glass Spray Paint
Krafty Blok Glass Block & Stand
Vinyl Sentiment or Image
Vinyl Supplies
Cricut Transfer Tape (this is a must)
Darice White Twinkle Lights
Wire Edge Ribbon
Small Ornamants

Tag … You’re It!

Hello friends! I can hardly believe that we are T-minus seven days from Christmas Eve. 2015 has truly flown by at warp speed. As I prepare for Christmas: baking cookies, buying that perfect little something for a friend or coworker, I am always thinking of presentation as well. The wrapping of Christmas presents … or any present for that matter is almost as important as what is inside. The right packaging can pull a gift together and let the recipient know how much you care and really reflects the work put into handmade gifts in particular.

TagYouRIt1

What I especially like is the size of this project, I can pre-cut tags and other elements and then sit in front of the TV watching a Christmas movie (Scrooged, White Christmas, Holiday Inn, or Elf). They go together quickly and I make more than I need for those gifts that seem to pop up at the last minute.

With this in mind, I decided to pull out my Christmas papers, Yuletide by 7 Dots Studio and Vintage Christmas by Blue Fern Studios and make some gift tags for the handmade goodies I’m giving friends this year. Any die set will work to make your tags, you can even purchase pre-formed tags in white, kraft, black, and other colors. For these tags I used the Holiday Tags Stamps & Die Set from My Creative Time it is my favorite at the moment. I think they are so festive. I also added sequins, pearls, trees and holly cut from glitter paper, and a bit of festive washi tape. Here are a few pictures to get your creative ideas flowing.

TagYouRIt2  TagYouRIt4  TagYouRIt6  TagYouRIt5

I hope this has inspired you to take a look at your gift wrapping and make some festive gift tags. Until then, remember, creativity and imperfection live together in all we do. “Grace is the face love wears when it meets imperfection.”

~xoxo
Beanie

Supplies Used
YuletideVintage Christmas
Holiday Tags Stamps & Die Set
Pretty Pink Posh sequins
Red Pearls
Heidi Swapp Glitter Paper
Fresh Ink: Currant & Mojito
Christmas Cross Stitch Washi
Christmas Tree Winter Washi

Twenty-Fifth Treasure Chest

Hello and welcome to another day of Christmas inspiration. Today’s project is a simple balsa wood box, perfect for holding onto those little Christmas treasures. I created an accordion booklet but this box could easily hold gift tags or any other Christmas treasures you might have.

December25Box0

First, I removed all the hardware, painted, and set the box aside to dry. I knew I wanted to use the Yuletide collection from Seven Dots Studio, which focuses on rich gold/yellows, reds, and grays so I chose a complimentary paint. This collection is so versatile and I’ve gotten so much use out of the items in the collection kit – truly a little goes a long way.

December25Box1

I began by cutting the paper pieces for the lid, outsides, and inner lid out of Gingerbread. I also chose some flowers and leaves. Using LSG Industrial Chic: Golden Doubloons, I sprayed all the flowers and leaves. I glued the Gingerbread pieces to the lid and all four sides of the box. Using my piercing tool, I punched holes in the center of the lid and attached the porcelain “25” to the lid using brads. I stuck various stickers from the word stickers sheet to the red piece and then glued the piece inside the lid.

December25Box3

For the “Dear Santa” accordion booklet I cut two pieces of Figgy Pudding (the gray side) 4″ x 12″. I scored the first piece into three 4″ panels. The second piece I scored at 1/2″ and then created two additional 4″ panels, finally trimming off the excess 3.5″. This resulted in five, 4″ panels. Using tape runner I attached the two pieces together using the 1/2″ tab. Next, using element stickers and element cutouts from the Yuletide collection, I filled in the panels of my “Dear Santa” booklet.

December25Box5December25Box6December25Box7December25Box9

Finally, I replaced the hardware, added some Merry Christmas washi tape to the sides of the box, and attached the flowers and leaves to the lid. As the final touch, I drew a white dot border using my favorite white pen from Signo. TIP: White pen can be used to create all sorts of borders or accents.

I hope you enjoyed this little sojourn and that it helped boost your Christmas spirits!

Until then, remember, creativity and imperfection live together in all we do. “Grace is the face love wears when it meets imperfection.”

~xoxo
Beanie

Supplies Used
Yuletide collection
LSG: Golden Doubloons
Merry Christmas washi tape
Savvy Cityscape Die
Signo White Pen
Distress Paint: Fossilized Amber