Month: November 2015

Yuletide Greetings

Happy Monday before Thanksgiving friends! If you find yourself here, welcome! Grab a cup of tea (or coffee) and enjoy a few minutes with me while you take a break from your Thanksgiving preparations.

Today I have a group of Christmas cards made using the Yuletide collection from 7 Dots Studio. I love these papers and have enjoyed playing with all the bits that came in the collection. In addition to the 12 x 12 papers there are tags, word stickers, element stickers, and a second sheet of element goodies. More than enough to spark your creativity!

YuletideGreetings5

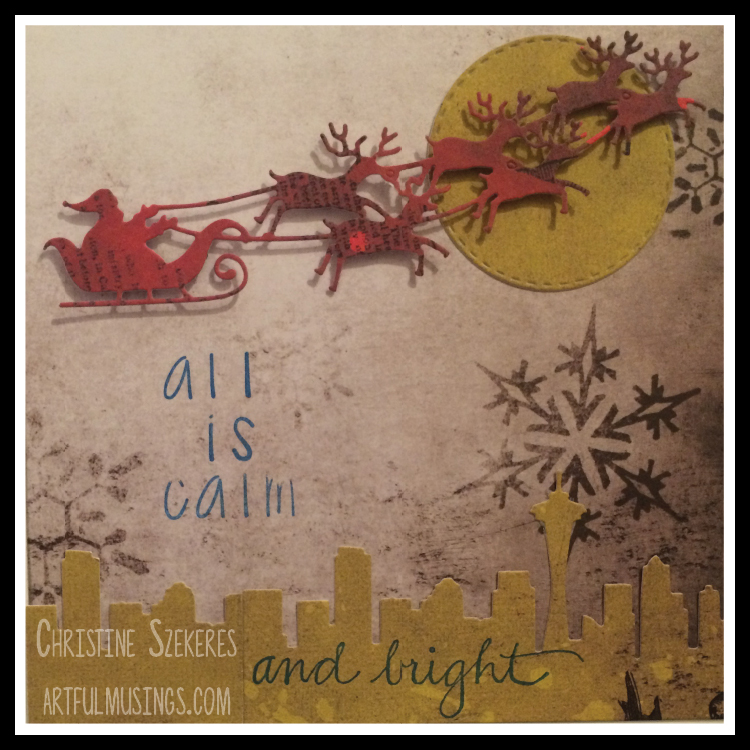
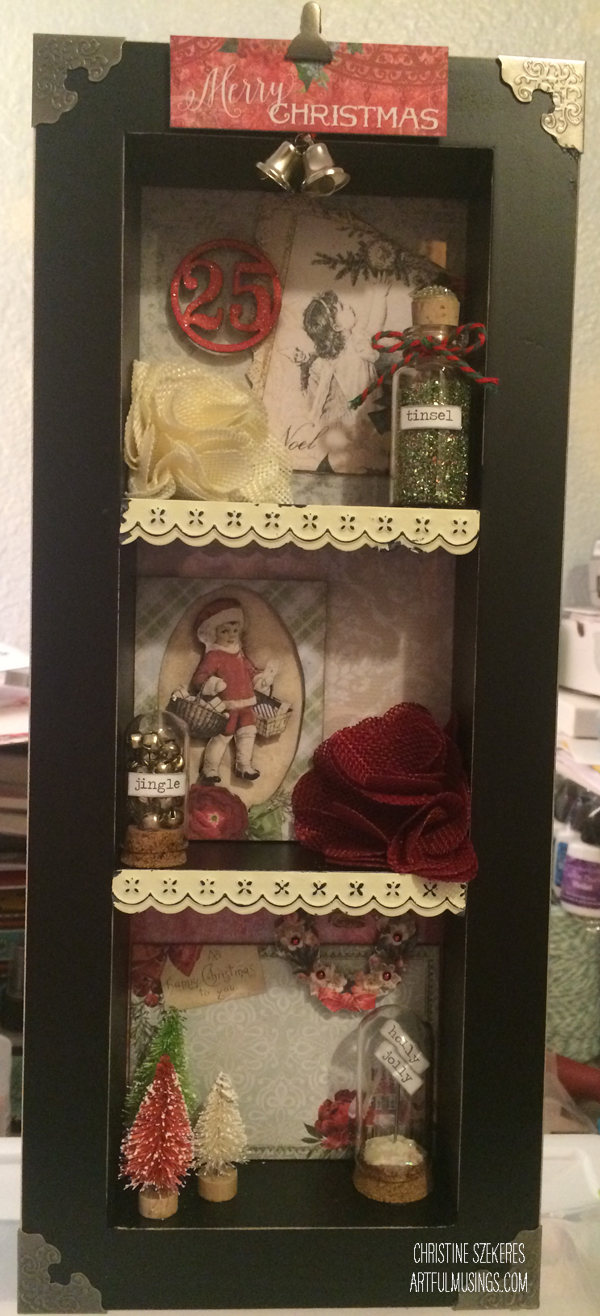
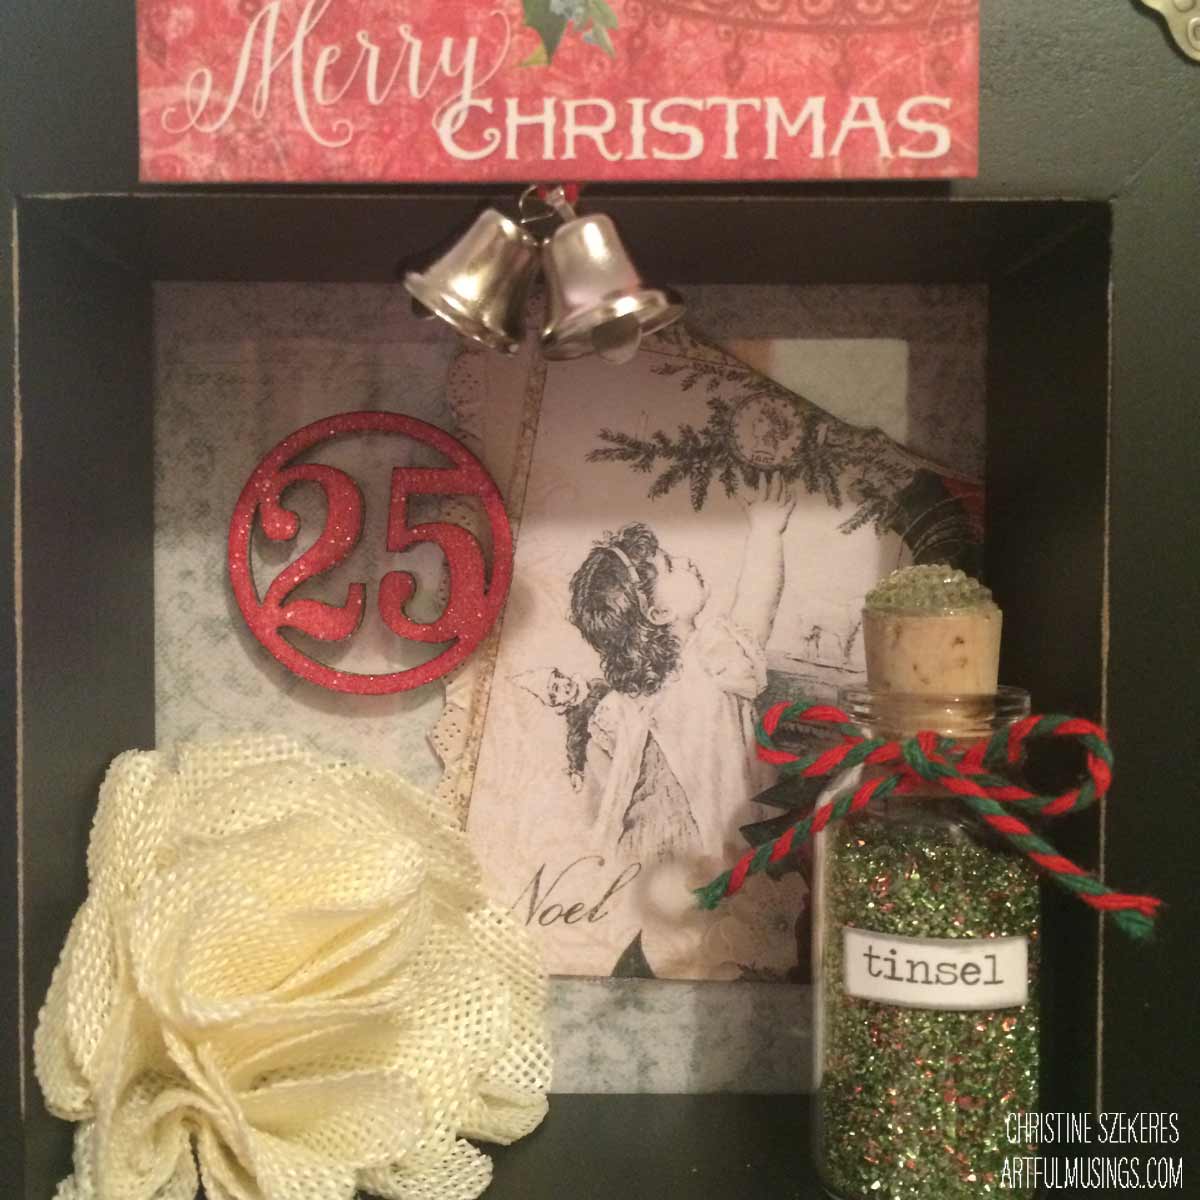
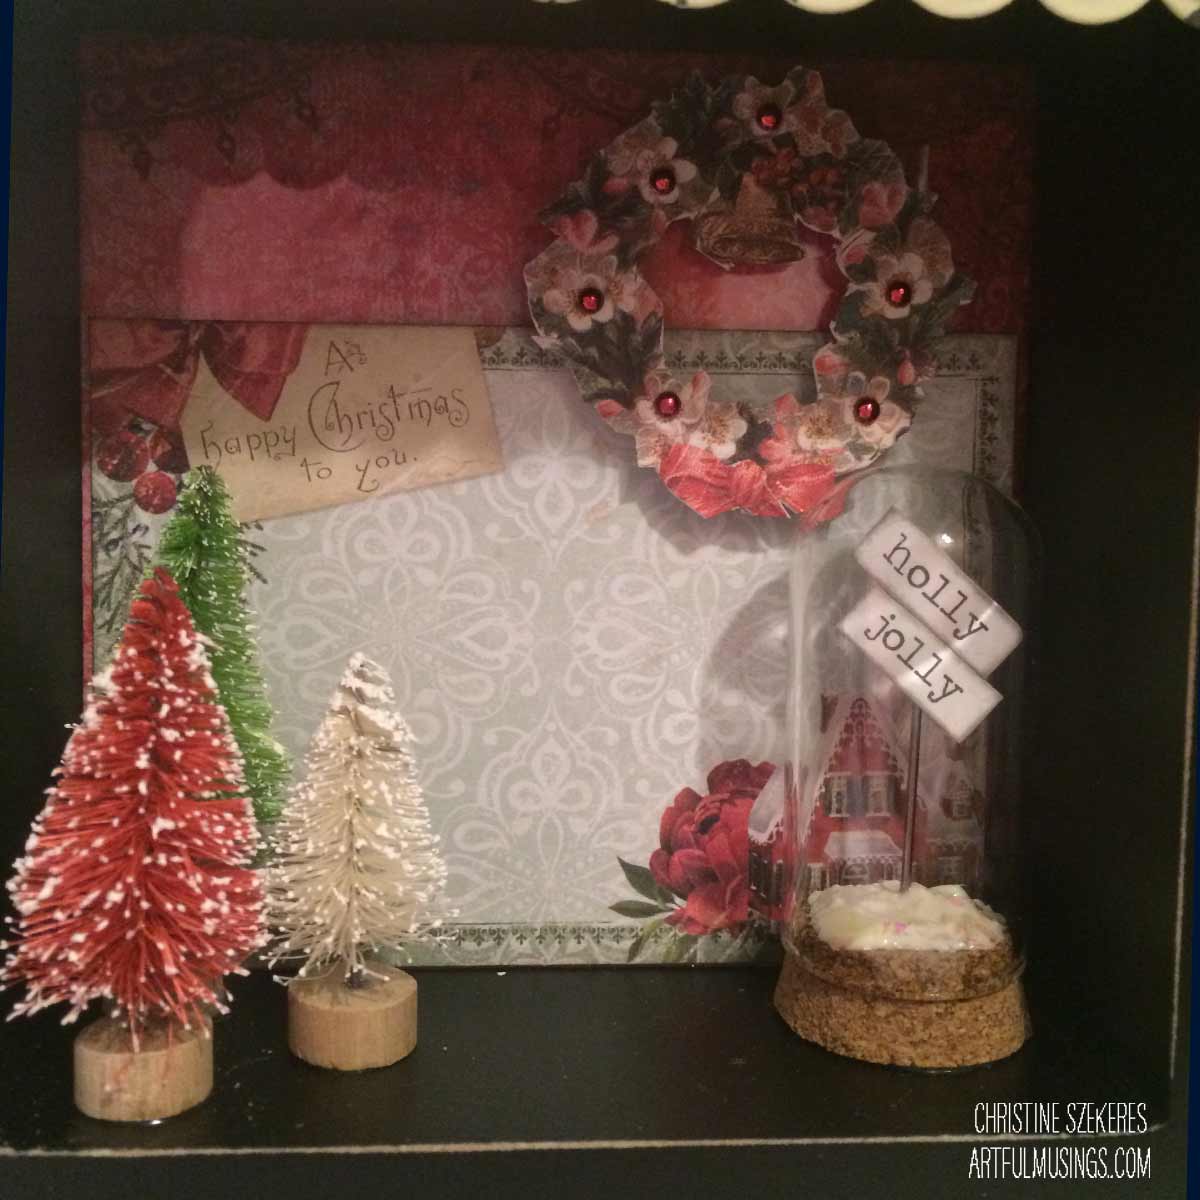
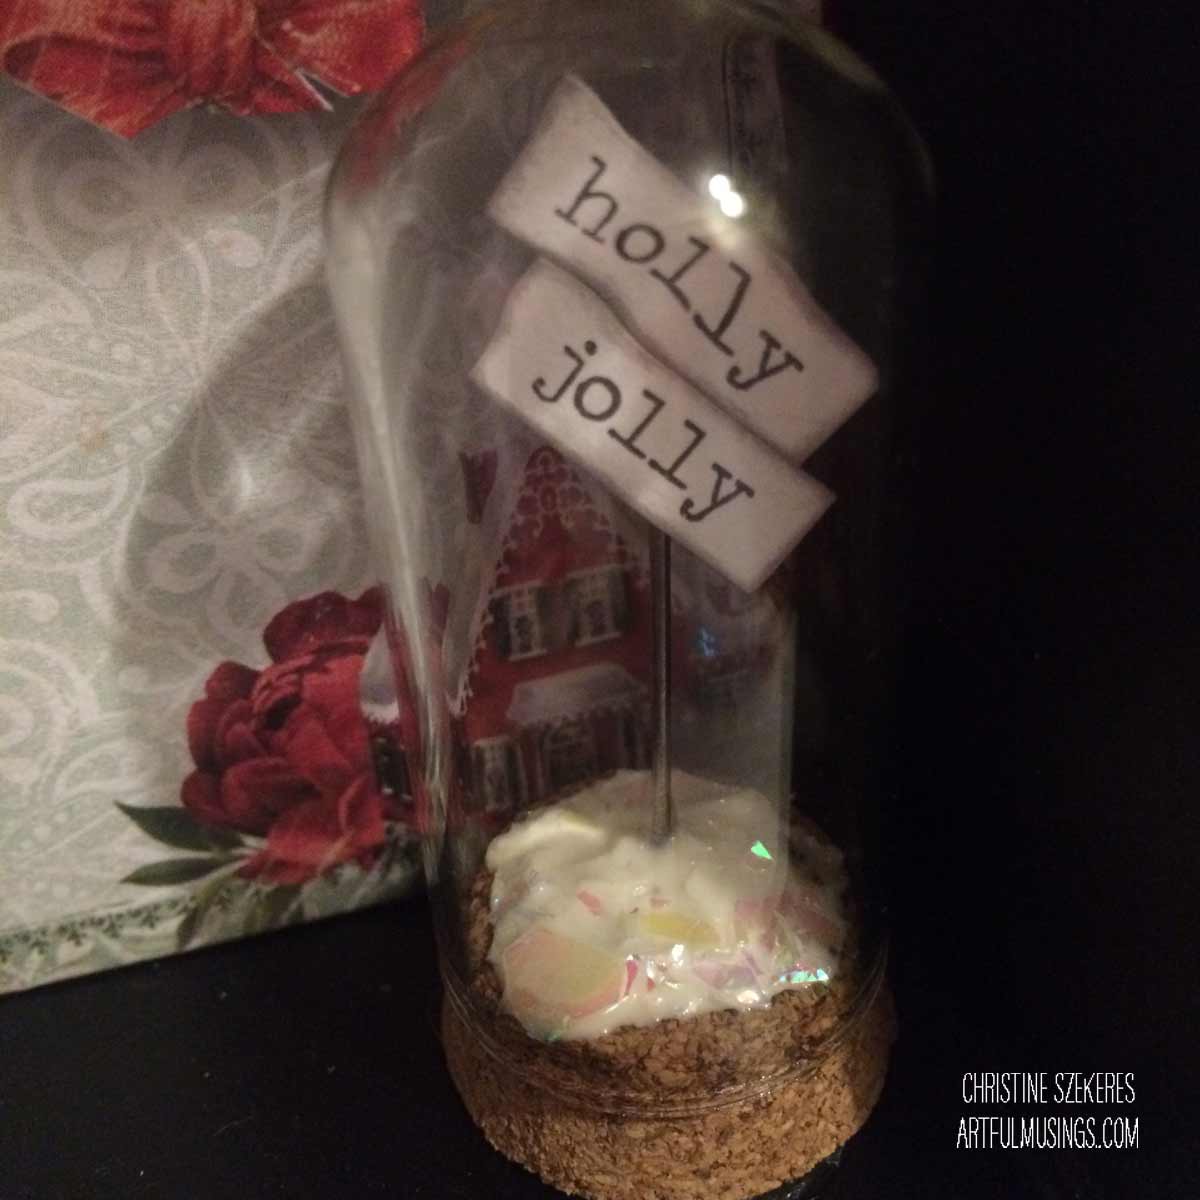
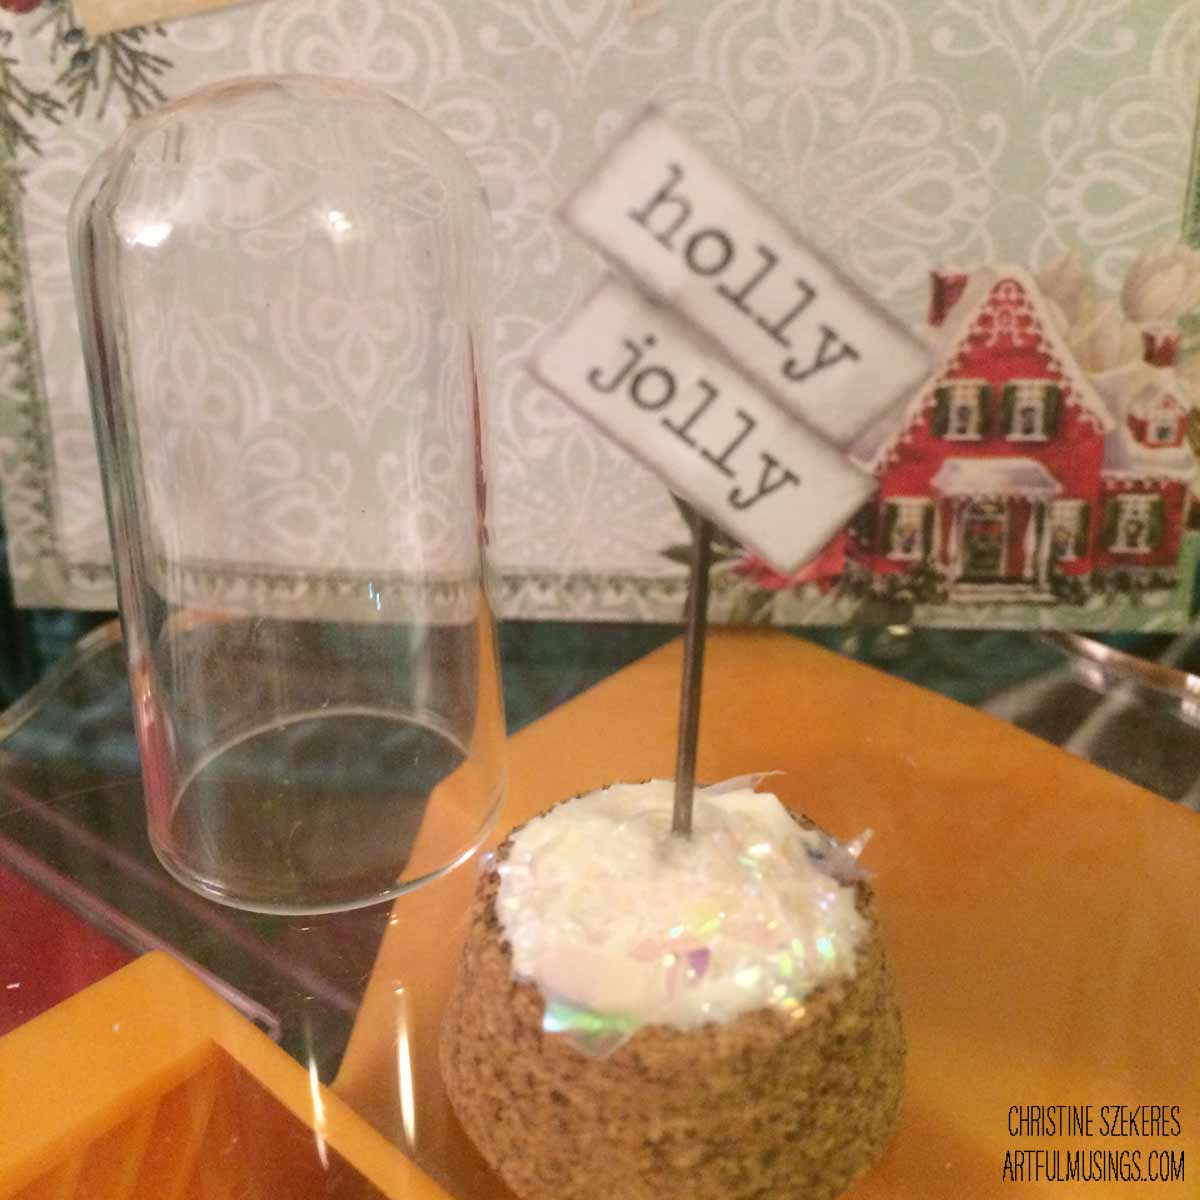
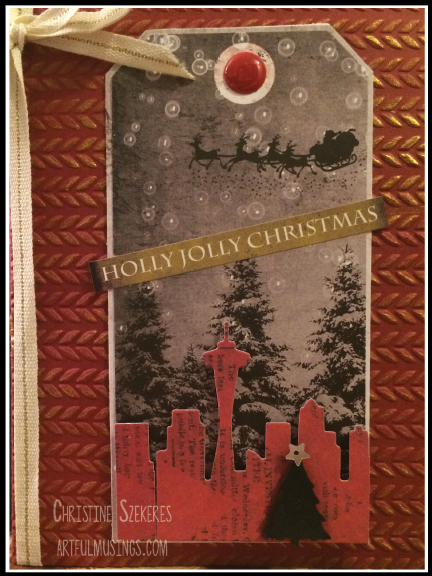
For the first card, “Holly Jolly Christmas” I used one of the large tags, a word sticker, a chili pepper card base, and a wooden tree from UmWow Studio. First, I ran the front of my card through the Big Shot inside a texture plate (knit sweater) and I rubbed metallic gold ink over the texture to give it definition. Next, I die cut the Seattle skyline out of the Gingerbread card stock. I adhered the tag to a piece of Warm Cider card stock (the snowflake side) and trimmed it close. I popped up the skyline using black foam dots and added the Holly Jolly Christmas word sticker to the tag. I painted the tree using a dark green glitter pen and glued a silver star sequin to the top. Once it was dry, I glued it to the skyline. A red enamel disc and bit of creme an gold ribbon and this card is complete.

YuletideGreetings3

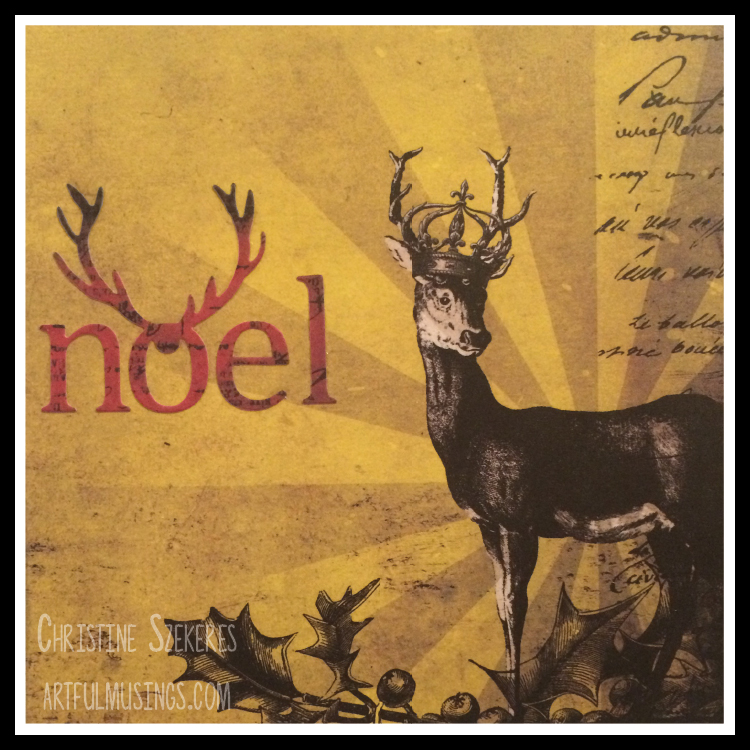
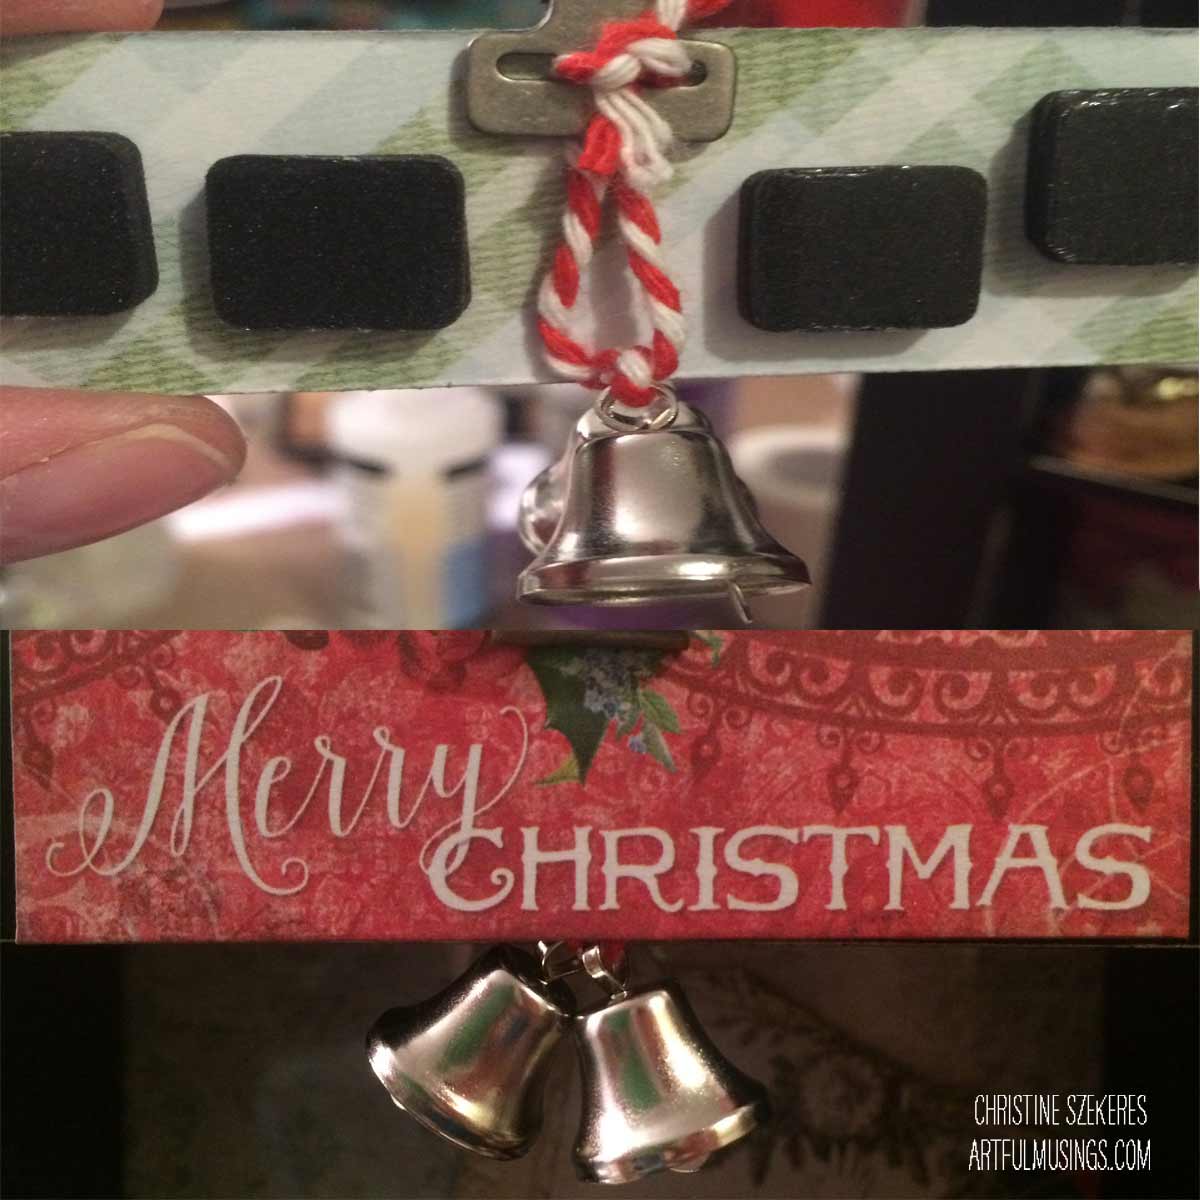
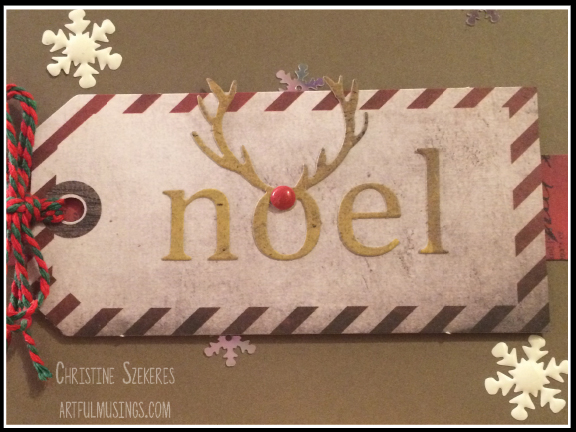
The next card, “Noel”, uses one of my favorite dies, the word noel with reindeer antlers, which I cut out of a piece of Sugarplum card stock. I mounted on another of the large tags and tied some red and green twine through the hole in the tag. I also cut a 5.5″ x 1″ strip of Gingerbread card stock and mounted it to the vanilla bean card base. Next I popped up the tag using black foam dots. To finish off this card I glued down a few snowflake sequins and added Rudolph’s red nose.

YuletideGreetings4

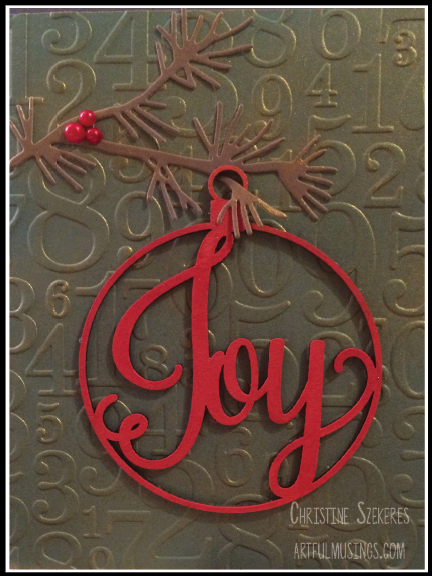
The “Joy” card is mounted on a juniper card base I ran through the Big Shot with a texture plate (numbers). As before, I rubbed gold metallic ink over the face of the card to highlight the texture. I die cut the bough out of vanilla bean card stock and used some Queen & Company red pearls for the holly berries. The focal piece, the joy chipboard ornament, was painted with red paint and then clear glitter pen was added over the top to give it a bit of sparkle.

YuletideGreetings2

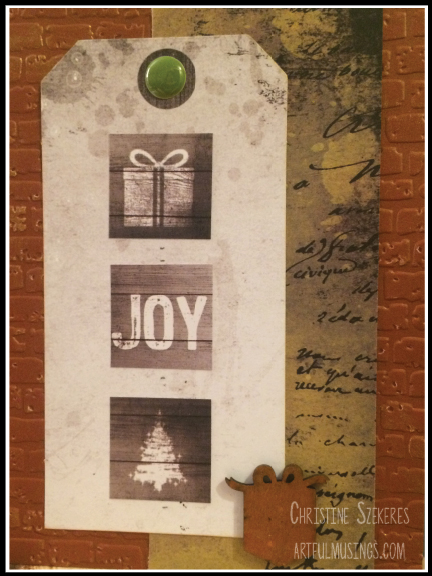
The final card, “Presents Squared”, uses a crimson card base run through the Big Shot with a texture plate (brick wall) and highlighted using gold metallic ink. I cut a strip of Sugarplum card stock 5.5″ x 2.25″ and mounted it to the front of the card. I chose another large tag and a few square sticker elements that I applied to the tag. Another UmWow Studio chipboard (a present) was colored using a gold orange glitter pen and adhered to the tag. A green enamel disc adds a pop of color to this card.

YuletideGreetings1

I hope you have a blessed and joyful Thanksgiving. We will be back with another Christmas preview week beginning Sunday, December 6th! Until then, remember, creativity and imperfection live together in all we do. “Grace is the face love wears when it meets imperfection.”

~xoxo
Beanie

Supplies Used
Yuletide collection
UmWow Studio
Queen & Co Red Pearls
Joy Chipboard Ornament
Big Shot & Dies, Adhesive, & Gold Metallic Ink

All Hot & Bothered Over a Cup (& a Cookie)

I will admit to a fair amount of chagrin recently when I read about all the ire over, of all things, a disposable coffee cup.

Starbucks1

By now, most of you are likely aware that Starbucks​ unveiled their holiday cups and … *GASP* omitted the Christmas scenes (holly wreaths, polar bears, Santa’s, reindeer’s, etc). Apparently, one man (self-identified as a Christian) took this personally, going so far as to order a drink at said chain, tell the barista his name was “Merry Christmas” so he could “offend the global coffee company” when the barista shouted, “Merry Christmas, Peppermint Soy Mocha”. Seriously.

First, I have never thought the Starbucks cup was “Christian” so much as it was commercially festive. Second, Christmas isn’t the only holiday in December and we are not a world (or even a country) where only one holiday is acceptable. I mean, Jewish folks don’t pitch a fit, screaming global conspiracy because the cup is red and not blue or that it contains reindeer instead of 5-pointed stars.

So, why all the kerfuffle over a cup? I wondered the same thing and even read a few articles about the whole mess. It was beginning to take up space in my head. Then, in what I believe, was a God-inspired moment it stopped when I decided that “…the haters gonna hate, hate, hate, hate, hate! Baby, I’m just gonna shake, shake, shake, shake, shake, shake it off, I shake it off!” (yes, I just quoted Taylor Swift). With this revelation, a peace came over me and I thought, “Why do I care what the Starbucks cup looks like and why do I care that people are mad?”

It was wonderful and I didn’t really give the cup anymore thought … at least until the next offensive thing Starbucks did … they released, *GASP*, polar bear cookies that appeared to have their throats cut, which I will admit had the opposite affect those offended wanted. I actually laughed out loud. For shame, Starbucks think of the little children.

Starbucks2

Upon further investigation, I learned the offending cookies were out in 2010 (some enterprising blogger found an old image and decided to go to town on Starbucks) and the hubbub started all over again. Even the cup began to get play on my newsfeed again. Starbucks, apparently haters of Christians, were single-handedly trying to kill Christmas.

My chosen profession is marketing. Over my 18 years in the field, I’ve hit some out of the park — a few, and I’ve struck out — far too many times to count. Was the polar bear cookie unfortunate, of course it was. Is it the end of civilization as we know it, as if. I’m also an artist of sorts and when I look at the above image I see a scarf. If it was green or purple I guarantee that is what you would see too. Furthermore, I don’t think the cup is an indictment of Christianity or Christmas either.

Here is a wonderful post with a minority Christian opinion about the red cups. I happen to agree with her assertions and enjoyed her thoughts.

What I can promise you, is that Starbucks is not trying to kill Christmas or even to offend Christians. They love Christmas — that time of year when we buy and buy for those we love. They want our dollars. Not convinced? Let me leave you with this … For a company that supposedly hates Christmas why would they turn Starbucks cups into miniature Christmas tree ornaments and sell them?

Starbucks3

Yuletide 6×6 Trio

Hello and welcome to another Christmas-themed project. I am so happy to have the opportunity to share my Christmas creativity with you this week. It’s a dream come true, being on a design team, and it is my hope that the projects created inspire you on your own creative journey.

Earlier this week I posted a project using the new Blue Fern Studios Vintage Christmas line, which I love but for today’s inspiration I pulled out the Yuletide collection from 7 Dots Studio. I love the papers from 7DS because they are so different from what American manufacturers are creating.

Using some new (and a few old) Christmas dies and the lush and beautiful Yuletide papers I created three 6″ x 6″ panels.

YuletideTrio4r

The first panel was made using Sugarplum for the background, which contains a picture of a stag wearing a crown. I trimmed the paper to 5.75″ x 5.75″ and adhered it to the background. Next I cut the Noel die using a contrasting paper, Gingerbread.

YuletideTrio1

To create interest among the three panels I reversed the color palette on the middle panel, focusing on red for the background. Using Gingerbread again, I cut the reindeer roster and the leaping reindeer out of the remnants of the Sugarplum piece. To add interest I popped the reindeer up using black foam dots.

YuletideTrio2

For the final panel I used the snowflake side of Warm Cider and cut Santa’s sleigh and eight reindeer out of the remnants of Gingerbread and the skyline and moon out of Sugarplum. I mounted Santa using black foam dots and then stamped the phrase “all is calm and bright” in blue ink.

YuletideTrio3

I hope you have enjoyed today’s Christmas preview. Until then, remember, creativity and imperfection live together in all we do. “Grace is the face love wears when it meets imperfection.”

~xoxo
Beanie

Supplies Used
Yuletide Collection
Sizzix Reindeer Names Die
Ken Oliver Art Blocks
“And Bright” Stamp
& Adhesive

A Holly Jolly Christmas Shadow Box

Today I am bringing you a mixed media piece using Graphic 45s 3-panel shadow box and Blue Fern Studios Vintage Christmas papers. I am so happy to have the opportunity to share my love of Christmas through my project, which is based on a Graphic 45 3-panel wall hanging.

Last week I absently quipped to one of my fellow design team members that “sometimes my creativity needed the pressure of waiting until close to the deadline” to function properly. The person I was talking with is so on the ball with her submissions and me, well I’m not.

I’ve known what I was creating for about two weeks, but as I began working on it I felt compelled to stop and step away several times. The building of pressure (always inching closer to the publication deadline) helped me hone the design. Each time I came back after an absence (no matter how short) I found that I took things off, rearranged things, and added new goodies. It’s been a truly cathartic.

But enough about my process … onto the Christmas fun! My favorite Christmas cartoon is the classic Rudolph the Red Nosed Reindeer mostly due to the wonderful songs included. The songs Silver & Gold, Fame & Fortune, We’re a Couple of Misfits, There’s Always Tomorrow, and of course, my favorite A Holly Jolly Christmas are what have given the cartoon it’s charm and staying power. I named my piece Holly Jolly Christmas in homage to this classic from my childhood.

HollyJolly1HollyJolly2

I’ve had this Graphic 45 3-panel shadow box for about 4 months. Originally I bought it with the thought of doing something with it for Halloween, but when I joined the NKO design team and learned we were having a Christmas kickoff I decided to save it. I was able to get my hands on some of the brand new Blue Fern Studio Vintage Christmas papers, which formed the basis for this project. These papers are amazing, with rich colors, beautiful imagery, and an opulent thickness not found in other papers. Simply put, the line is perfection.

I started by choosing 3 papers and cutting the background squares. The frame has two pieces of plexi glass that are held in place by swivel clasps. I also used the Greeting Cards paper for the elements added to the back over the background squares. When everything was glued and dry it was sandwiched between the plexi glass and secured to the frame using the swivel hooks. I added metal corners & a paperclip to the front along with the “Merry Christmas” banner (also from the Greeting Cards sheet). Using red and white baker’s twine I tied the silver bells together and then threaded them through the clip holding the banner. I mounted the banner to the wood using foam squares.

HollyJolly6

Next, I inked the edges of all the papers using Hickory Smoke Distress and Powder Puff Chalk Biscotti inks. Once the panels were in place I began laying out each vignette. For the top vignette I fussy cut the little girl off the Noel sheet and glued her in place. I also inked up the 25 chipboard with Fresh Ink’s Red Currant and added sticky embossing powder so I could finish it with some Distress rock candy glitter. I popped it up off the background using black foam dots. TIP: I prefer black foam tape and dots because they are easy to hide and are not as stark as the white. I added an ecru burlap flower to the corner and some vintage metal trim to the bottom of the panel. For the focal piece, I filled a glass bottle (similar to these) with German glass glitter in green, silver, and red. I added the tinsel label, a gumdrop (similar to these) to the top of the cork, and tied a bow with some red and green baker’s twine.

HollyJolly9HollyJolly11

For the middle panel I fussy cut the little letter carrier from one of the cards on the Greeting Cards paper. Since I had two sheets of this I was able to glue down the card and then cut out the frame and the little letter carrier, which I popped up using foam tape. I added a red burlap flower to the corner and for the focal point I filled a small cork dome with mini jingle bells and added the jingle label to the outside.

HollyJolly8HollyJolly13

For the bottom panel I chose another of the Greeting Cards panels and also fussy cut a wreath and added some red berry pearls from Queen & Co. I mounted the wreath using a double stack of black foam dots so that it pops up far away from the background. I added some miniature trees in green, red, and ecru to one corner. For the focal point I used a large corked dome for the “holly jolly” sign post. I mounted the words to a silver memo pin that I stuck into the cork base. To create the snow at the base of the sign I added liquid applique and shaved ice flakes.

HollyJolly10HollyJolly7

Here are a few more closeups of some of the fun elements in this piece.

HollyJolly5HollyJolly3HollyJolly14HollyJolly16

There were so many wonderful panels on the Greeting Cards sheet that I made a card as well. You easily make several cards from this sheet alone.

HollyJolly17

I hope you have enjoyed today’s Christmas preview. There is more fun throughout the week over on the Nani Ke Ola blog.

Until then, remember, creativity and imperfection live together in all we do. “Grace is the face love wears when it meets imperfection.”

~xoxo
Beanie

Supplies Used

Blue Fern Studio Vintage Christmas
Graphic 45 Shadow Box
Chipboard Elements
Powder Puff Chalk Ink Biscotti
Fresh Ink Red Currant & Queen & Co Pearls Berry Red
Cork Domes, Memo Clips, Chitchat Stickers Holiday, Gumdrops, Rock Candy Glitter, Metal Corners
Sticky Embossing Powder Liquid AppliqueShaved Ice Flakes, Glass BottlesBaker’s Twine

P.S. Do you always know what you’re doing when you start a new piece? Does it seem to pour out of you as you work? Do you procrastinate? Do you get it done way ahead? If you feel so inclined I would love to read your comments about your process so drop me a note below.