Month: September 2015

What a Wonderful World: Altered Box

Last time I shared my struggles with (and a new commitment to) creating handmade gifts that were simple, yet elegant. I’m happy to say I’ve been doing pretty good creating handmade gifts for friends this Christmas and today I would like to show you my latest, the “What a Wonderful World Gift Box”. Let’s get started!
Wonderful1

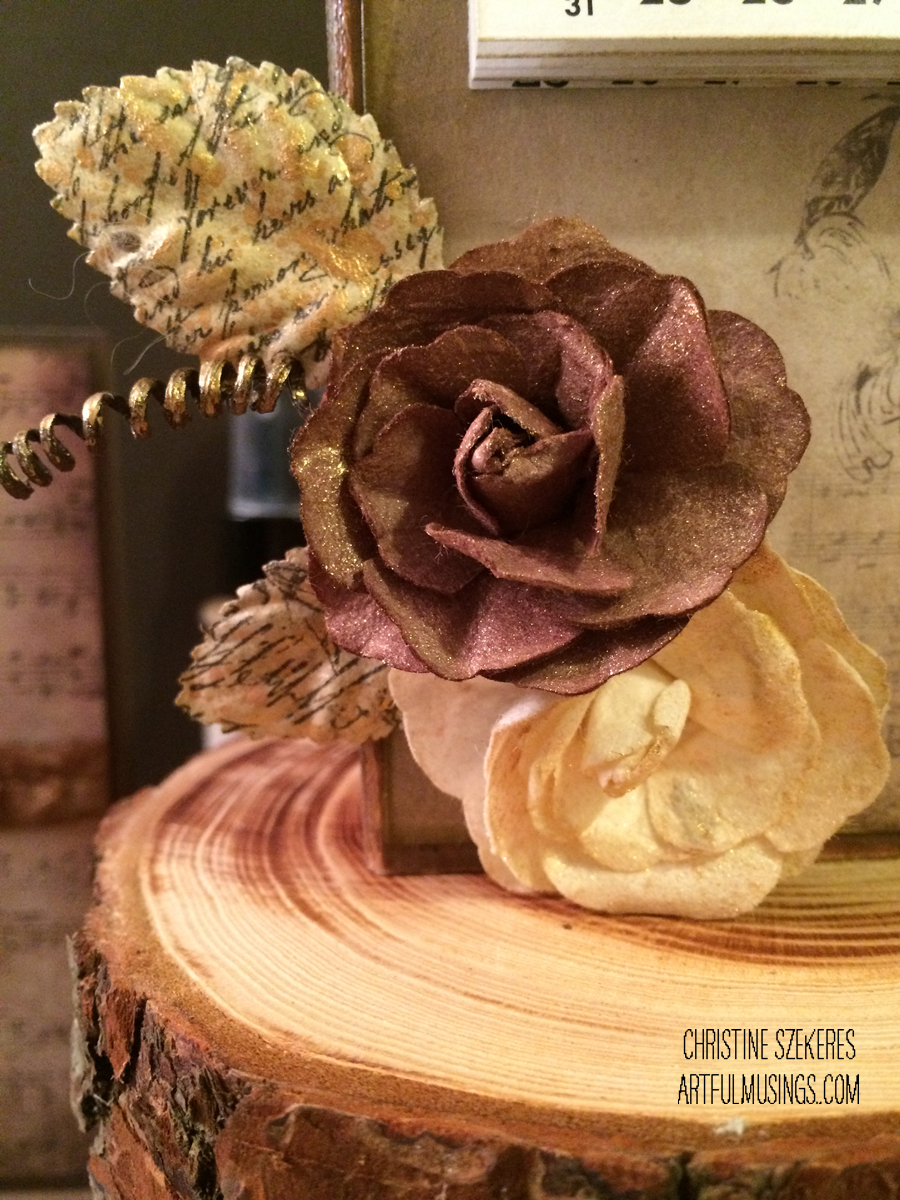
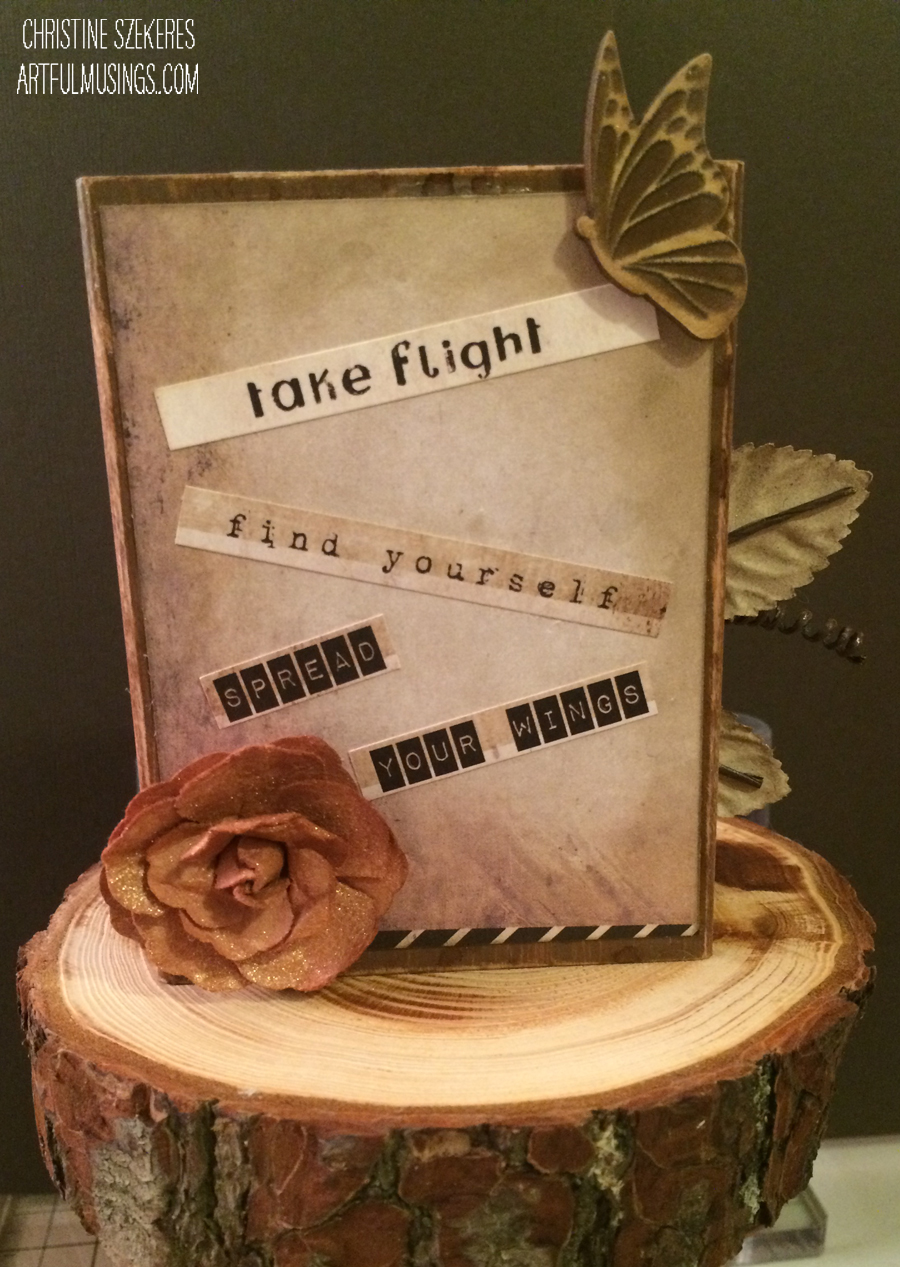
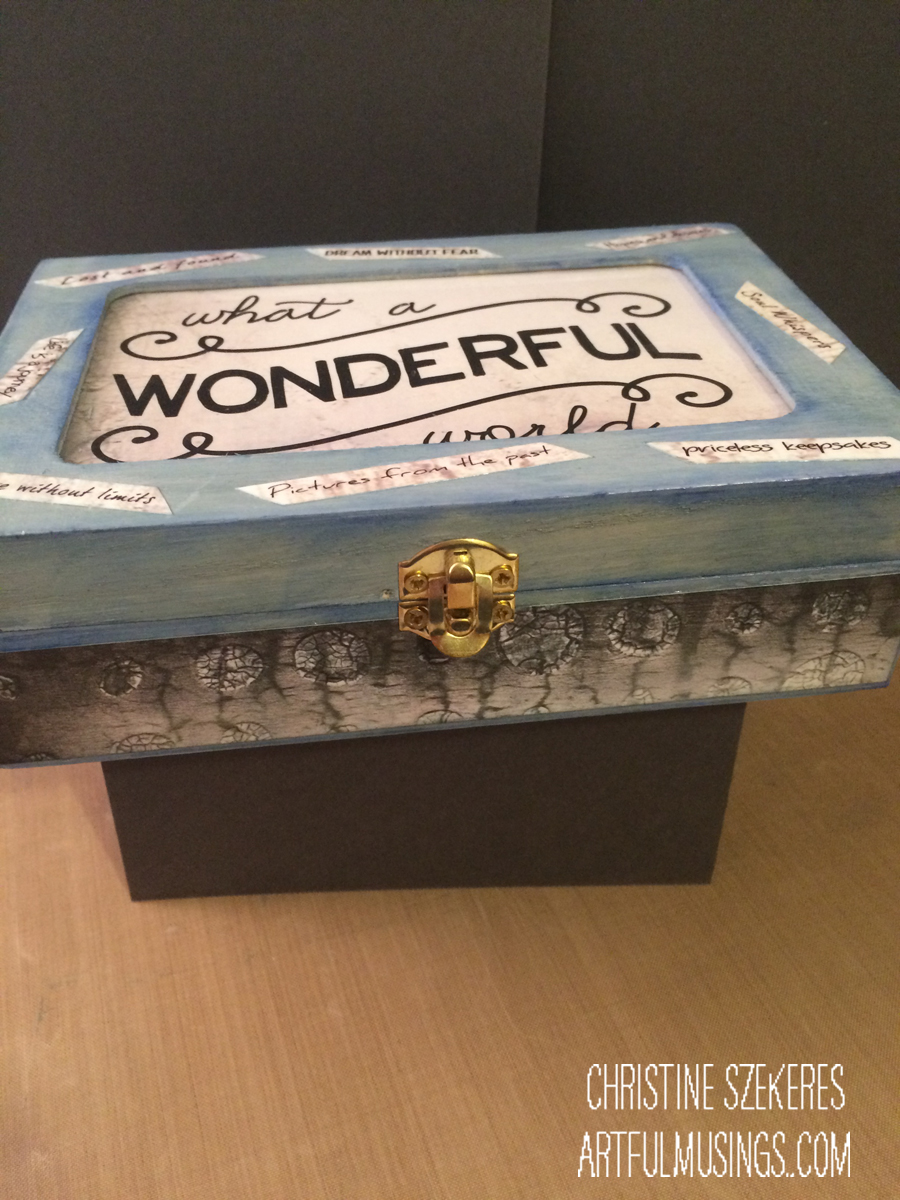
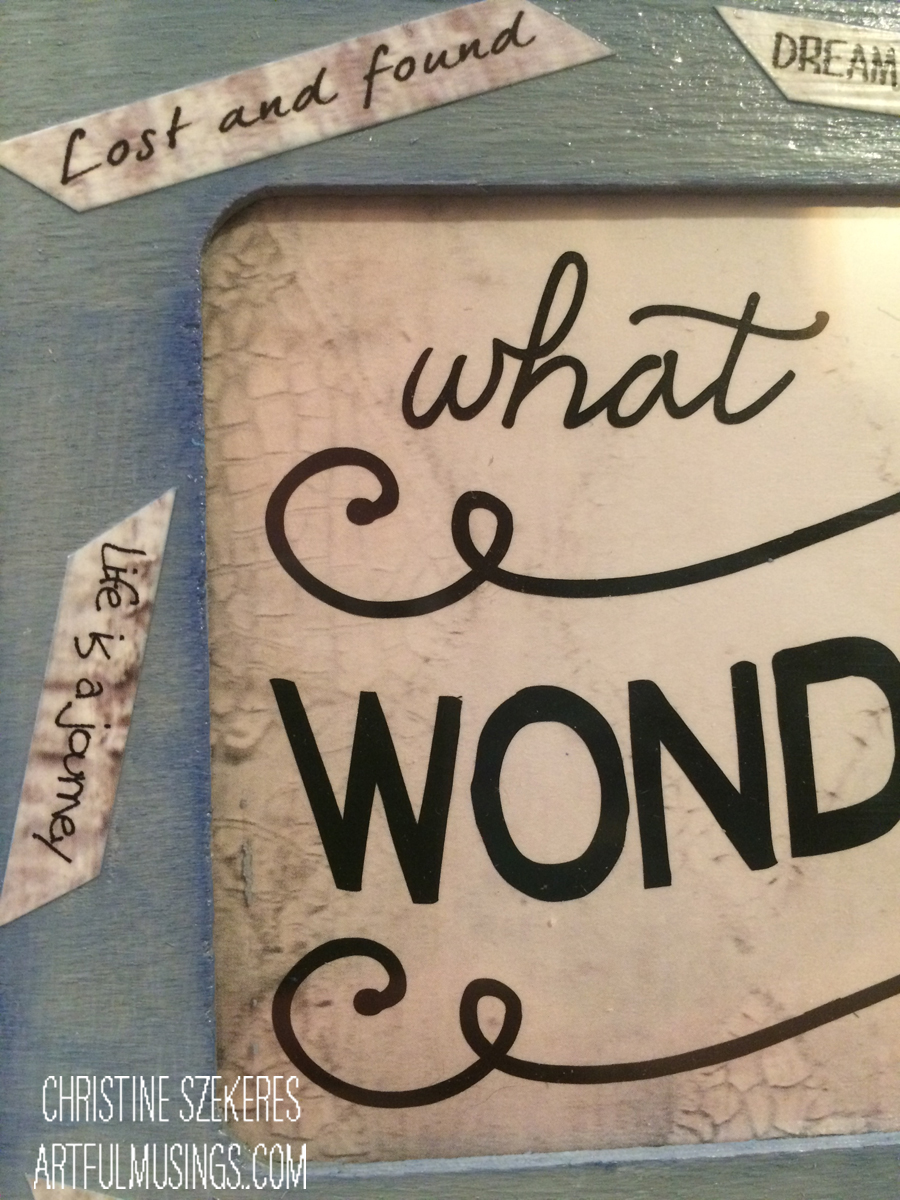
On a recent foraging excursion to my local craft store, I picked up a small balsa wood box. It has a window insert in the lid that intrigued me. I knew there was the perfect vinyl sentiment just waiting to be part of this box. Enter the “what a WONDERFUL world” sentiment and 7 Dots Studio’s Cold Country paper and embellishments line. I really like the 7 Dots Studio papers. They are rich and luscious and have some interesting visuals, very different than what you see from US companies.

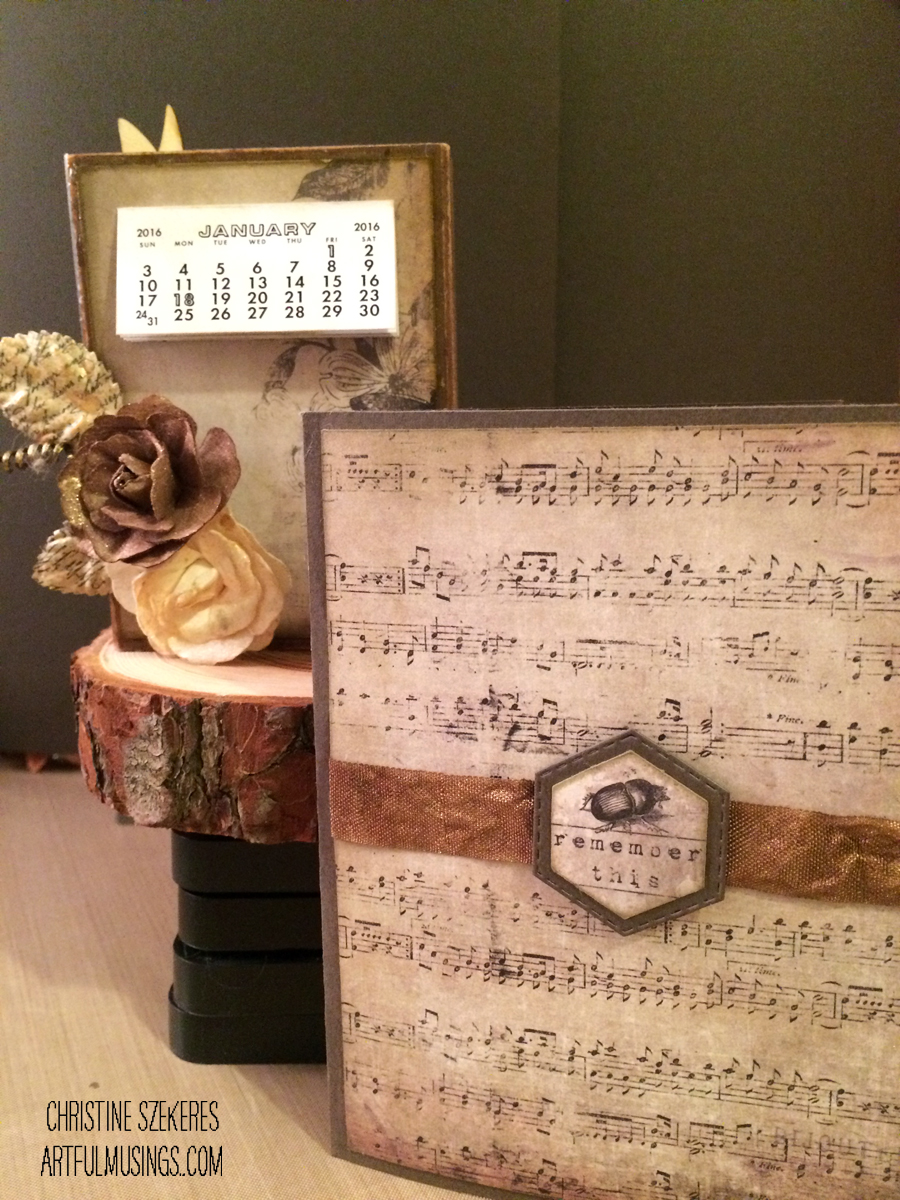
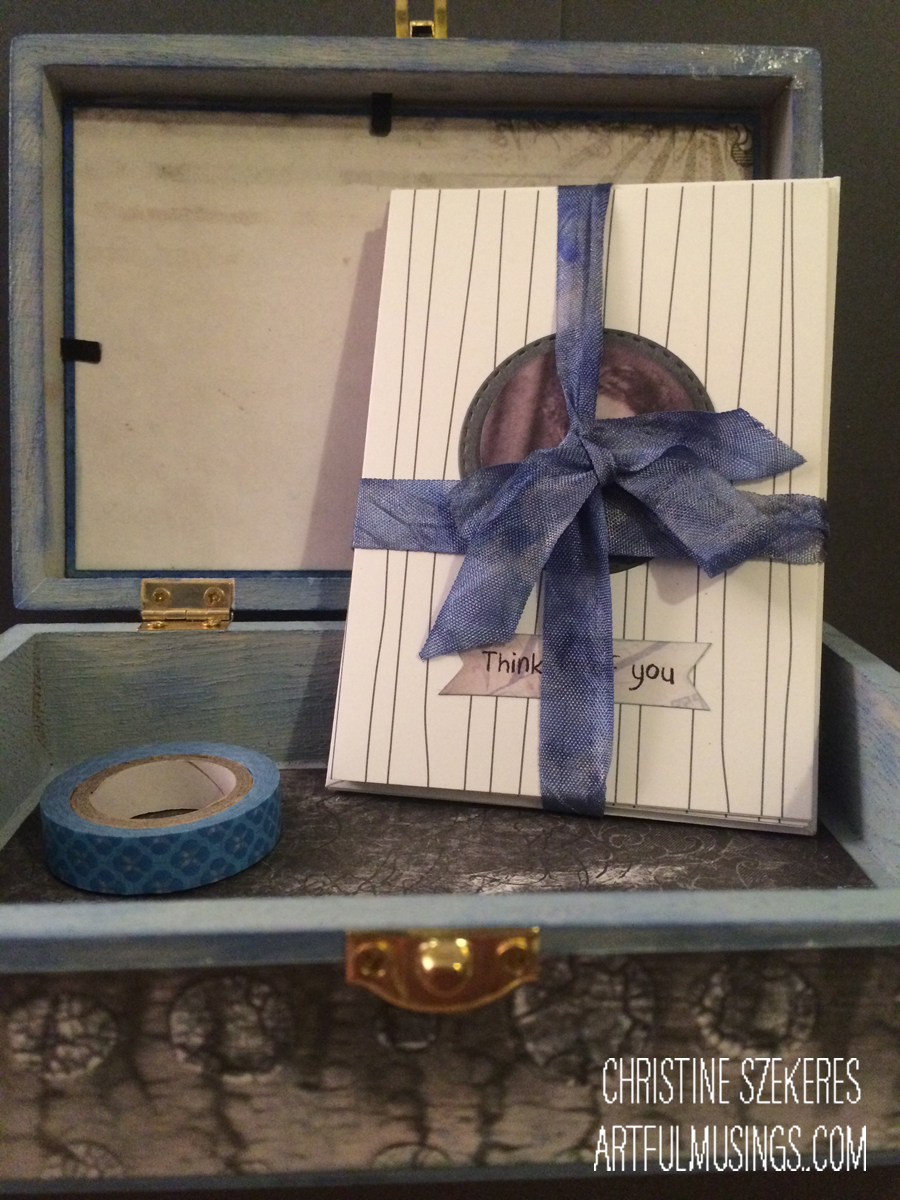
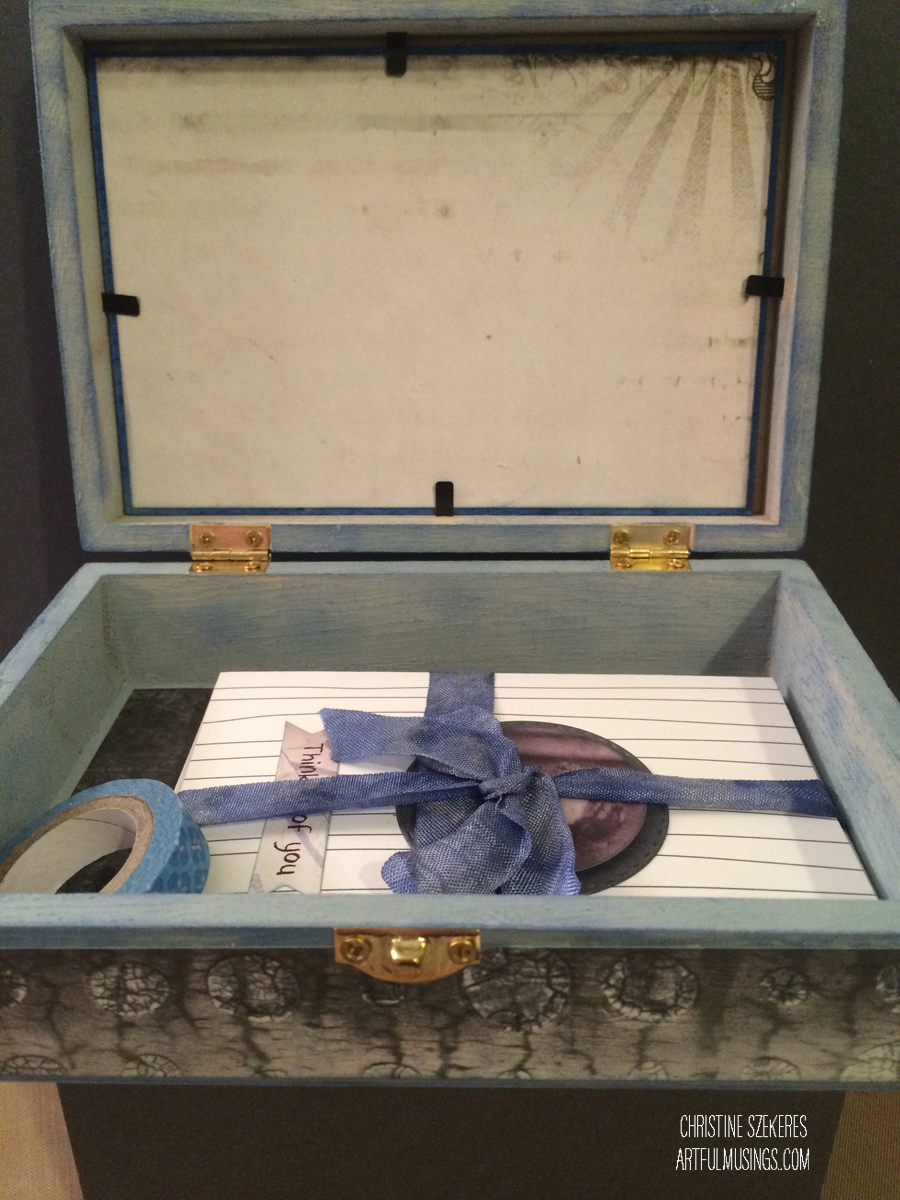
This little trinket box currently holds a set of handmade cards and matching washi tape (a stationery kit of sorts) but it could easily hold other small gifts: tea for two (tea bags and honey straws) or a gift tag kit (tags, washi tape, to/from stamps, and ink pad). The options are truly infinite and can easily be tailored to your intended recipient. That is what I love about this project.

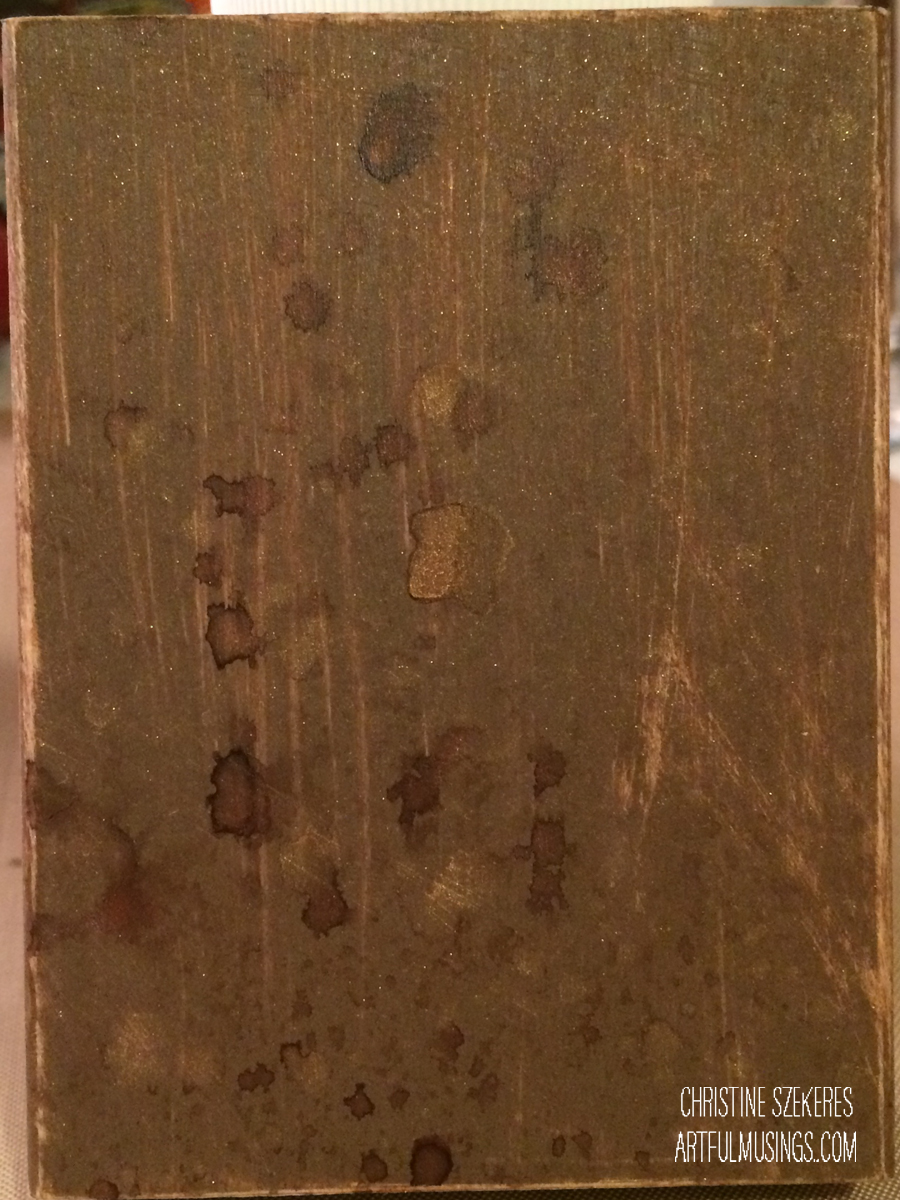
I started by taking the box apart so the lid and base were separate. This allowed me to protect the metal findings (hinges and clasp) and paint quickly. Once apart, I lightly sanded the box, particularly any rough spots and wiped it off with a damp cloth. I also measured the surfaces that I planned to cover with paper (interior lid and base, and all four outer sides. Looking over the Cold Country papers, I chose two paint colors, (a light and a dark) that complimented the line. To get the shade I wanted I mixed the colors together using a 4 to 1 ratio, 4 parts Weathered Wood (light) to 1 part Blueprint Sketch (dark).
Wonderful3 Wonderful2
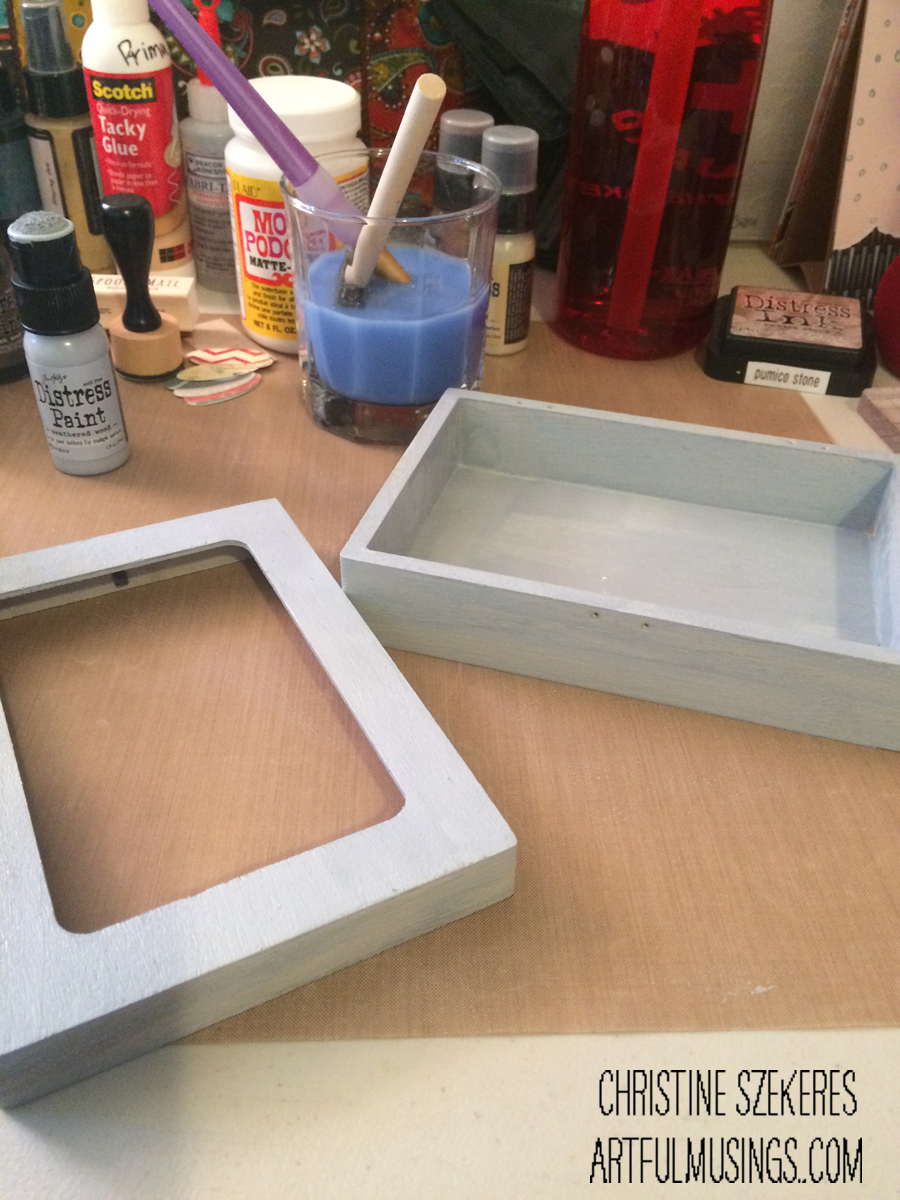
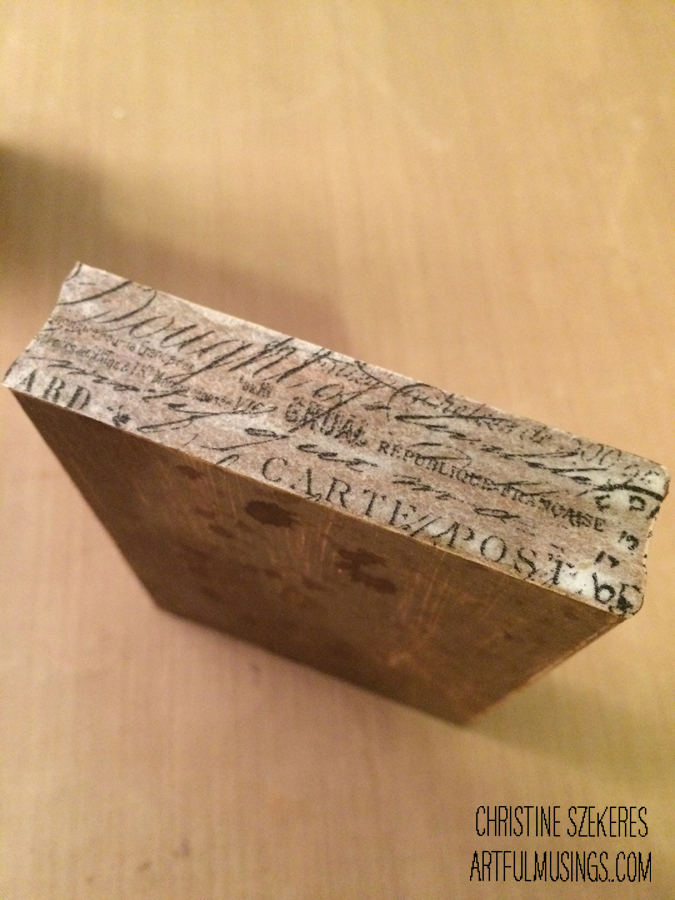
While I waited for that to dry I cut my papers and inked their edges using Weathered Wood ink. TIP: I always ink the edges of any items (paper, stickers, embellishments) that have white edges; doing so gives your project a finished look. Once painted and dry I went back over the box with Weathered Wood and Blueprint Sketch inks using the round blending tool. I heat set the ink and applied the papers to the various surfaces on the outside and inside of the box using matte Mod Podge. I sealed the entire box using Mod Podge..
Wonderful-CloseUp Wonderful-Ribbon
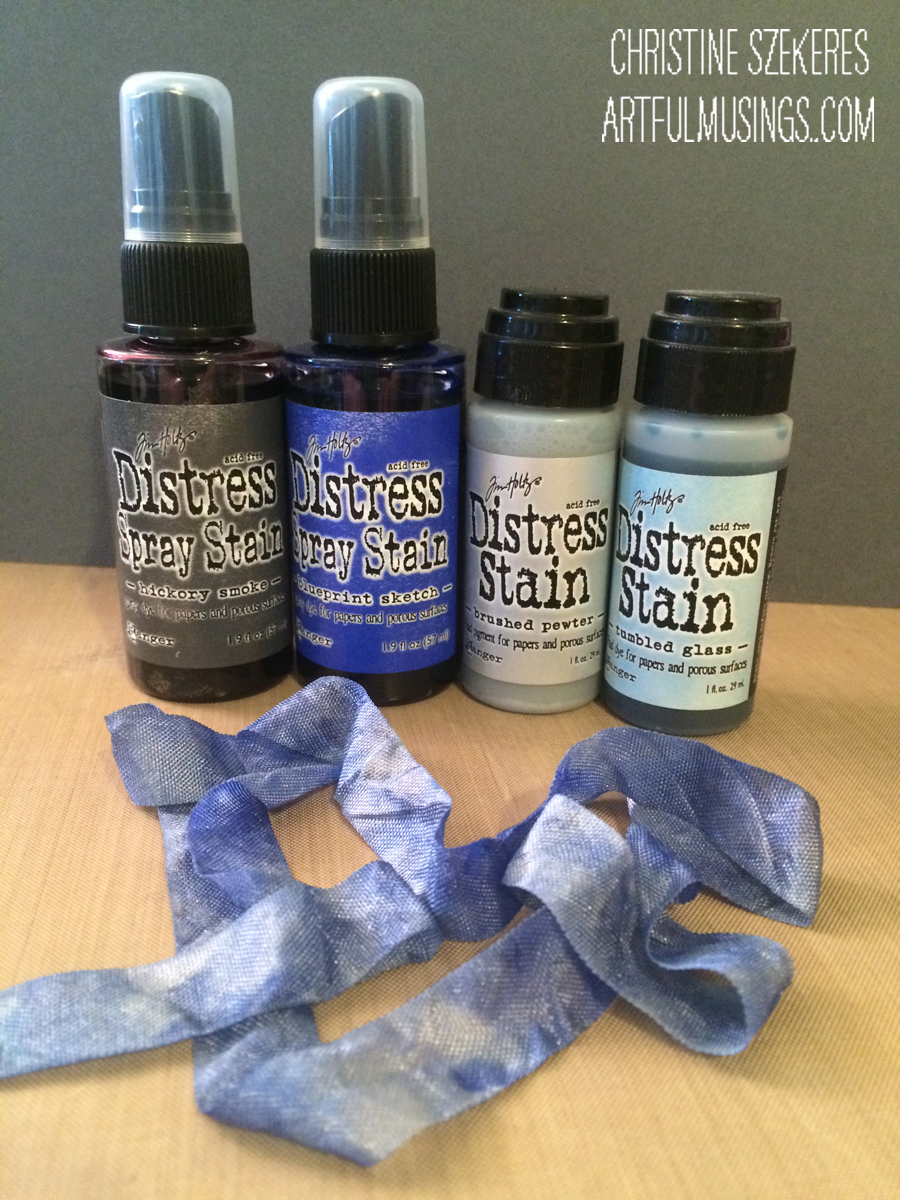
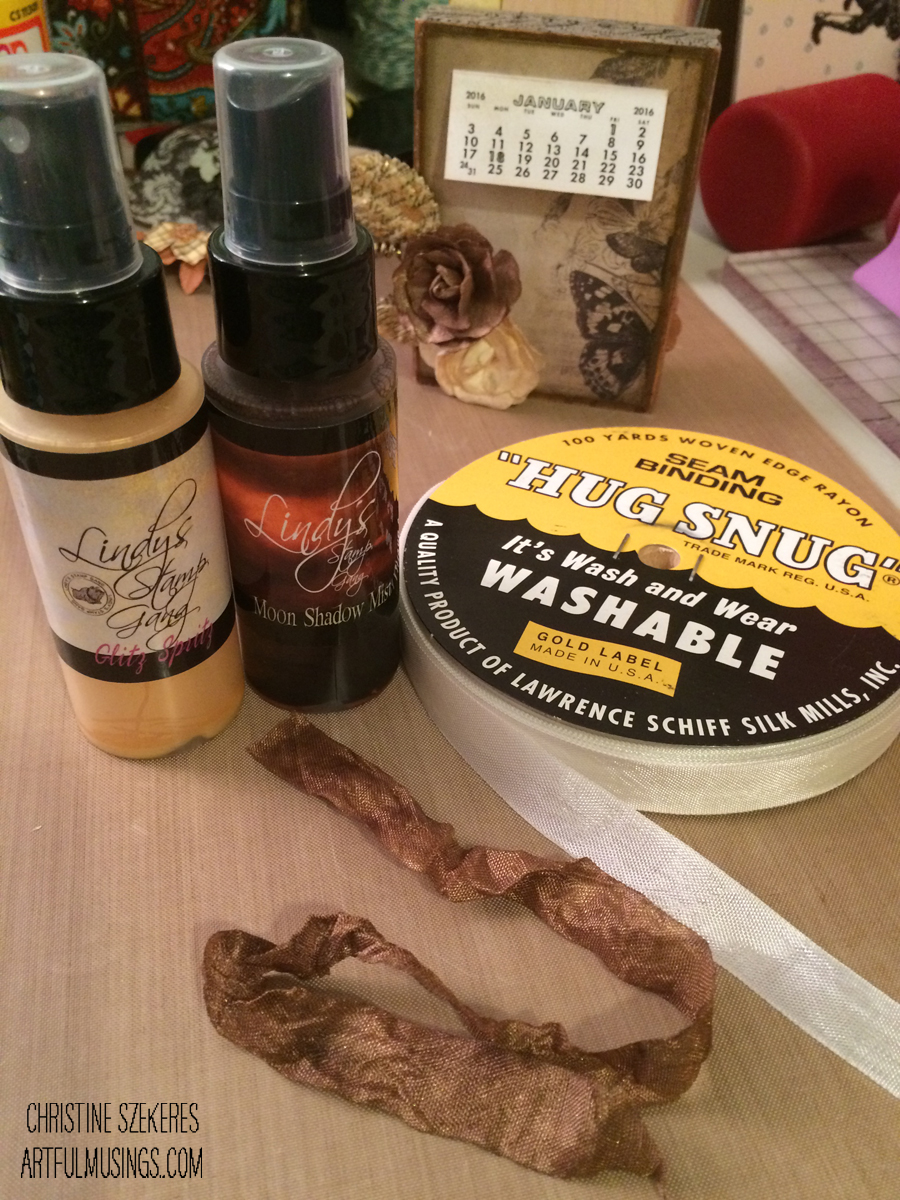
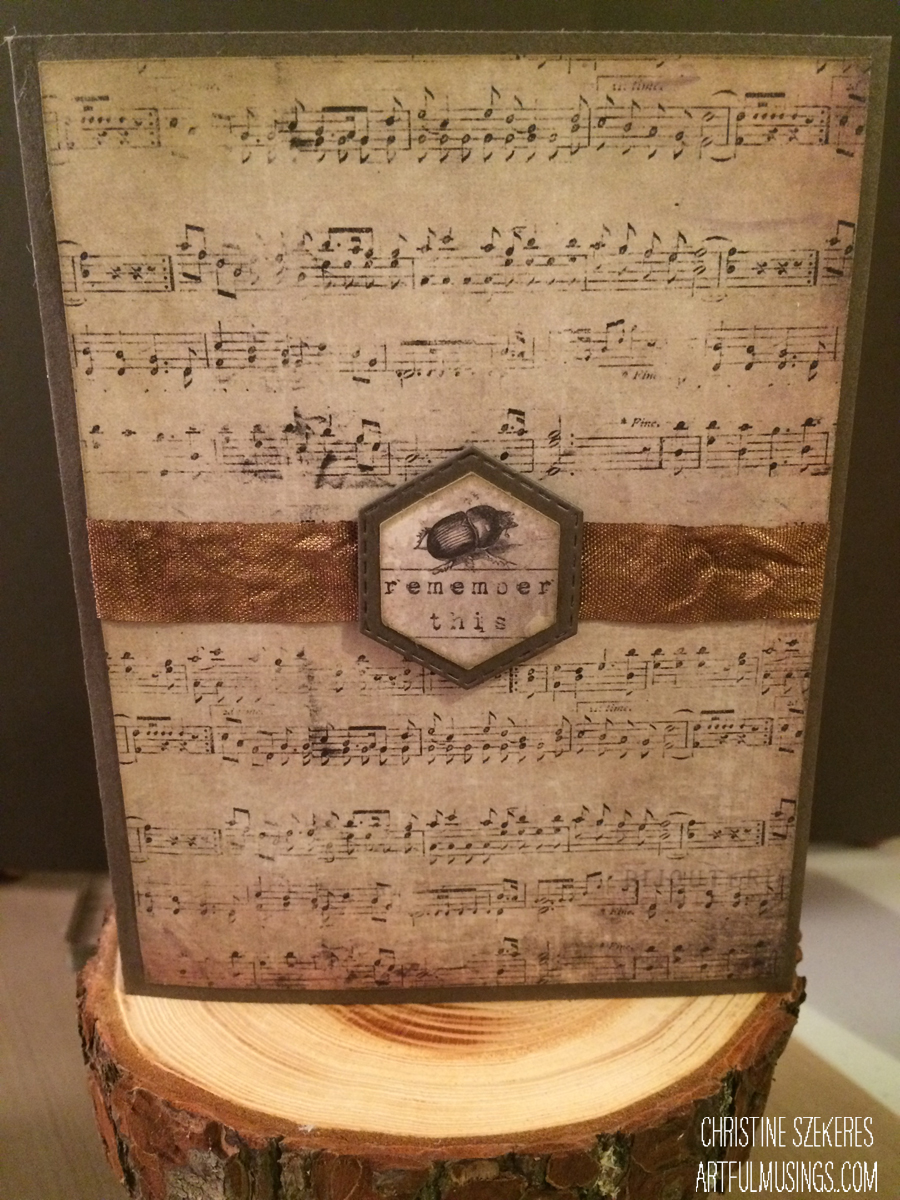
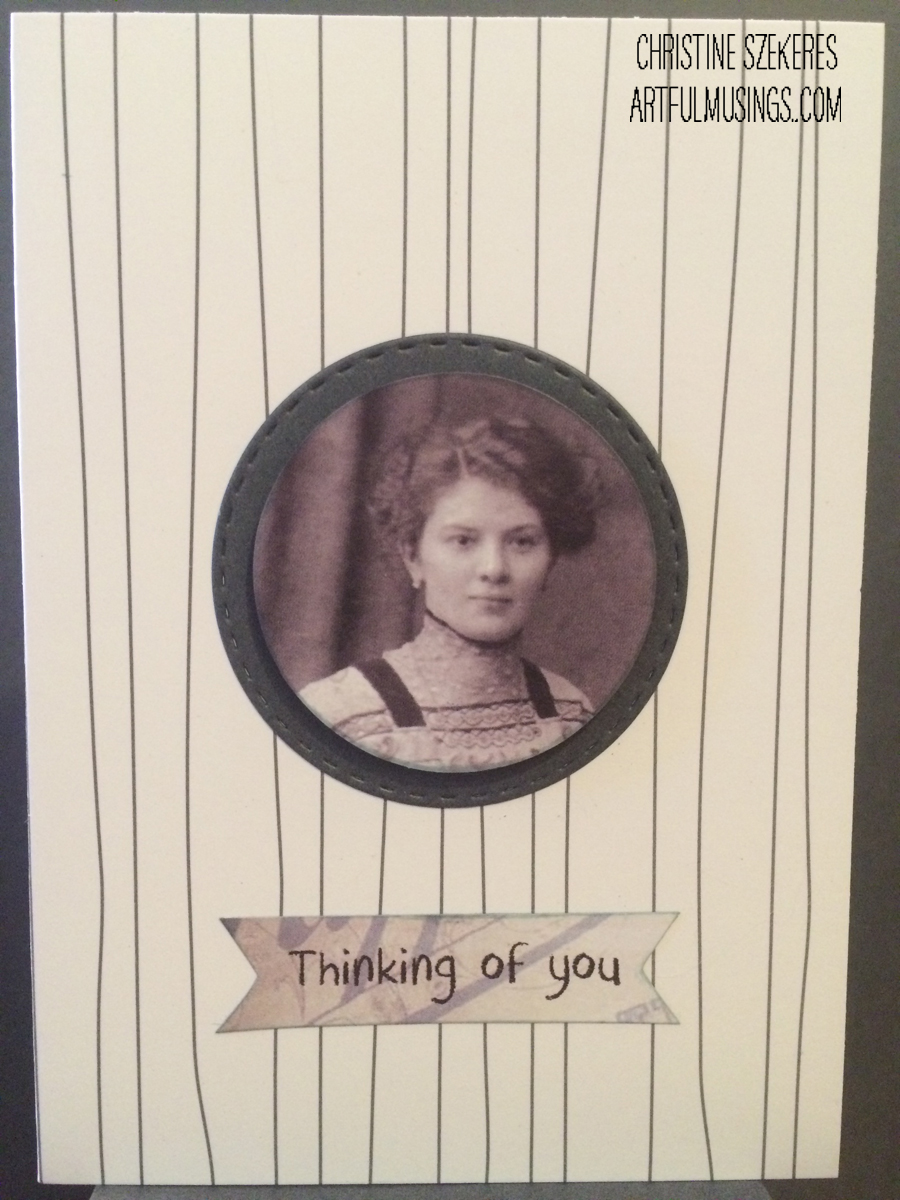
Next, I created 4 cards using some grey and white mini cards that fit inside the box and the embellishments from the Cold Country kit. I also custom dyed ribbon to bind the cards together using white seam binding and Distress stains and sprays in Brushed Pewter, Blueprint Sketch, Hickory Smoke & Tumbled Glass.
Wonderful-Card1 Wonderful-Interior
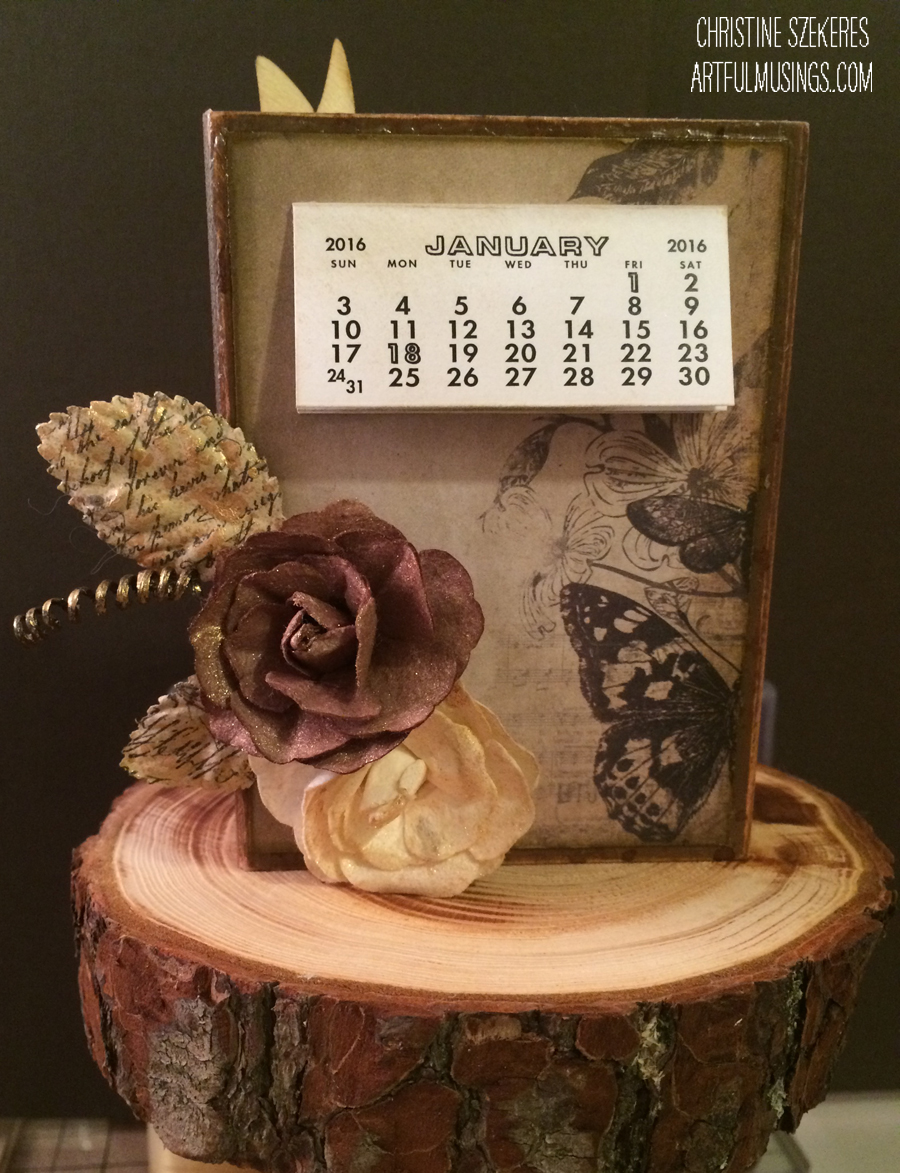
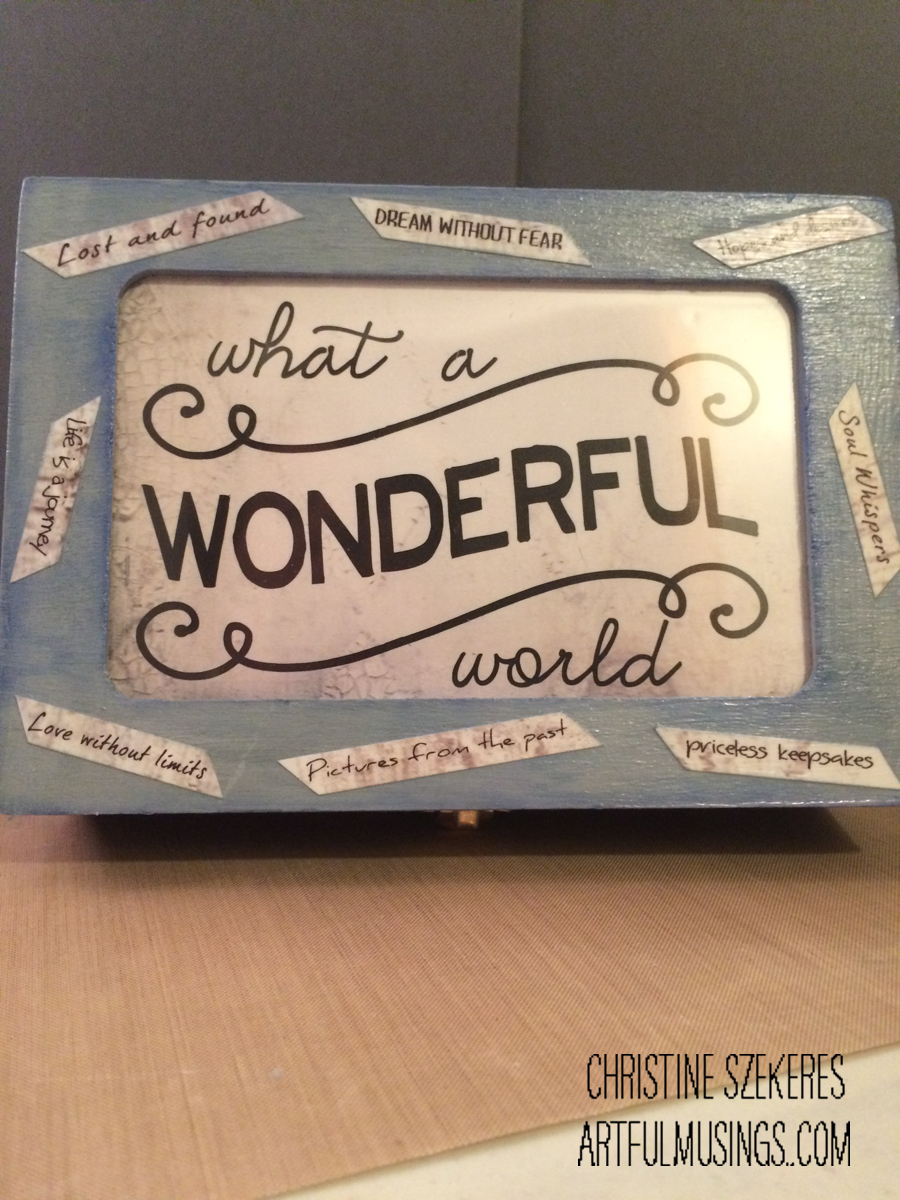
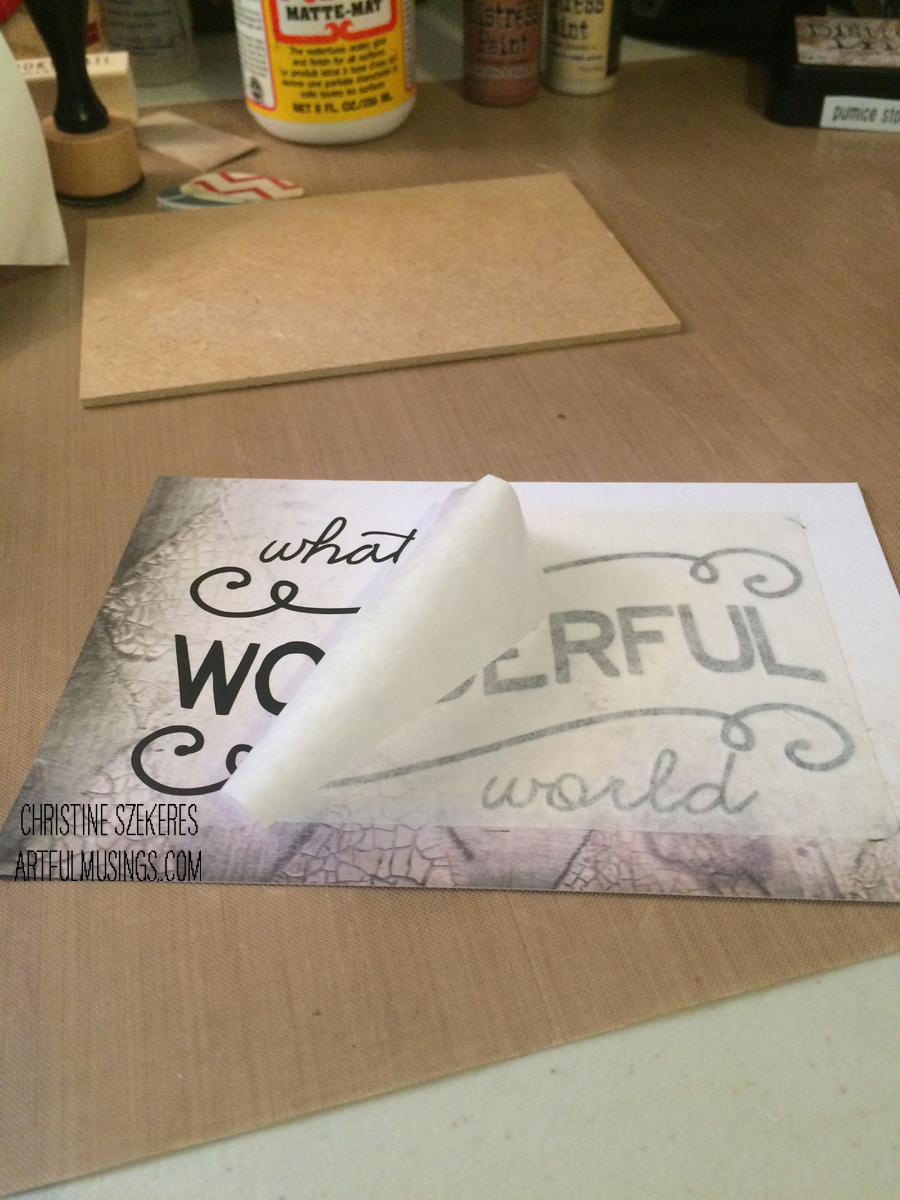
For the insert in the lid I chose a piece of cardstock from the Cold Country papers and applied the “what a wonderful world” vinyl sentiment to the cardstock. TIP: To ensure that your sentiment is centered in the window, insert the paper in place and lightly trace the edge of the insert. Once you’re done you can easily erase the guide. Vinyl is very easy to adhere to porous surfaces, a good burnishing before you start and a slow peeling of the backing at a sharp angle are my secrets to success. I also glued the cardstock to the wooden insert and cut a piece of acetate to go on top. For the inside of the insert (the lid) I glued another piece of paper that is the perfect place to write a note to the recipient.
Wonderful-Insert Wonderful-Interior2
Cold Country is a lovely collection of vintage images and sentiments focused on family and love designed by Anna Dąbrowska aka Finnabair. It is based on a cool palette and goes well with other cool colors (blues, greens, and grays).

I hope you enjoyed this tutorial and that it inspires you to make and give handmade gifts. Remember, creativity and imperfection live together in all we do. “Grace is the face love wears when it meets imperfection.”

~xoxo
Beanie

Supplies Used:
7 Dots Studio Collection Kit
Distress Inks (Weathered Wood, Blueprint Sketch, & Hickory Smoke)
Distress Paints (Weathered Wood & Blueprint Sketch)
Distress Stains (Brushed Pewter, Blueprint Sketch, Hickory Smoke & Tumbled Glass)
Mod Podge, Hug Snug Binding (winter white), ruler, paper trimmer, sanding block, round distress tool

A Study In Brown

I love brown, really I do. It’s wonderful for aging things and comes in a wide array of shades: vintage photo, chocolate, ground espresso, walnut stain, frayed burlap, antique linen, corduroy, gathered twigs, sepia, and many others. These colors are powerful bases and accents but how does brown do when it’s the focus? This was the challenge I set myself for this post. My secondary challenge: get going on handmade Christmas gifts for those near and dear to me.

If you are anything like me, you start out with the very best intentions – something handmade for everyone dear to you and then sometime between September and November the days slide away and you are burning the midnight oil just to get a couple of things done. If you are not like me (aka you are organized and on top of your handmade gifts) I applaud you … oh, and can I have a hair off your head so I can clone you?!?

This year I am trying to make sure my gifts are special, but don’t require weeks to complete. I decided to make a few calendars for friends using 3″ x 4″ wood blocks and mini printed calendars. The Nature Walk collection from 7 Dots Studio was perfect for this self imposed challenge.

Study In Brown

First, I painted the wooden block using Vintage Photo Distress paint. Once it was dry I went over it again with a coat of Walnut Stain Distress paint. If you are impatient like me, you can hit the block with the heat gun to speed up drying. TIP: Make sure you don’t get the heat too close or the paint will bubble and peel. Once this was dry I distressed the edges with a sanding block (so some of the vintage photo as well as the raw wood showed through) and finished it up with Lindy’s Stamp Gang (LSG)-Autumn Leaves Sidekick “Blazing Sun” and “Incandescent Copper”. Once that was dry I added the tissue tape. Tissue tape (and washi tape) is not overly sticky so to make sure it stayed put I spread on a thin layer of Mod Podge under the tape. Using the round distress tool I colored the tape with Fossilized Amber and Frayed Burlap Distress inks.

Study In Brown Painted Block  Study in Brown Washi Tape Edge

For the front and back of the calendar I chose one of the 6×6 sheets from the Nature Walk paper pad. I cut two pieces, 2 3/4″ x 3 3/4″ and inked the edges using the round distress tool and Fossilized Amber and Frayed Burlap Distress inks. TIP: Start with the lightest color to avoid cross-contamination of your ink pads. I also lightly inked up each of the calendar pages with a bit of Frayed Burlap Distress ink. Using flowers and leaves from Prima Marketing’s Archivist collection, I spritzed them with Prima’s Color Bloom-“Empress Gold” and set them aside to dry.

Using Mod Podge I attached the papers to the front and back of the block. I have a mini pastry roller that I use to make sure all the bubbles are out and the paper sticks completely. I also put a small amount of Mod Podge on the last page of the calendar, gluing it down as well. I love Fabri-Tac for dimensional items like flowers and wood pieces. Once all the flowers and leaves were attached with Fabri-Tac I set it aside to dry.

Study in Brown Calendar Front   Study in Brown Calendar Front Close Up

The back of the calendar was completed the same way as the front. I used some of the Nature Walk wood stickers to spell out the message “Take flight … find yourself … spread your wings.” The butterfly wood icon is from Prima’s Archivist collection and it was attached using Fabri-Tac.

Study in Brown Calendar Back  Study in Brown Calendar Back Closeup

For the companion card I used another sheet from the Nature Walk 6×6 pad, a piece of chocolate cardstock cut 4 1/4″ x 5 1/2″, and the beetle hexagon from the Nature Walk Elements sheet. Using a hexagon die from My Creative Time, I cut a mat for the beetle element out of the brown cardstock and glued the beetle hexagon to it.

To make the crinkle ribbon I used my Hug Snug “Winter White” seam binding ribbon and LSG “Incandescent Copper” and “Blazing Sun” sprays. While the ribbon was still wet I bunched it up (creating the crinkles) and then I dried it using my heat gun. I glued the ribbon to the back side of the panel and then glued the panel to the card using Scotch’s Tacky Glue. Two black foam squares pop the beetle hexagon up, completing the card.

Study in Brown Crinkle Ribbon  Study in Brown Remember This Card

I hope you enjoyed this little trip into the world of brown and that it inspires you to take a little creative trip of your own. Remember, creativity and imperfection live together in all we do. “Grace is the face love wears when it meets imperfection.

~xoxo
Beanie

Supplies Used

7 Dots Studio-Nature Walk 6×6 Paper Pad
7 Dots Studio-Nature Walk Elements
7 Dots Studio-Nature Walk Wood Stickers
Prima Color Bloom Spray-Empress Gold
LSG-Autumn Leaves Sidekick
3” x 4” wood block
2016 Yearly Calendar
Hexy Dies
Prima-Archivist: Posterity Flowers & Wood Icons
Distress Paint: Vintage Photo & Walnut Stain
Distress Ink: Fossilized Amber & Frayed Burlap
Ideology Sanding Block, Round Distress Tool, Tissue Tape (or other washi tape), Hug Snug: Winter White
Mod Podge (Matte), Fabri-Tac, Scotch Tacky Glue